Third brakelight restoration
#1
Alright, so as you all know the 3rd brakelight on our cars get fucked up by sunlight, especially if the trunk doesn't have a wing, or is a 99-00 model with the gay ducktail wing that isn't mounted far enough to the back.
My brakelight was horrible, I didn't want it perfect, but I wanted it better.
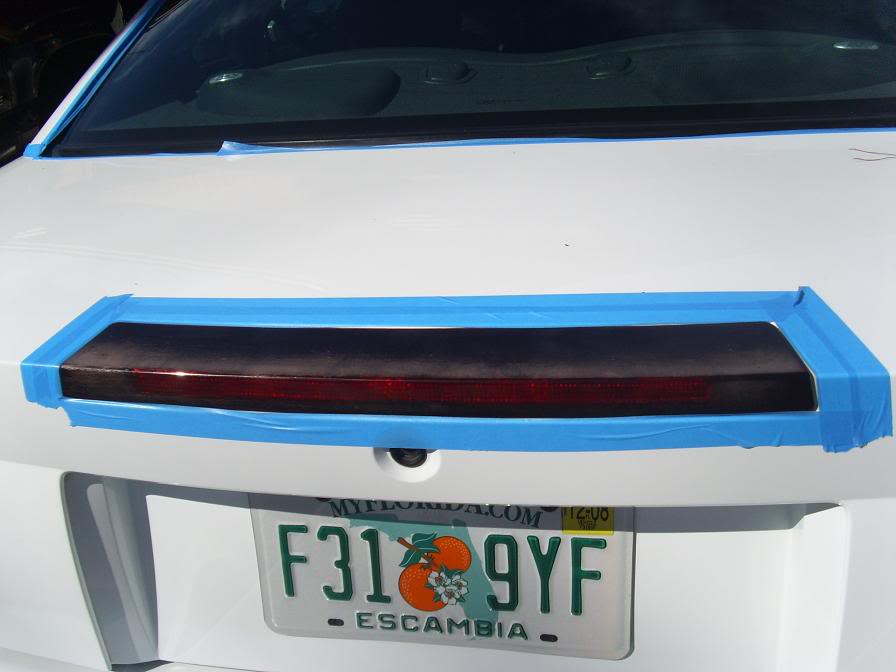
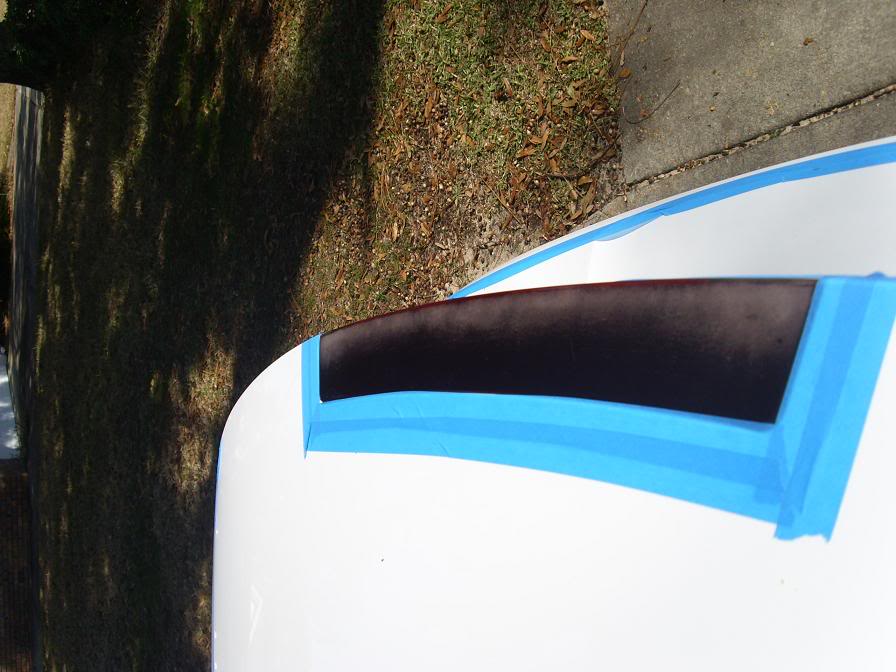
So I start with this


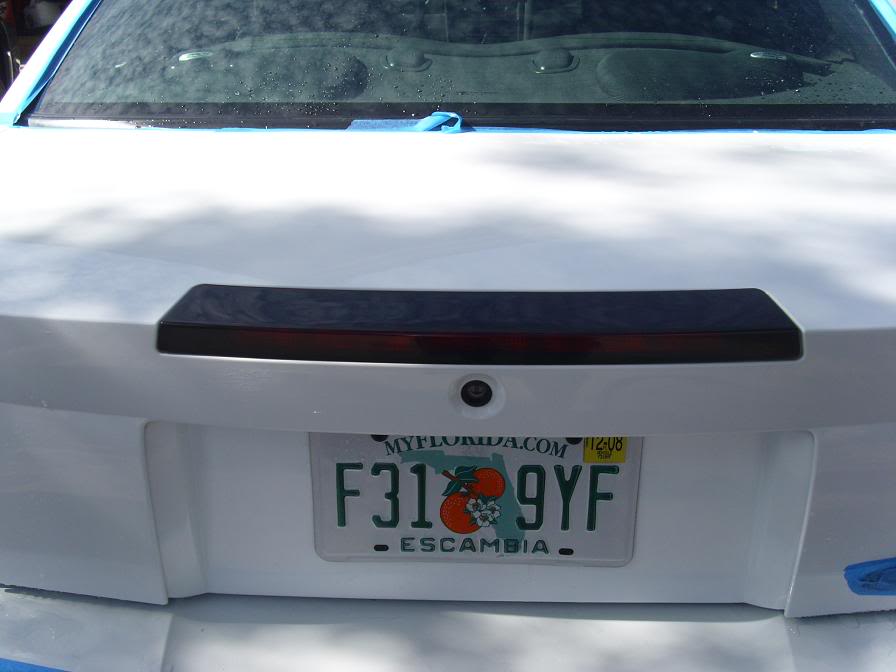
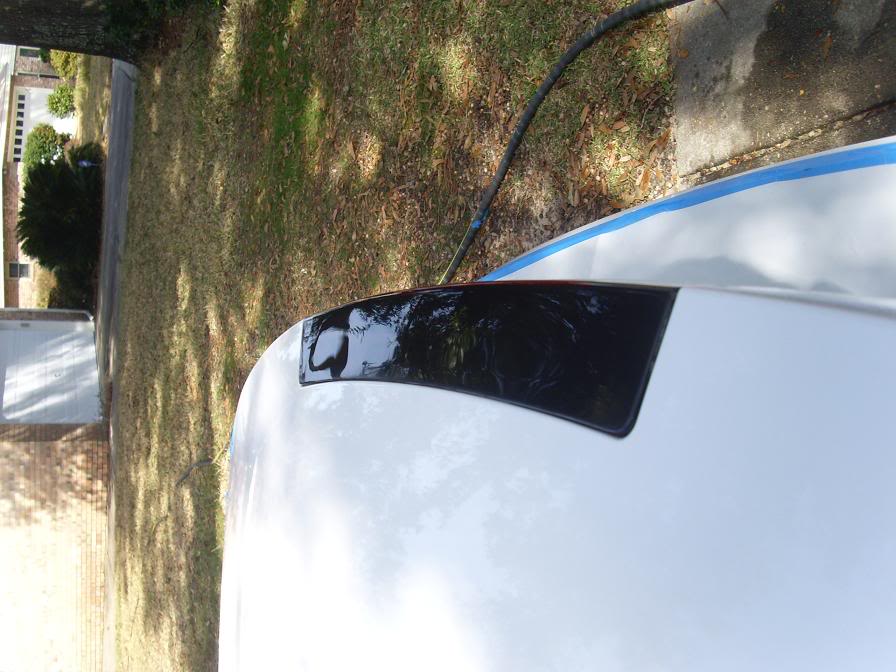
First I taped off the paint around it, then started wet-sanding with 600 grit wet/dry sandpaper to get out the major scratches. After that I did the same with 1000 grit, and then 1200 grit. I would have gone up to 2000 but I didn't have any. After all of that I dried it all off and used some Meguiar's Plast-X on a microfiber applicator for about 15 minutes. Wiped off all of the excess and this is what I have now


Now it's not perfect, you can still see some fine linear scratches from the 600 grit, it's probably better to start off with a higher grit (maybe 800) to prevent that, but I don't mind..it looks waaaaaaaaay better then it used to.
My brakelight was horrible, I didn't want it perfect, but I wanted it better.
So I start with this


First I taped off the paint around it, then started wet-sanding with 600 grit wet/dry sandpaper to get out the major scratches. After that I did the same with 1000 grit, and then 1200 grit. I would have gone up to 2000 but I didn't have any. After all of that I dried it all off and used some Meguiar's Plast-X on a microfiber applicator for about 15 minutes. Wiped off all of the excess and this is what I have now


Now it's not perfect, you can still see some fine linear scratches from the 600 grit, it's probably better to start off with a higher grit (maybe 800) to prevent that, but I don't mind..it looks waaaaaaaaay better then it used to.
Thread
Thread Starter
Forum
Replies
Last Post


