
Cleaned up and coated my trunk drip rails **pics**


Thread Starter
|
Zig *hearts* Fishy
Joined: Jun 2005
Posts: 2,444
From: Pensacola, Florida
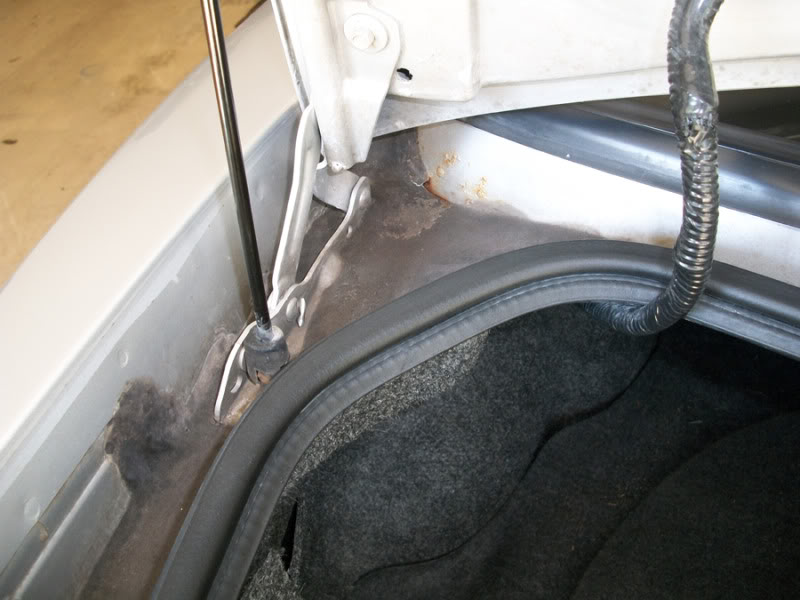
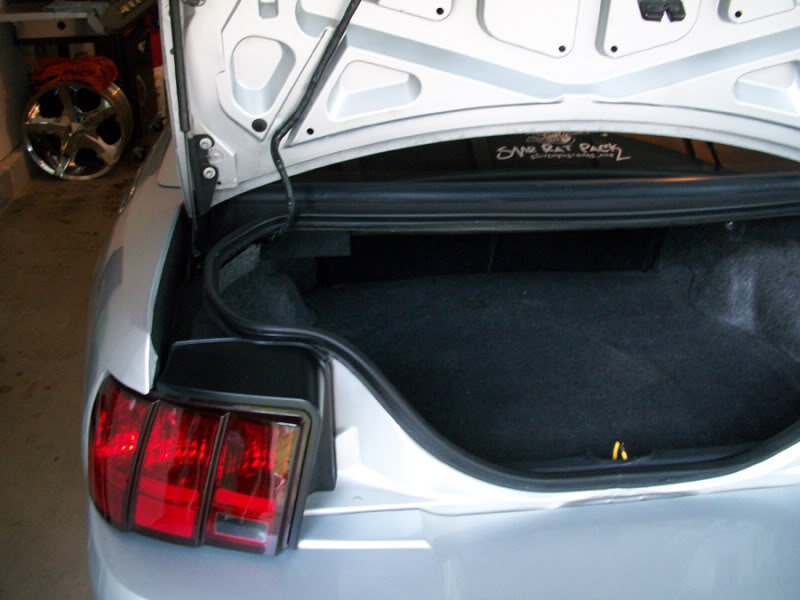
So back in April the judge at the MCA Pensacola Mustang show reamed me for how nasty my drip rails were under the trunk lid. 12 years of grit and grime collecting there makes it a bit of a hassle to get clean or keep clean. So today I got a wild hair and decided to do something about it.
Just a little details for you guys because I am sure I am not the only one with nasty drip rails. **That sounds bad!**
Used some 3M undercoating spray that has the hard rough texture similar to spray in bed liners. When I told the judge at the show I had plans of doing this he told me how great of an idea it was and he had never seen that done. Plus it will help with rust.
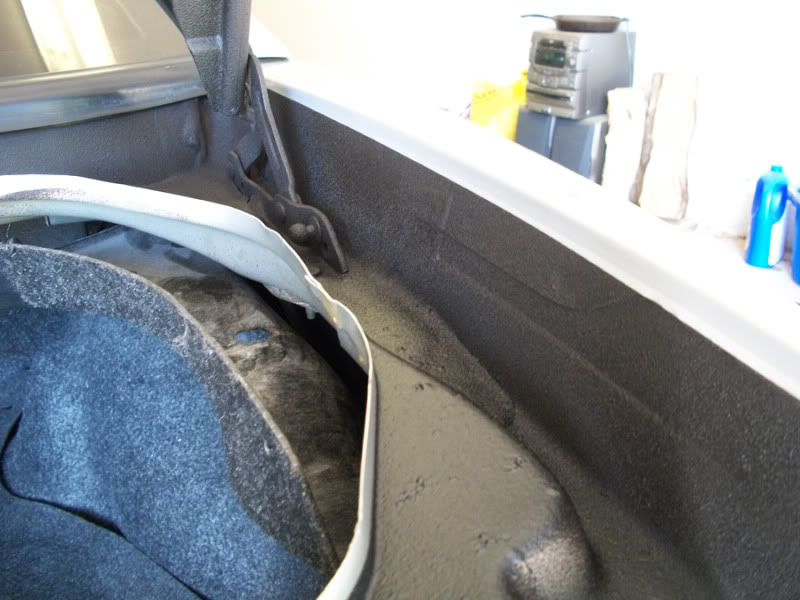
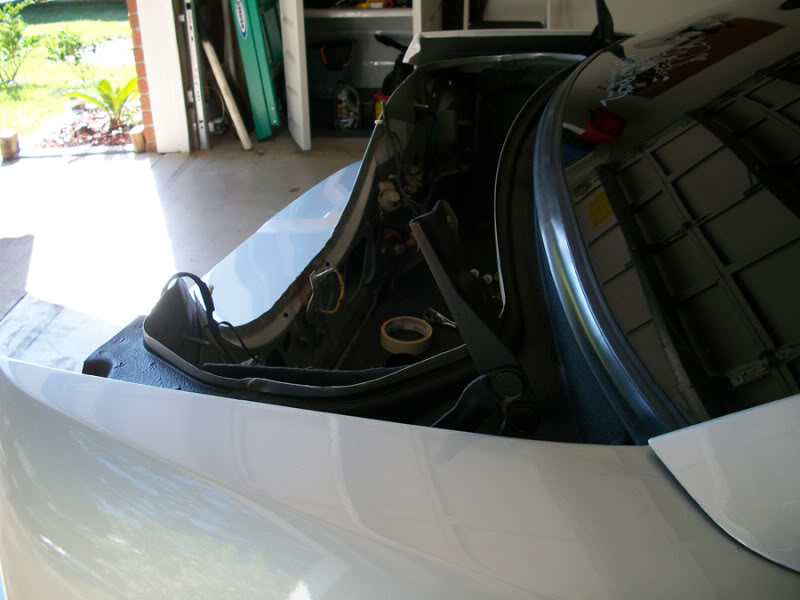
Here is what I started out with
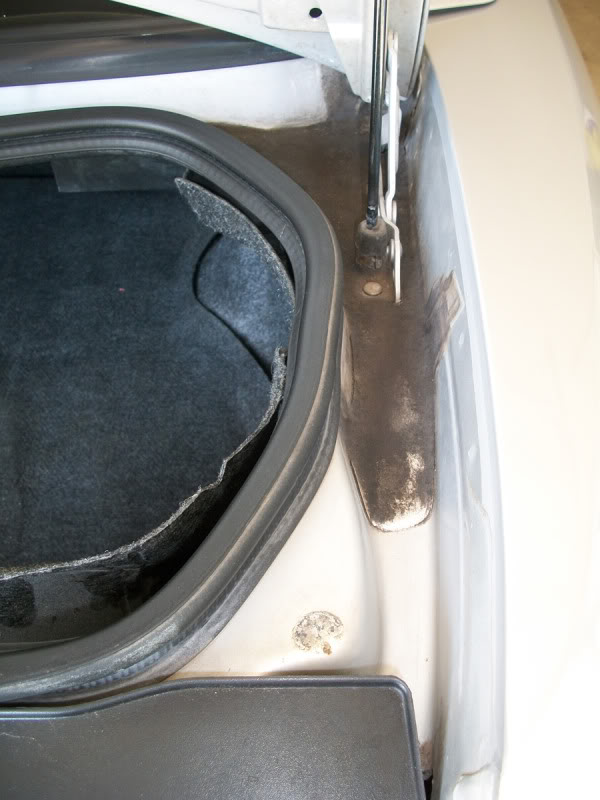
Cleaned what I could with some Simple Green

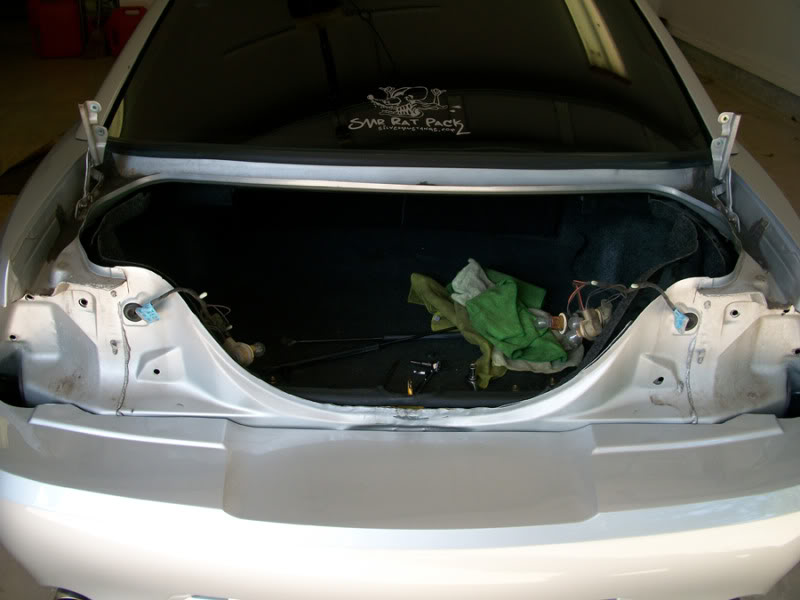
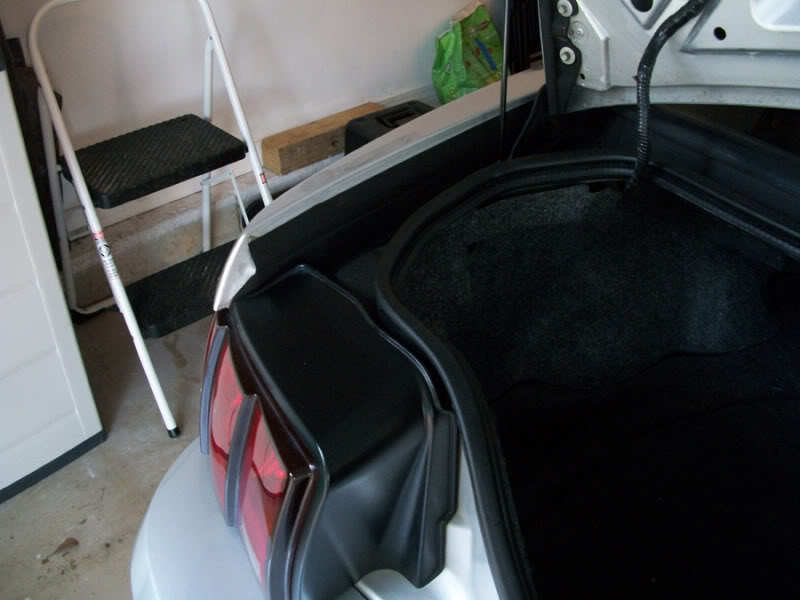
Took the trunk, taillights, rubber seal, and some of the carpet molding off to make sure I got everything covered
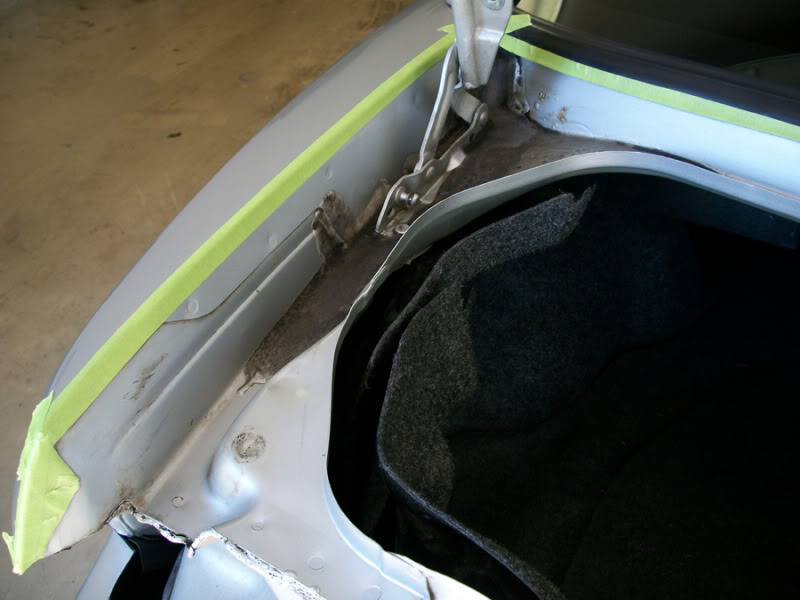
Got everything taped off how I wanted
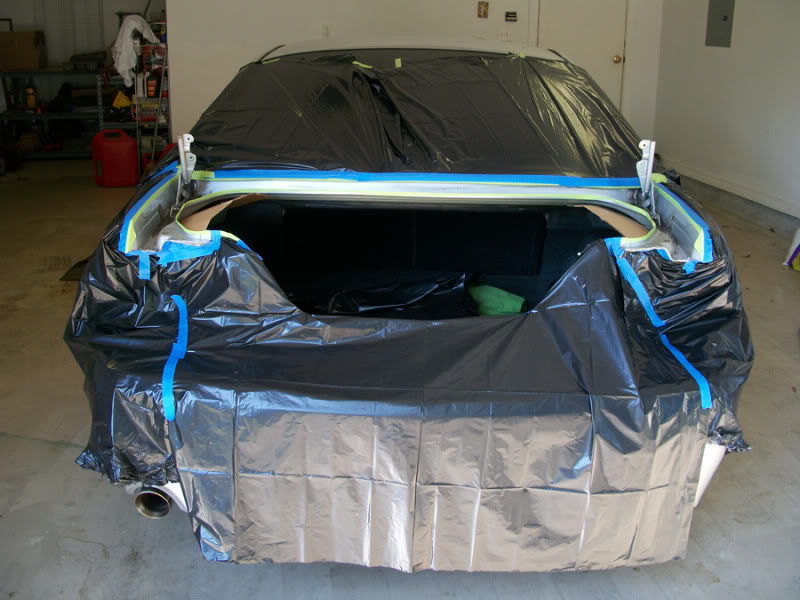
Got a few good coats of the 3M coating going on
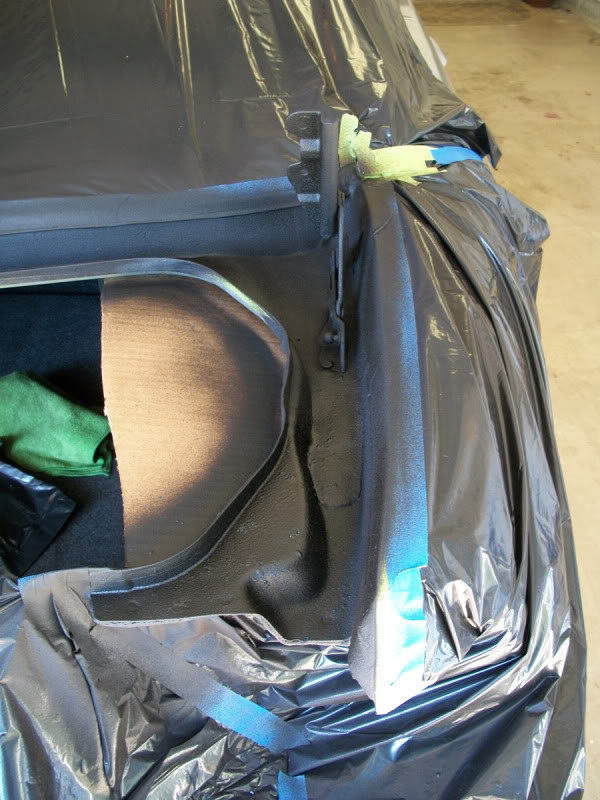

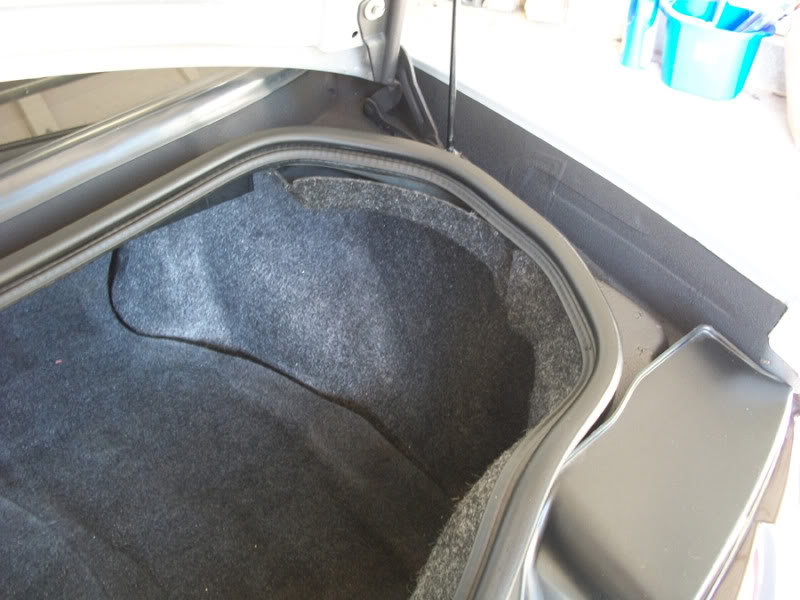
Removed all the tape and plastic to reveal a result I was very happy with
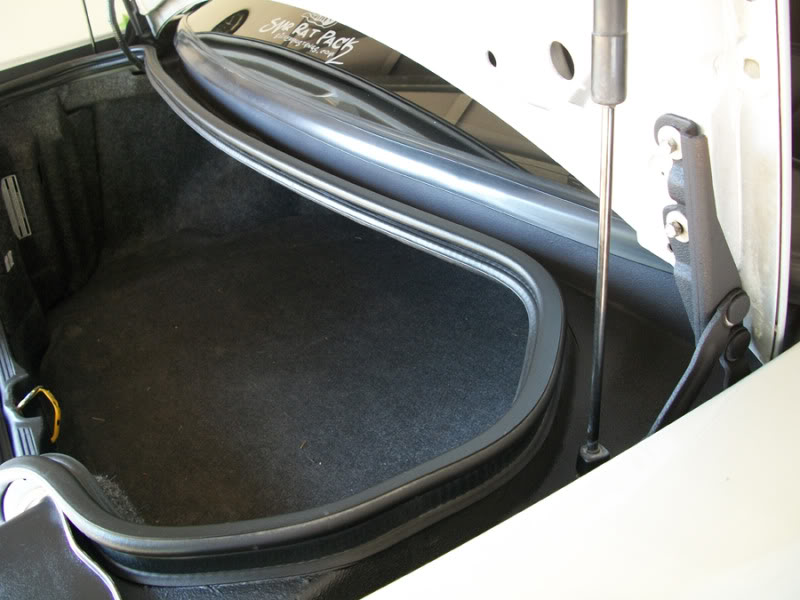
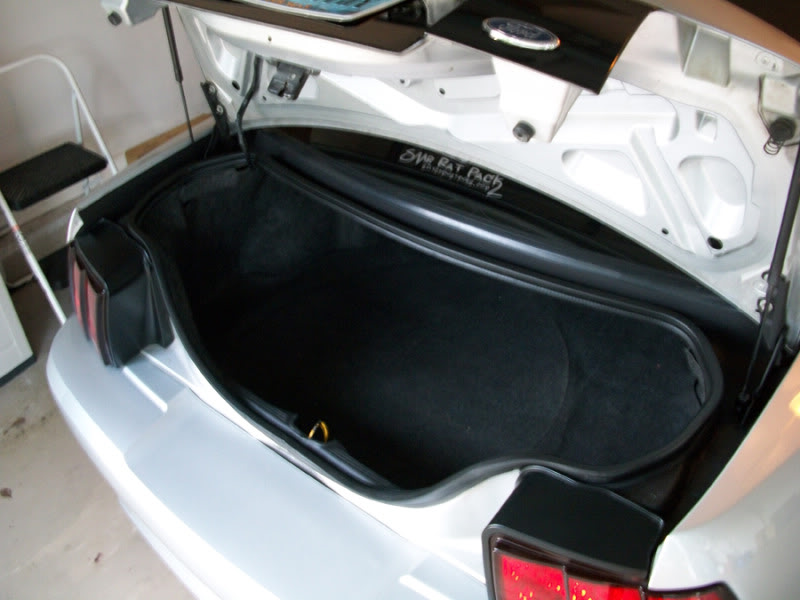
Reinstalled the rubber trim, taillights, carpet molding and trunk lid
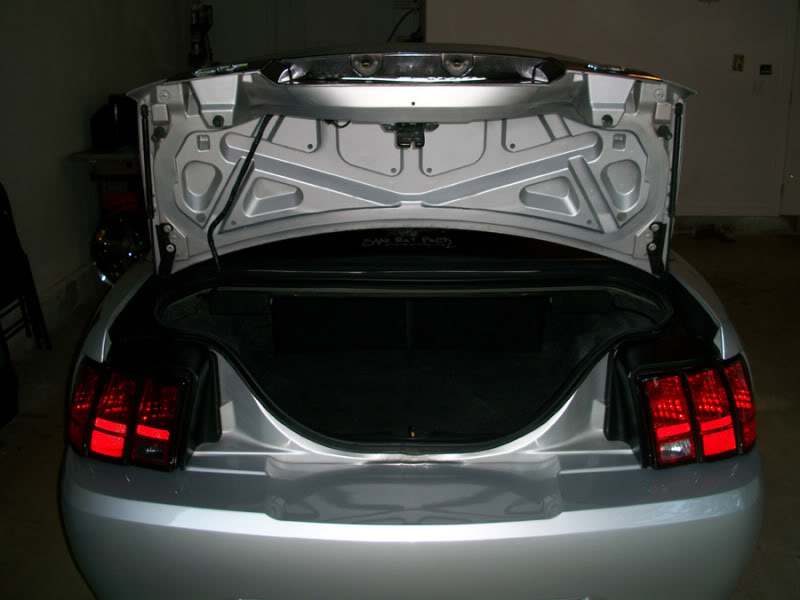
The final product!
P.S.
It is easy to take the trunk lid off by yourself...but a pain to get it back on by yourself!
Just a little details for you guys because I am sure I am not the only one with nasty drip rails. **That sounds bad!**
Used some 3M undercoating spray that has the hard rough texture similar to spray in bed liners. When I told the judge at the show I had plans of doing this he told me how great of an idea it was and he had never seen that done. Plus it will help with rust.
Here is what I started out with
Cleaned what I could with some Simple Green
Took the trunk, taillights, rubber seal, and some of the carpet molding off to make sure I got everything covered
Got everything taped off how I wanted
Got a few good coats of the 3M coating going on
Removed all the tape and plastic to reveal a result I was very happy with
Reinstalled the rubber trim, taillights, carpet molding and trunk lid
The final product!
P.S.
It is easy to take the trunk lid off by yourself...but a pain to get it back on by yourself!


KWITCHERBITCHIN
Joined: Sep 2007
Posts: 6,024
From: Gallatin, TN
No doubt, mine looks effing terrible too.. Nice work Donnie, that's a pretty good idea! I had actually been contemplating doing a white crinkle coat, but I kind of like the idea of matching it with the tail lights and the side of the trunk. Hmmmmmm.. 
KWITCHERBITCHIN
Joined: Sep 2007
Posts: 6,024
From: Gallatin, TN
Mine already looked like **** when I got the car from Dave.. I'm definitely going to do this, just got to decide whether or not to do it in black or not.


Thread
Thread Starter
Forum
Replies
Last Post

