MustangV6_04 Offical Picture Thread
#1
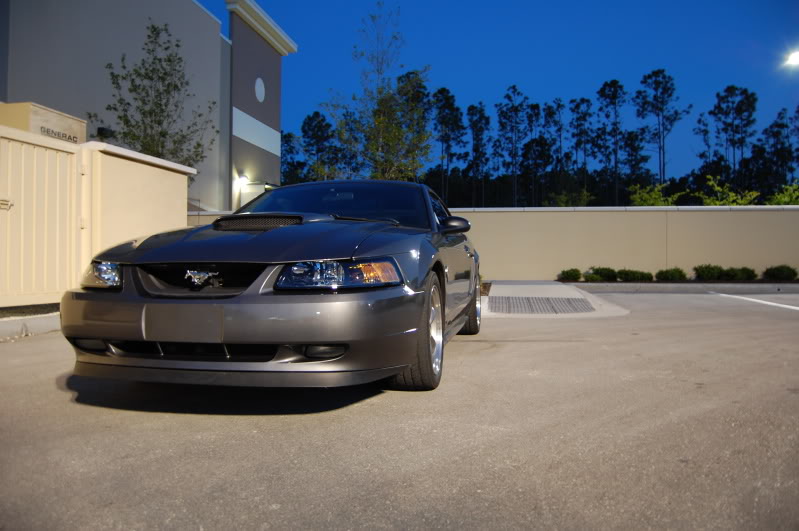
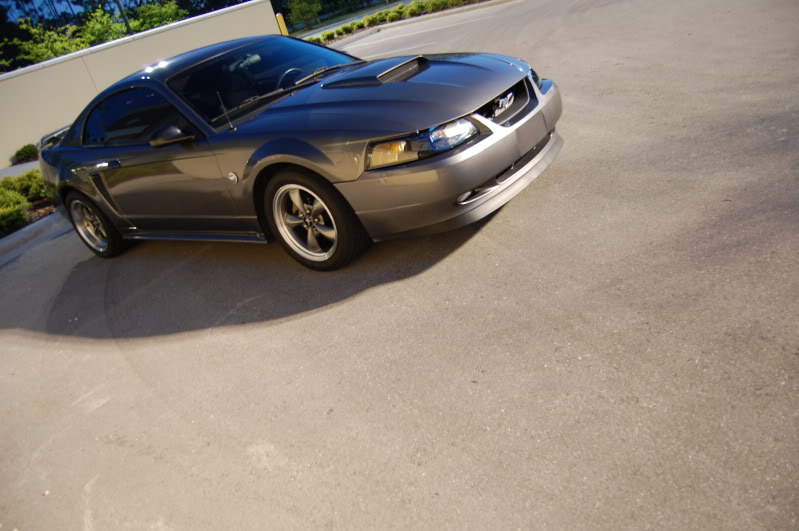
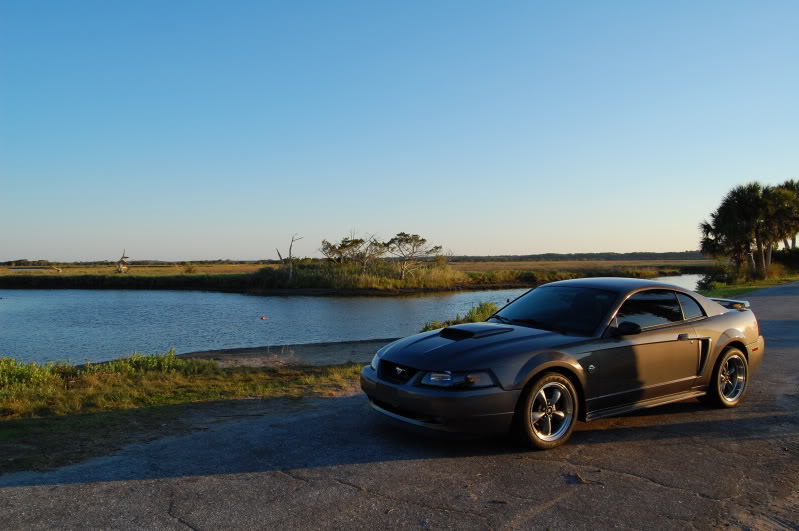
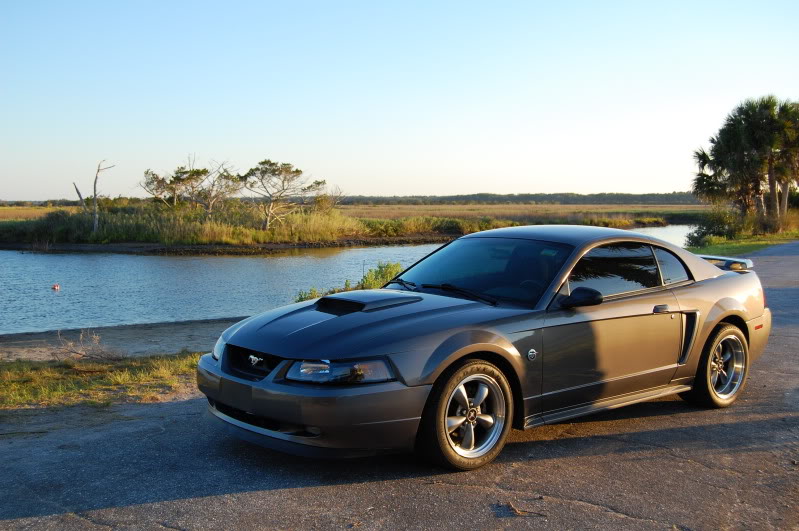
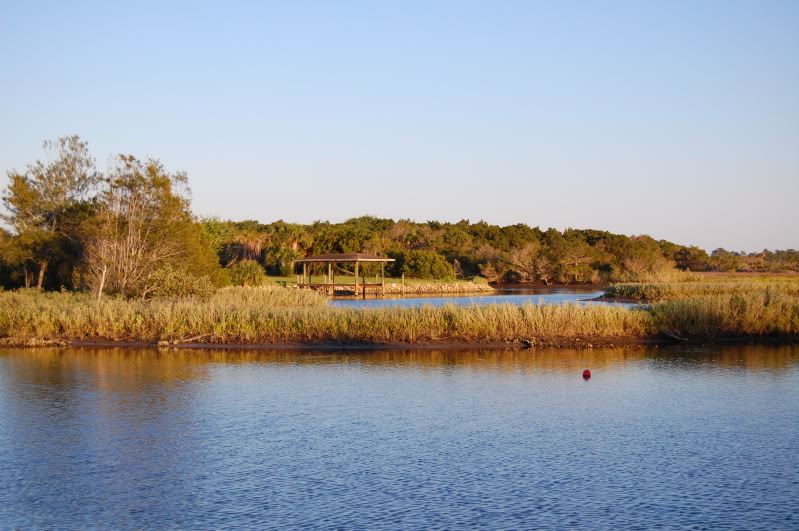
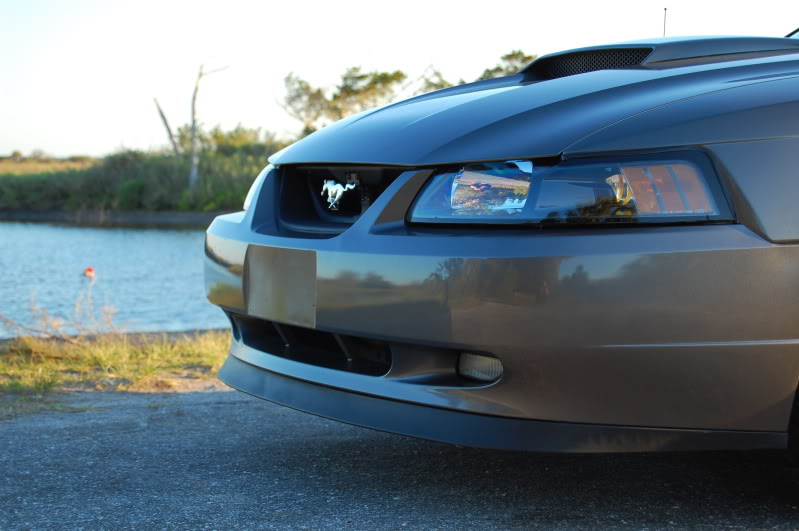
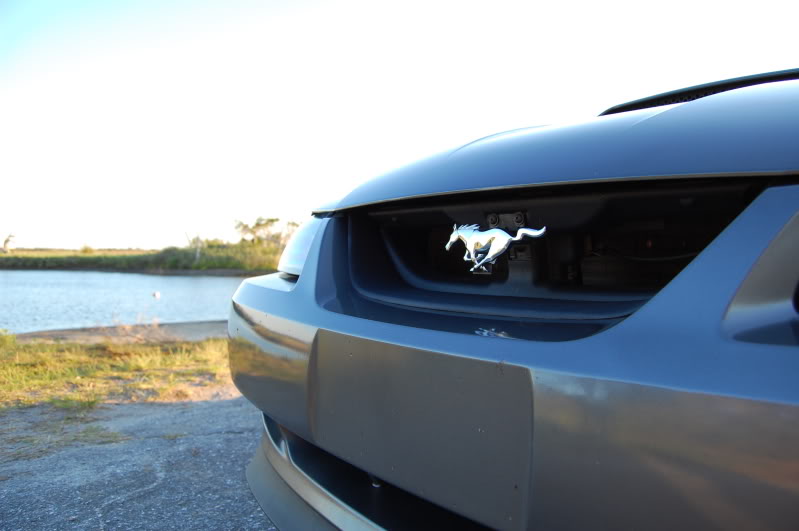
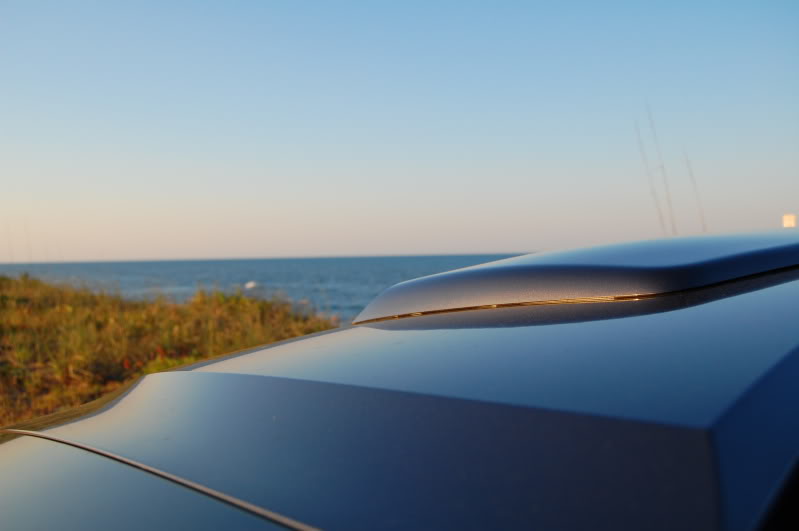
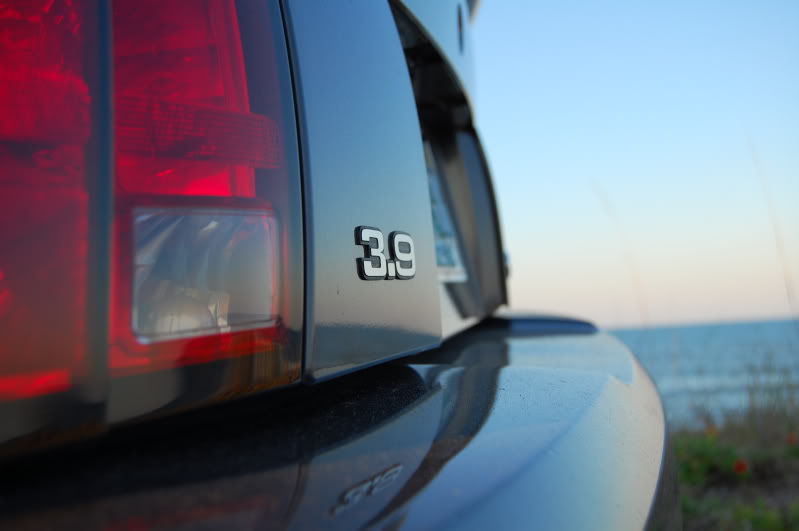
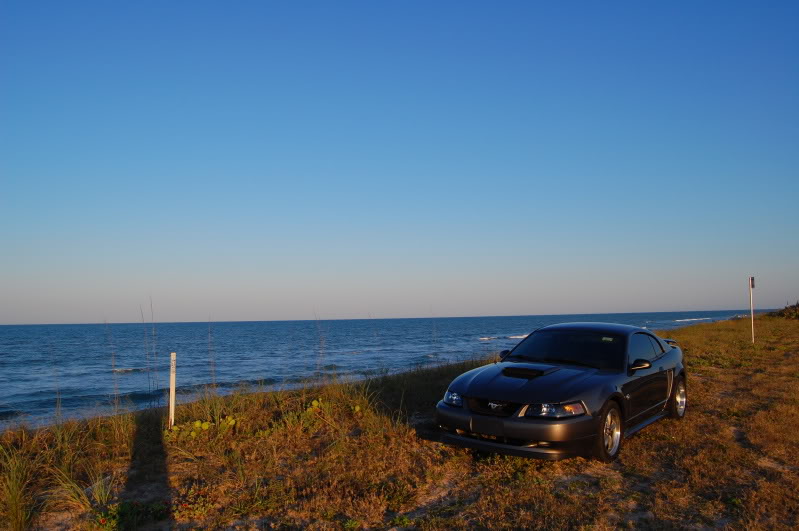
well basically took the D40 out with a dirty *** car just to play around with it. These pictures Suck but i know nothing right now about the camera/photography or anything like that so here they be. I was basically using it as a point shoot camera since i don't know what the hell half the buttons do lol.Hopefully with time i will get somewhat skills...


#4
The D40 kicks so much ***. lol.
#1 FTW! Sweet pic!
#3 and #4, pay more attention to things like shadows, you dont want a random shadow across the subject unless you are going to some dramatic lighting effect.
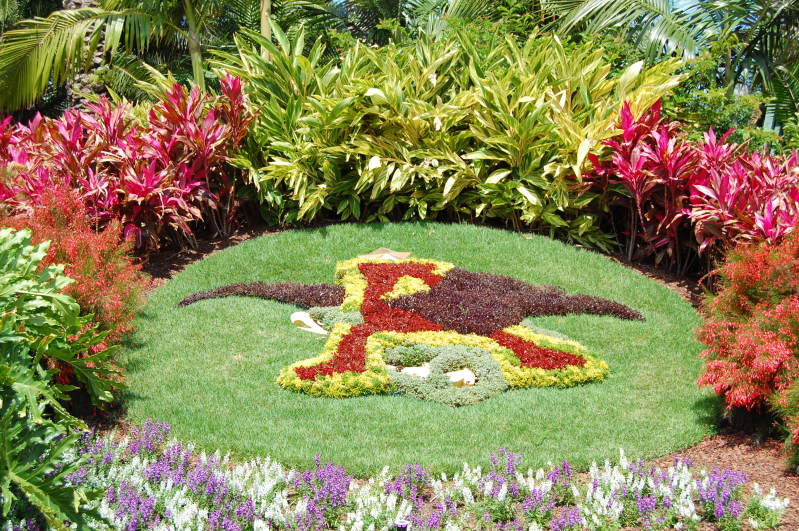
5, nice landscpe shot!
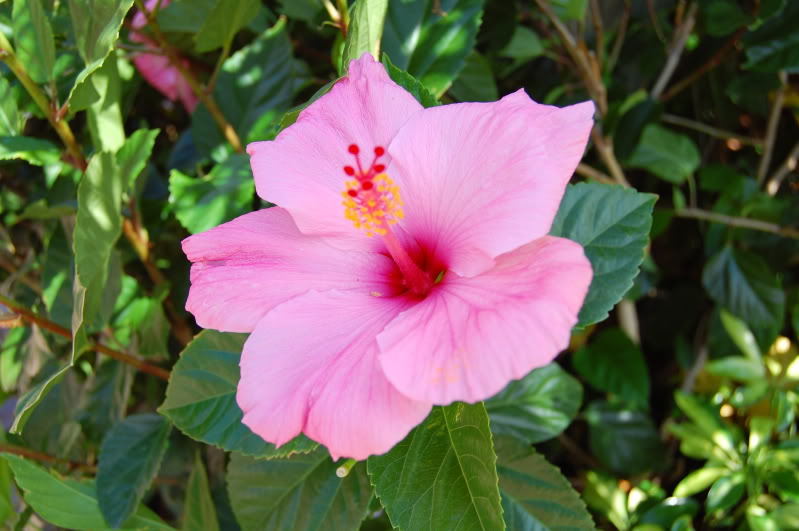
Not a big fan of closeups, but the 2nd to last came out real nice!
Since yer just starting, shoot in P-mode, that will let you adjust the exposure.
To adjust exposure, hold the +/- button next to the shutter release and move back and forth with the jog dial.
Take a pic, chimp it(meaning look at the display), and if the image looks dark adjust the exposure up +.03, shoot again, if it is still dark go up another +.03
However, if it is too dark go down in exposure. Play around with that, it is the first step to getting into more advanced modes and it will almost always do better than the AUTO modes.
Basically this just makes the picture lighter or darker. If you are unsure about the exposure always err on the side of underexposing, those can be salvaged in photoshop, overexposed pics are pretty much shot.
Last edited by JackThe Ripper; 04-22-2009 at 07:41 PM.
#5
Dont worry about it, it is just a first lesson, take care to really look at the subject and its surroundings. Trust me ive done the same.
#9
exactly.
im bored so im gonna do a little 101 about Aperature, ISO, Exposure, and Shutter speed.
A good comparison is a garden hose shooting into bucket.
Lets say
water = light.
Exposure = the desired depth of water you want in the bucket.
ISO is the width of the bucket. (wider bucket = lower ISO = takes longer to fill)
Aperature would be the diameter of the hose
Shutter Speed is how long the hose is turned on.
With a 8inch wide bucket you need to pour water for X amount of time to get 4 inches deep of water in the bucket.
If you go with a 4 inch wide bucket (lower iso = slower speed) you need to either pour water for less time (shorter shutter speed) with the same hose (aperature), or go with a smaller hose (larger aperature F/#) and pour water for the same amount of time (same shutter speed)
If you go with a 12 inch bucket, now you either need a larger hose(aperature) with the same pour time (shutter) or the same size hose(aperature) with a longer pouring time (shutter)
If you want to go 8 inches deep (lighter exposure) instead of 4 inches, you need either a larger hose (aperature),or a longer pour time(shutter), or a mix of both... OR you could always go with a bucket with smaller diameter(higher iso)
Or, to go 2 inches deep(darker exposure) you need to decrease pour time(shutter), or go with a smaller hose(aperature), or a mixurte of both, or you can also go with a wider bucket (lower iso)
P = Programmed Auto. You determine the exposure, the camerachanges the aperature to match
A = Aperature Priority, you determine aperature size, and Exposure level. The camera will adjust the shutter speed for the exposure level you are trying to achieve. (i use this the most now)
S) Shutter Priority, you select the shutter speed and the exposure, the camera will adjust the Aperature to hit the target exposure.
M) you determine everything, Not very good for on-the-fly shooting untill you really get good, a MUST for stuff like moon photography, super low light, high contrast scenes (sillouette of couple in front of sunset etc). Basically this is where you want full control and have time to set it all up.
Aperature is my current fav. Set it wide open(lowest F/#) for action shots where you need a fast shutter speed and want to isolate the subject from the background.
ISO, Aperature, Shutter all work in balance to achieve the proper exposure. Change one and the others will need to change as well.
This stuff seemed very complicated when i first started about 7 months ago. Now it seems pretty simple.
My rec is to shoot P for a while, then move to A, then move to S, then try M from time to time and see how you fare.
#10
Holy crap that whole bucket analogy was confusing! haha
Basically aperture is how wide your shutter opens.
Shutter speed is how long your shutter stays open.
For each situation there's an optimal amount of light that you should let in. You can get this amount of light a variety of ways, though.
If you have a real wide aperture, you only need to have a relatively short shutter speed.
If you have a narrow aperture, you have to have a much longer shutter speed to get the same amount of light in.
Last edited by Switch; 04-22-2009 at 08:26 PM.
#20
ha for YEARS i had various pictures of your GT as my desktop...it was sad for me when you sold it lol
#23
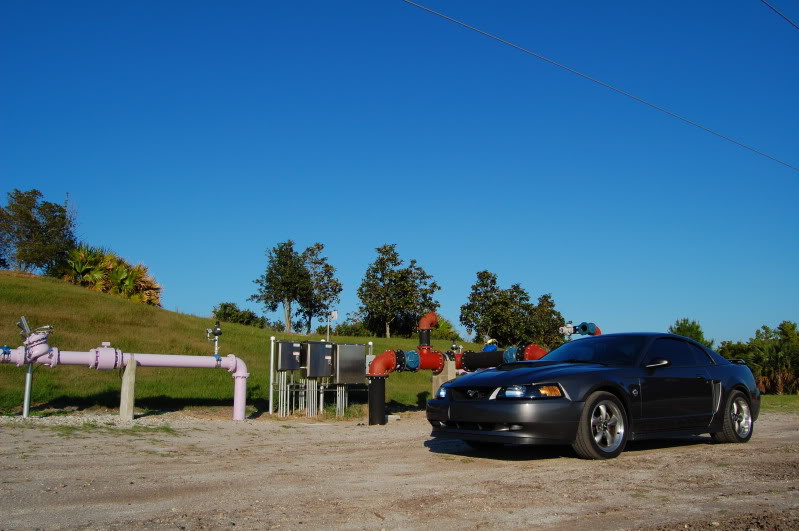
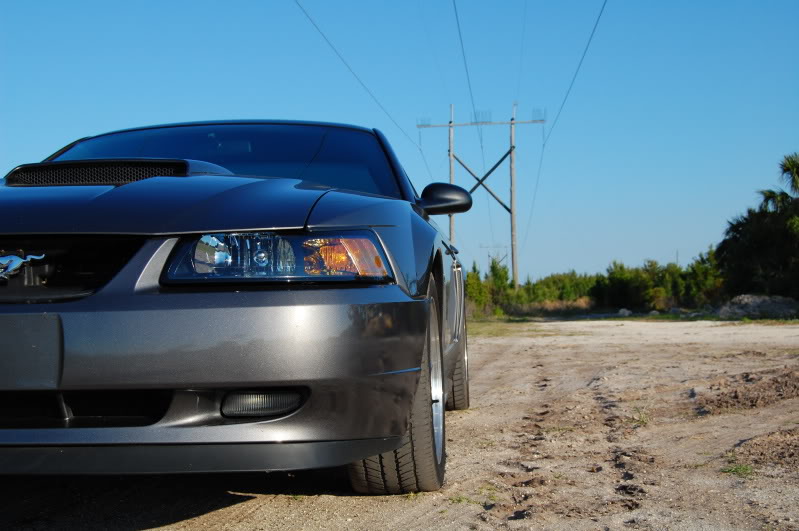
here is some more, criticism whether good or bad is always welcome thanks
i started trying diffent things with the exposure also weither it was right or not idk lol but i tried
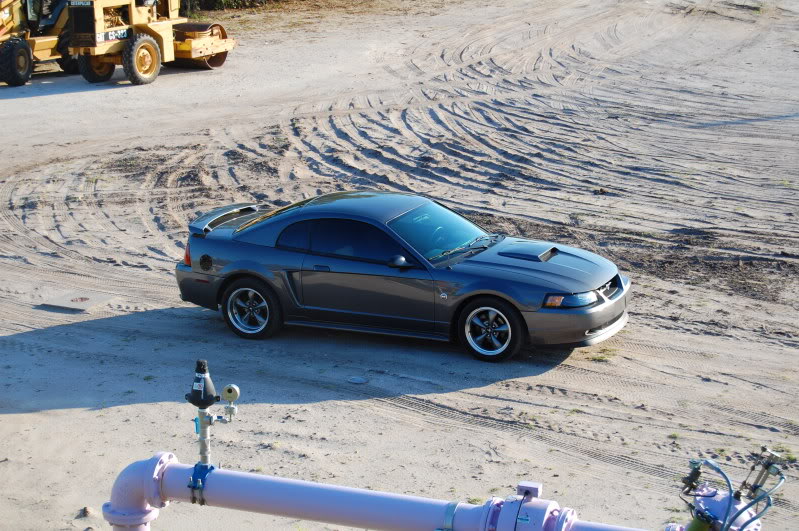
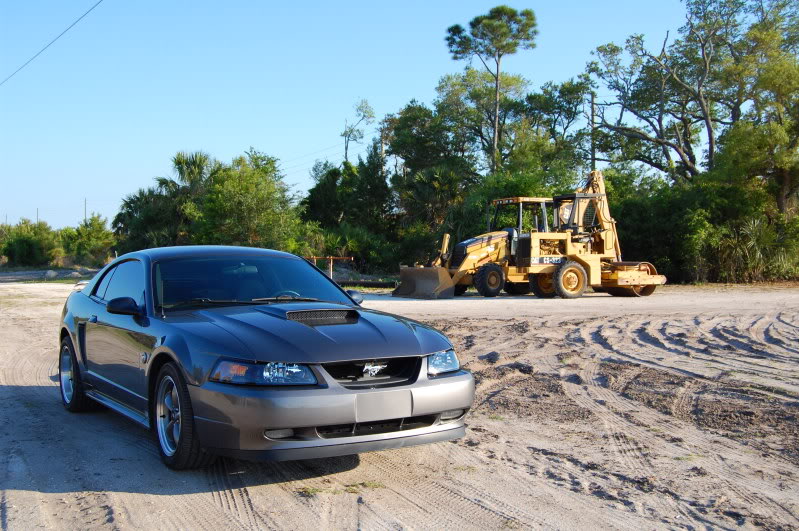
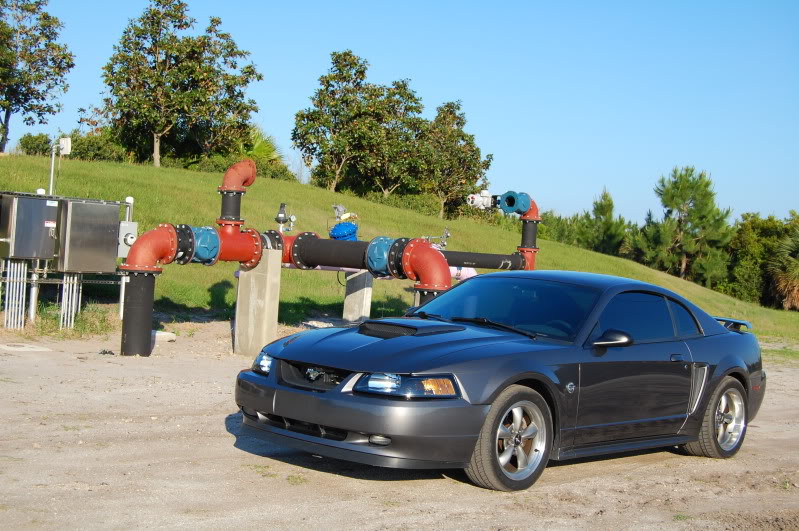
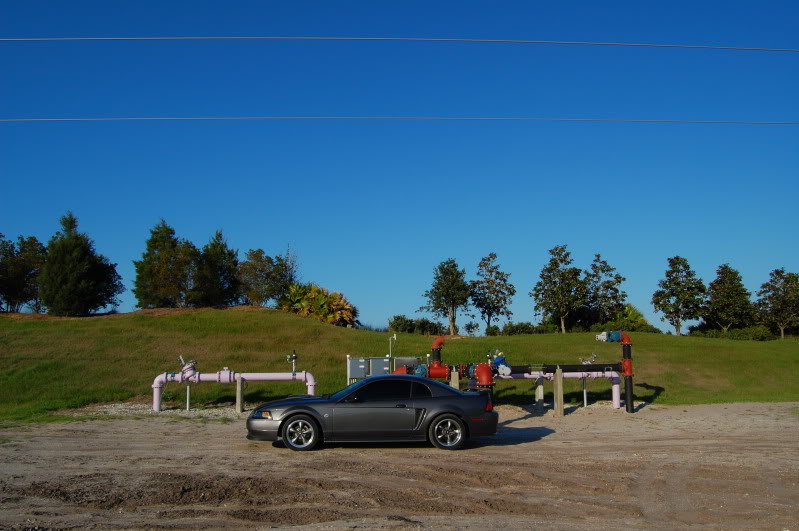
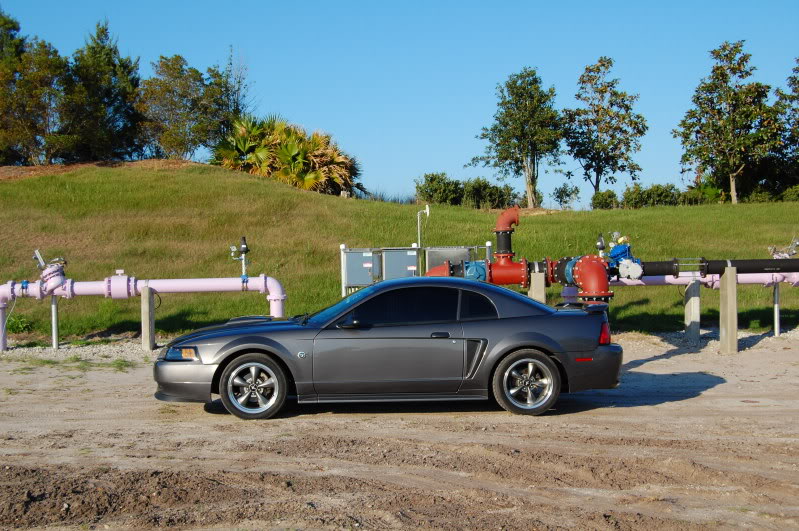
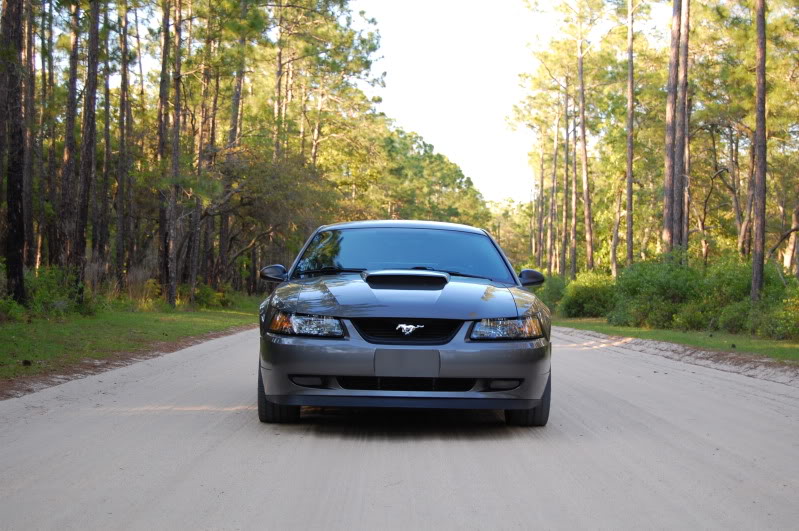
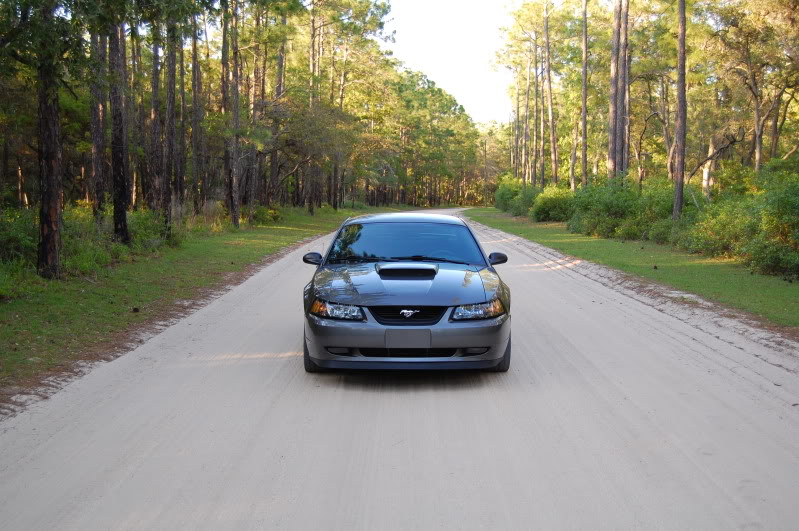
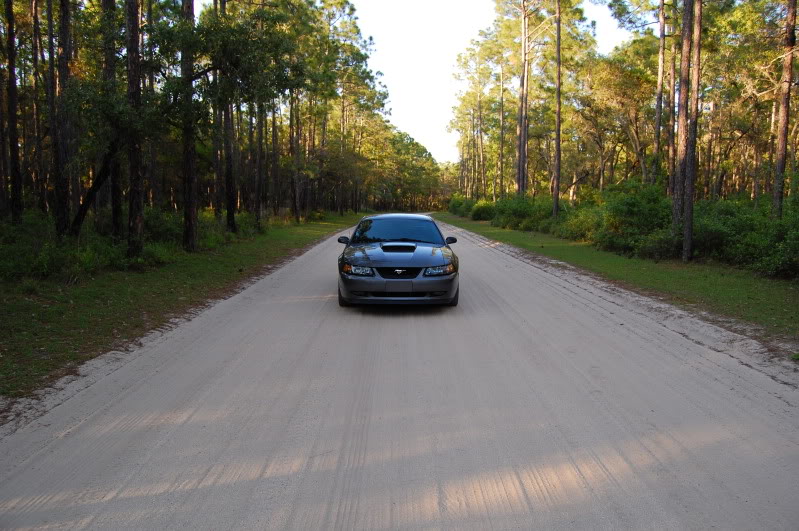
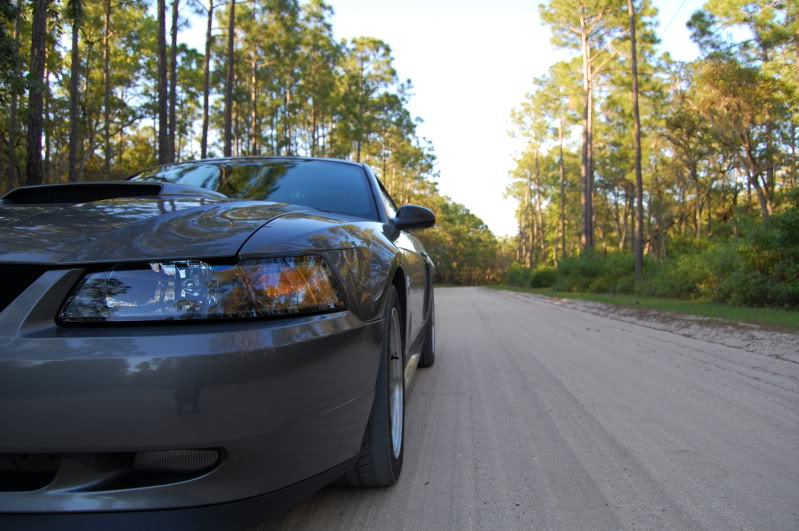
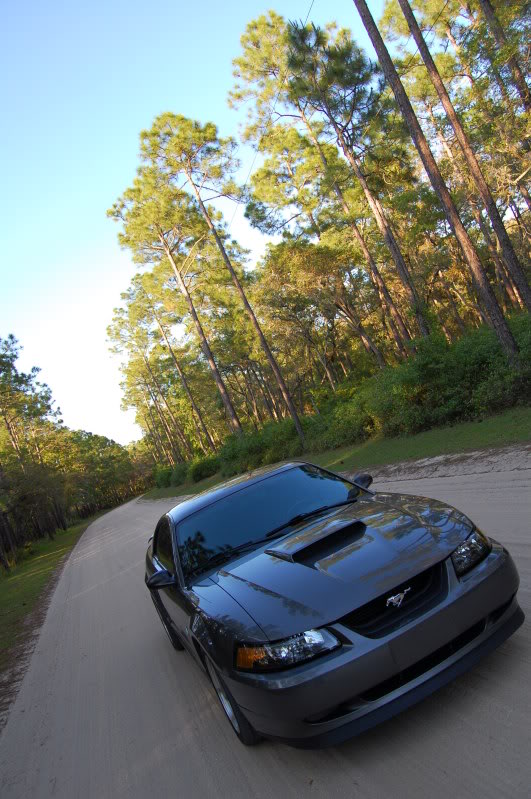
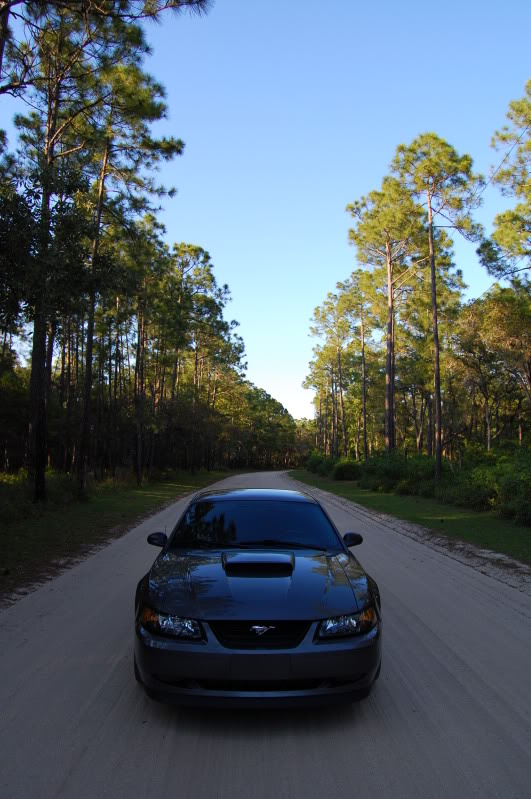
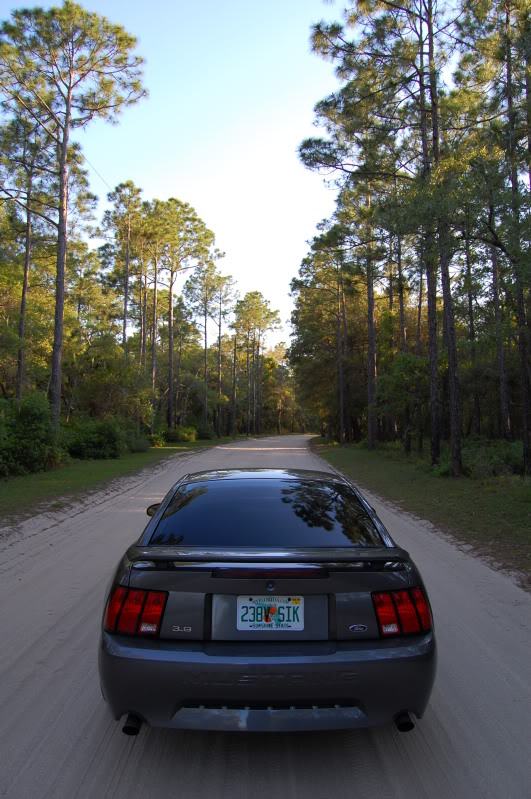
i started trying diffent things with the exposure also weither it was right or not idk lol but i tried


#24
Well, since you asked for criticism:
1. The car is underexposed
5. The pipes in the background grab too much attention away from the car
6. Whole pic is underexposed
8. Perfect shot, best one you've taken yet. Really, I love this picture.
9. Very good as well
12. The angle is a little too much
13. Underexposed
14. Underexposed
1. The car is underexposed
5. The pipes in the background grab too much attention away from the car
6. Whole pic is underexposed
8. Perfect shot, best one you've taken yet. Really, I love this picture.
9. Very good as well
12. The angle is a little too much
13. Underexposed
14. Underexposed
#26
Yeah, I know what you mean. You'll never learn unless people tell you what you're doing wrong.
Seriously though, this pic is awesome:
http://i79.photobucket.com/albums/j1...6/DSC_0260.jpg
Seriously though, this pic is awesome:
http://i79.photobucket.com/albums/j1...6/DSC_0260.jpg


