Roushcharger install has started
#1
 12-30-2005, 03:32 PM


Join Date: Jun 2005
Location: Morinville alberta canada
Posts: 119
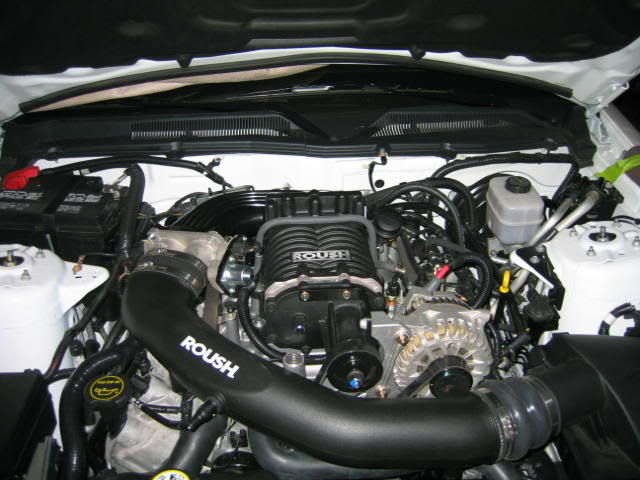
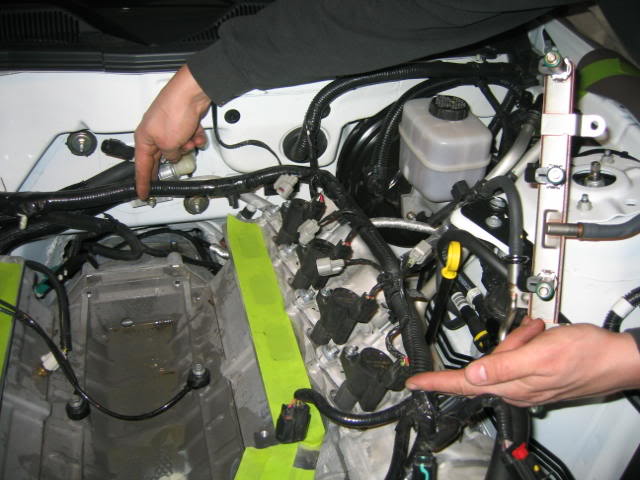
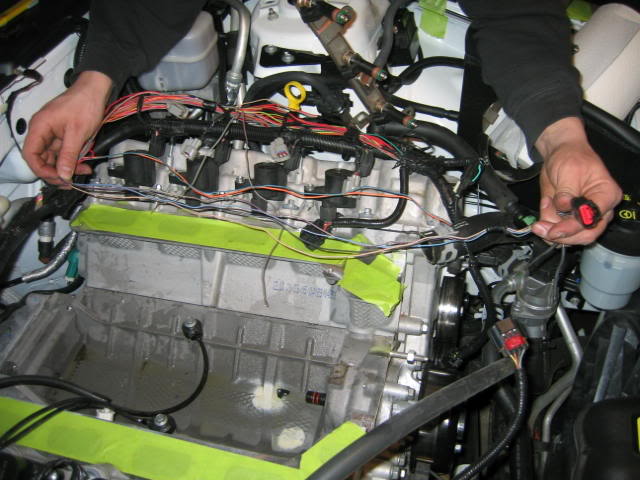
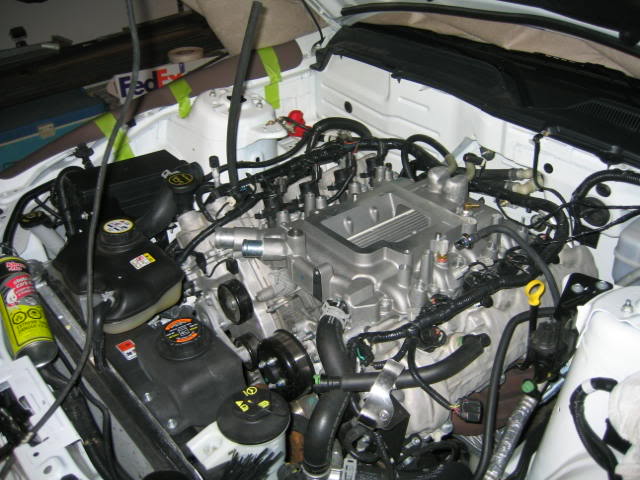
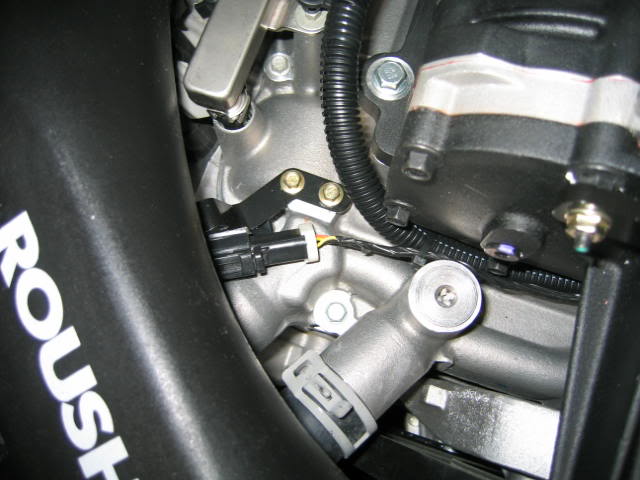
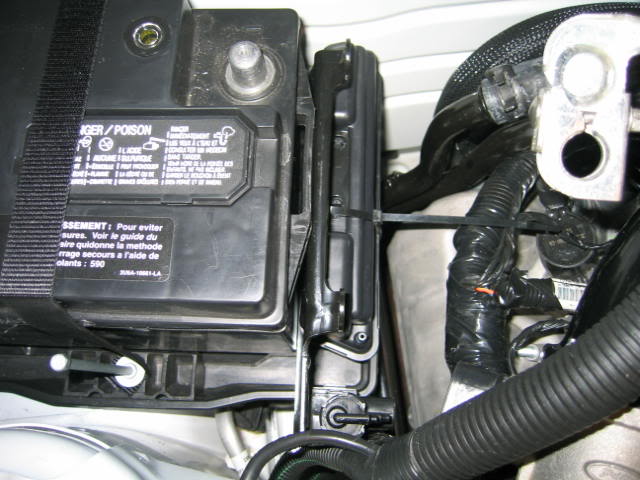
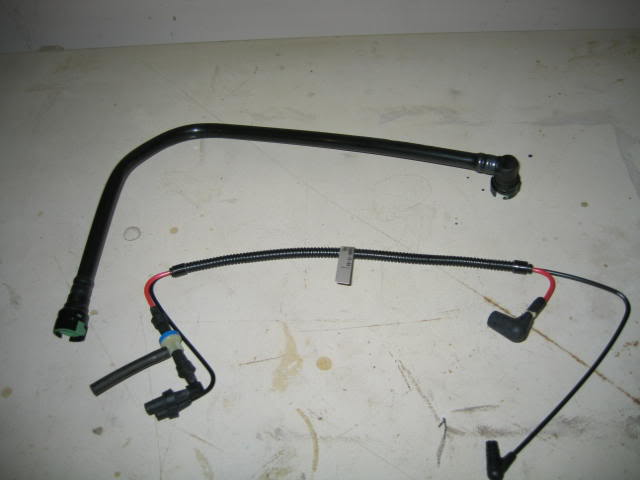
Here is pics of Install my son and are doing. Basically first steps is modifying, moving wires to new locations, reworking airbox. heater hoses, modify alternator
Second step is preassembly on the parts in kit. Kit was well labeld and instructions are clear. The next step which we are at is installing. Will post new pics as we go along
[IMG]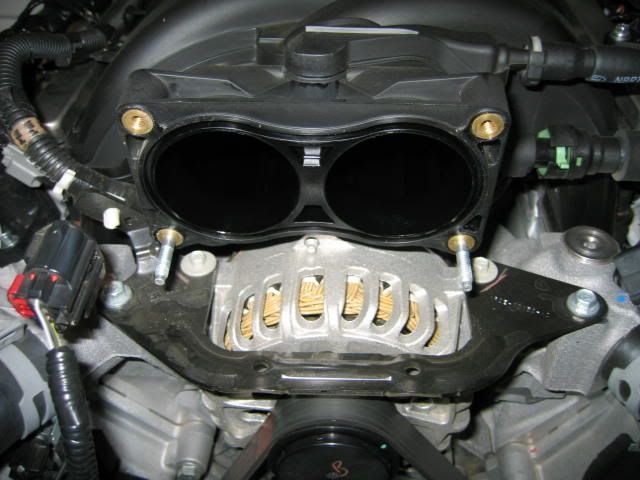 [/IMG]
Second step is preassembly on the parts in kit. Kit was well labeld and instructions are clear. The next step which we are at is installing. Will post new pics as we go along
[IMG]
[/IMG]


#10
12-30-2005, 09:41 PM
Join Date: Jun 2005
Location: Morinville alberta canada
Posts: 119
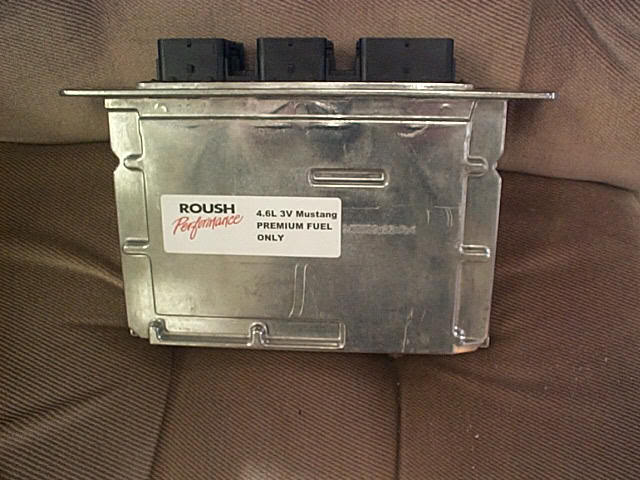
CPU back from roush today I was suprised it is here already since I had sent on Friday the 23 december with xmas in between. They have there sticker on it so it must have made it there.

#12
12-31-2005, 02:07 PM
Originally Posted by toolttime
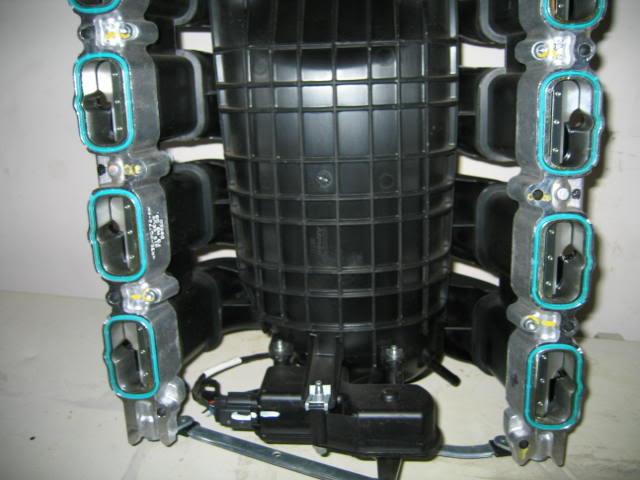
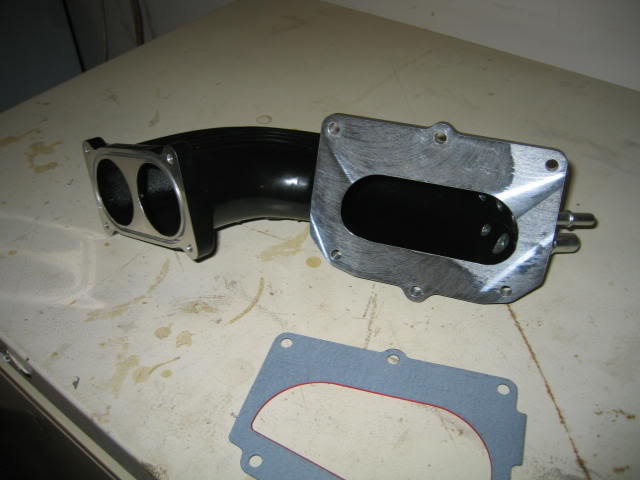
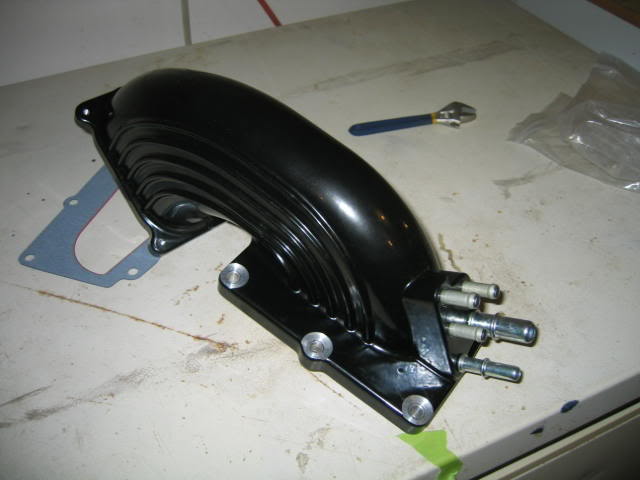
Cmrc deletes ??? don't know what you mean The one pic is of the old intake
#13
12-31-2005, 11:41 PM
Join Date: Jun 2005
Location: Morinville alberta canada
Posts: 119
Well the last day of 05 and we started of by mounting the water tank for intercooler
Then we jacked up car took off front wheels to be able to remove front half of inner fenders and the front bumper. Actually remove the front of the car was probably the easiest thing we have done. This is to install the cooler for intercooler.
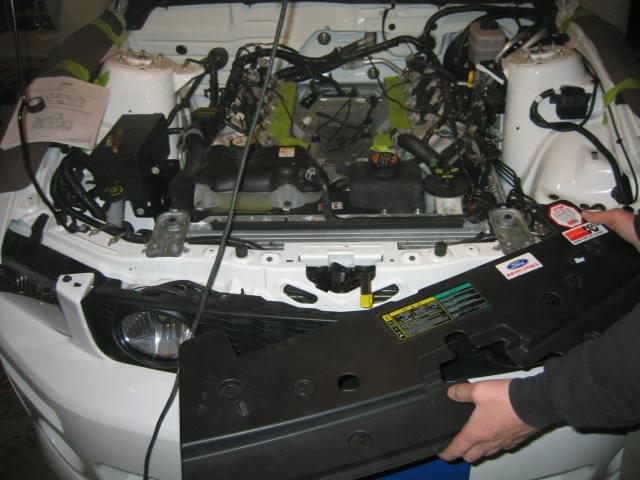
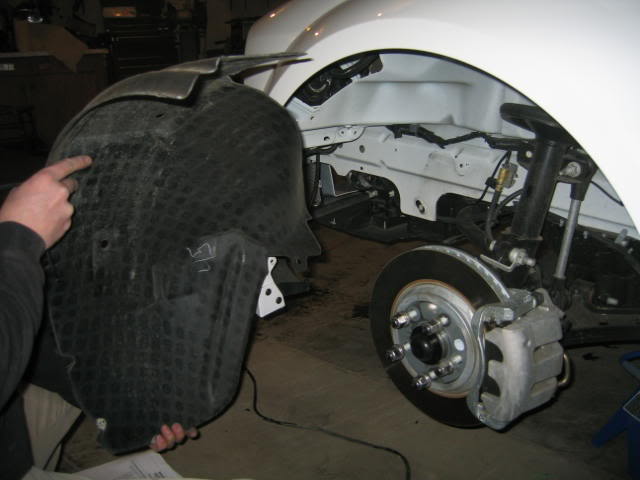
Then we jacked up car took off front wheels to be able to remove front half of inner fenders and the front bumper. Actually remove the front of the car was probably the easiest thing we have done. This is to install the cooler for intercooler.
#14
12-31-2005, 11:46 PM
Join Date: Jun 2005
Location: Morinville alberta canada
Posts: 119
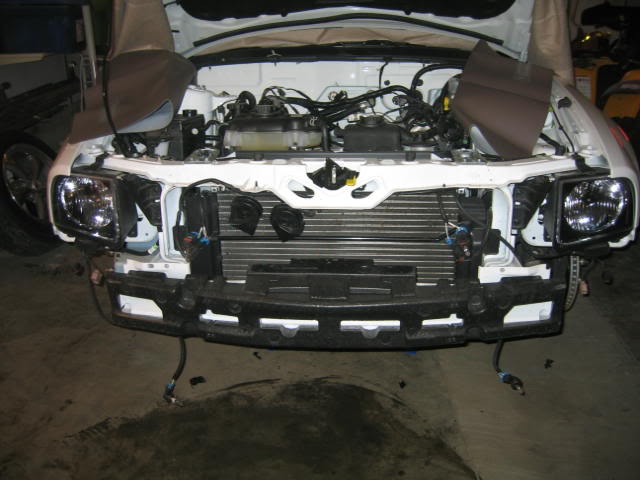
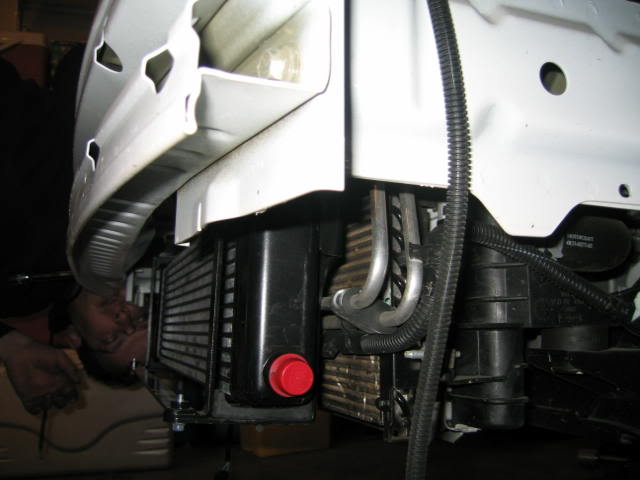
We now installed the cooler and I must say the way it was built was like it came right from ford themselves it was perfect fit. We removed the crush beam
(styrofoam lol)from the front . Removed the 2 inside bumper bolts. this is where the cooler mounts. We then installed the 2 supllied hoses to the engine compartment on paseenger side the other to the drivers side fender area. this is where the water pump for inter cooler goes. On the pump side we had to cut a few inches of hose off at a time to get the kinks out of the hose.
[
#15
12-31-2005, 11:47 PM
Join Date: Jun 2005
Location: Morinville alberta canada
Posts: 119
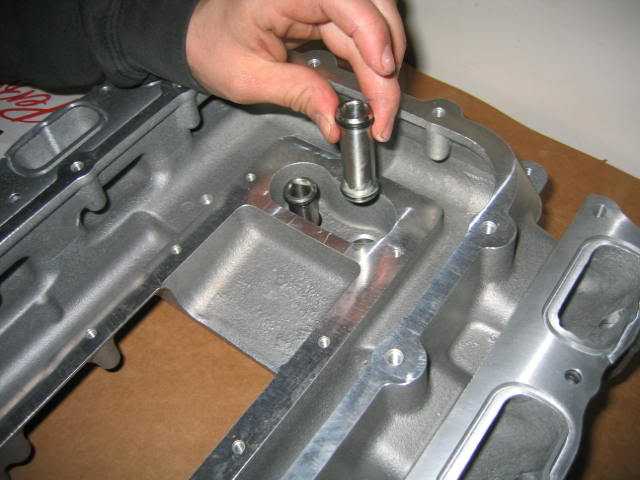
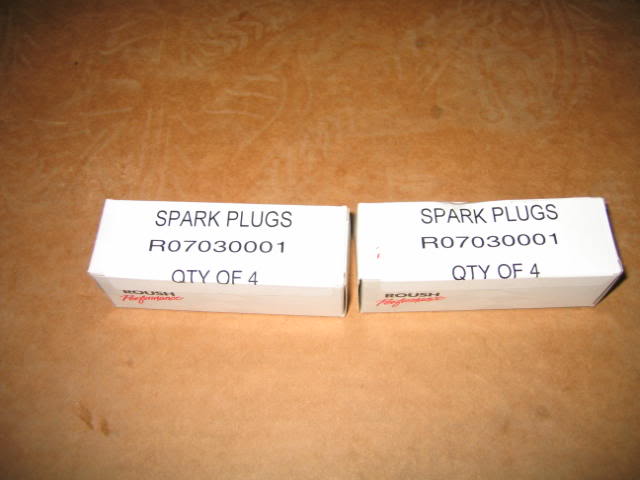
Next we installed the supplied cooler autolite spark plugs. the order They do things in the instructions seem to make things easier to do. Like the spark plugs we be a little tight with everything on to change.
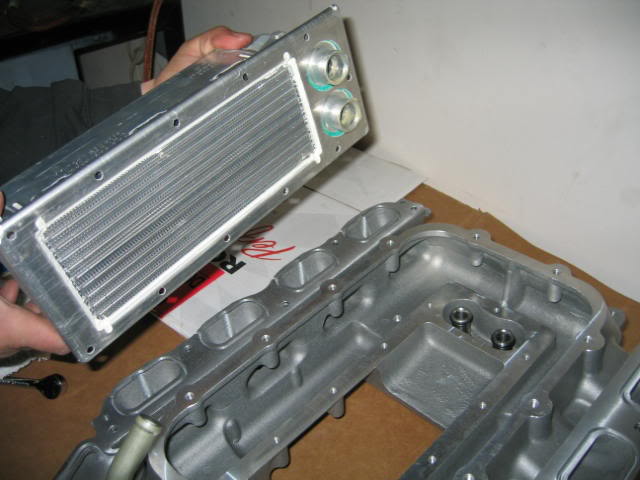
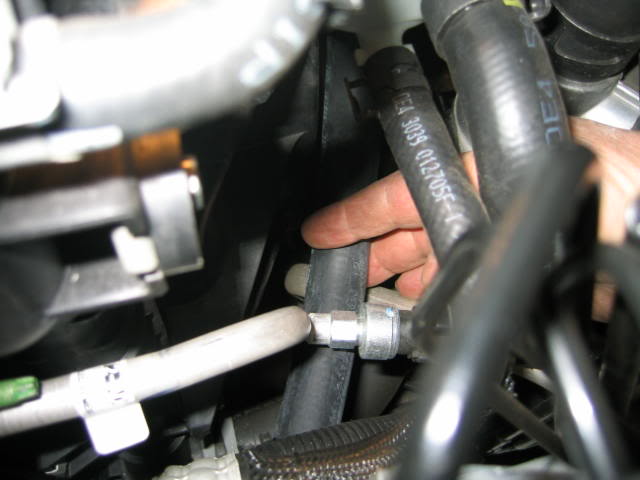
we then reinstalled the cooler lines we haad to modify into water pump under intake. Remove tape and clean the surface area to insatl the intake

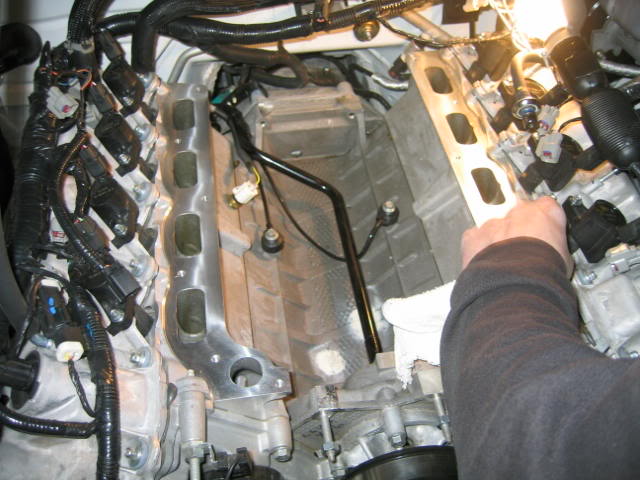
we then reinstalled the cooler lines we haad to modify into water pump under intake. Remove tape and clean the surface area to insatl the intake

#17
12-31-2005, 11:51 PM
Join Date: Jun 2005
Location: Morinville alberta canada
Posts: 119
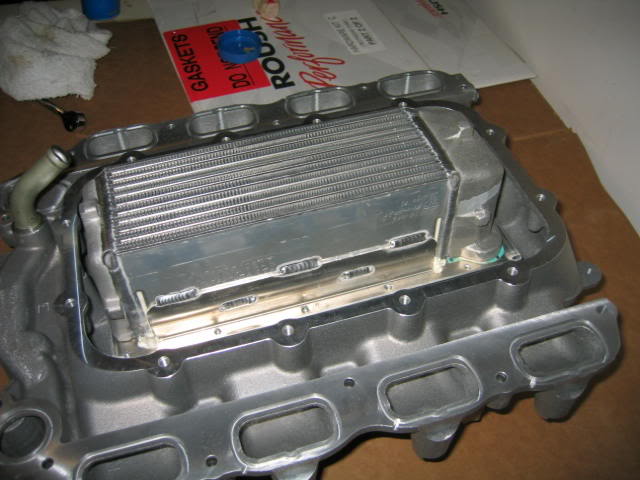
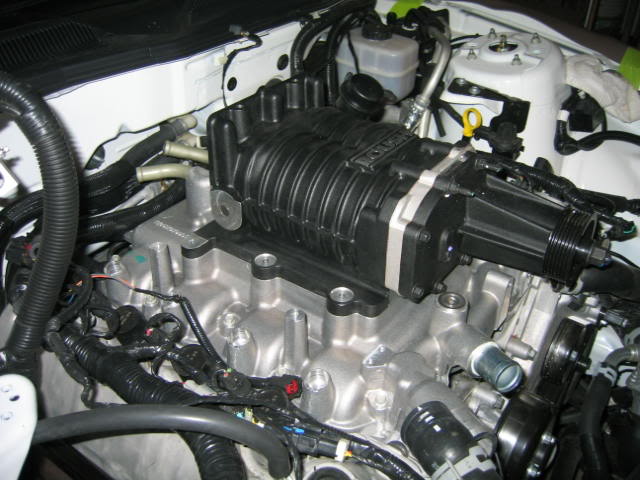
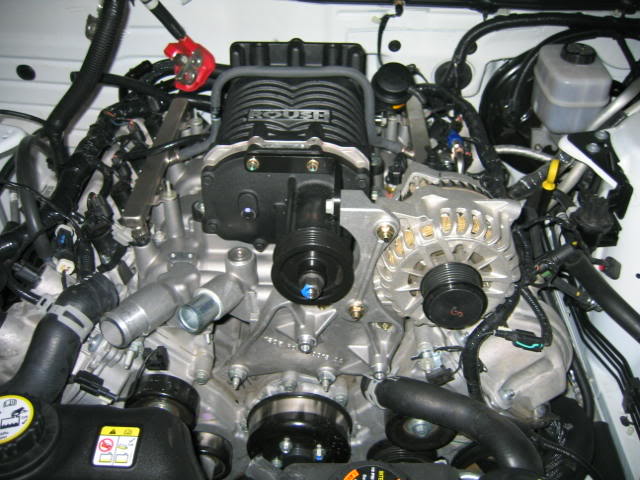
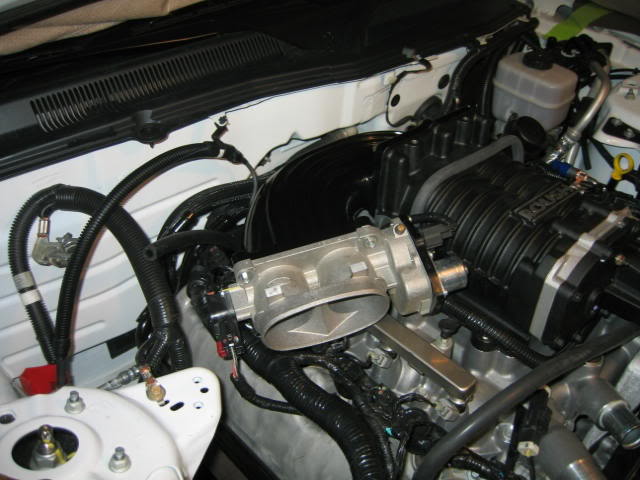
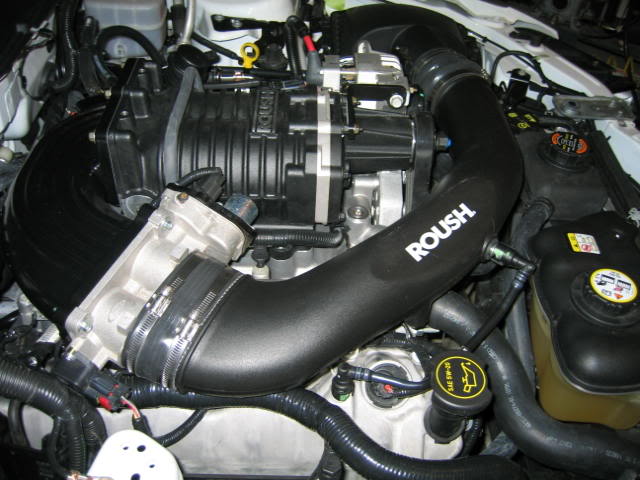
Then the s/c goes on!!!!! Now it is starting to look totally awsome now!!!!!!!
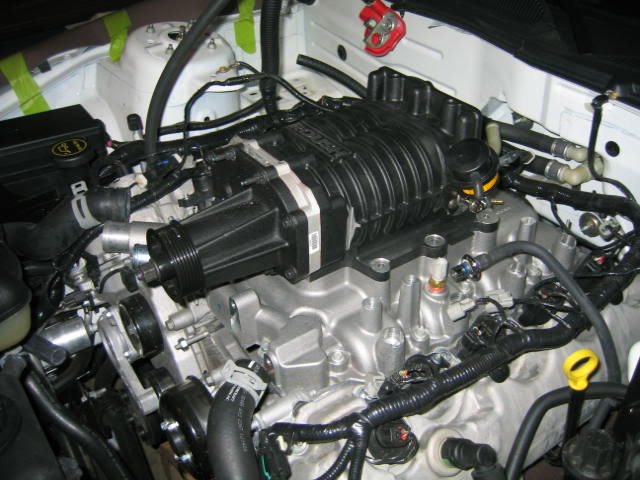

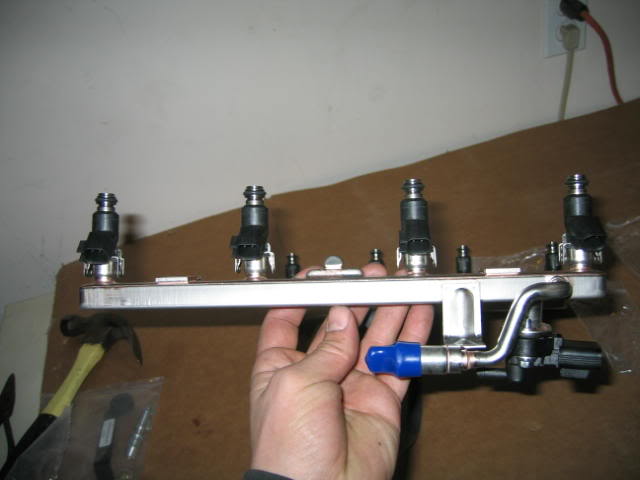
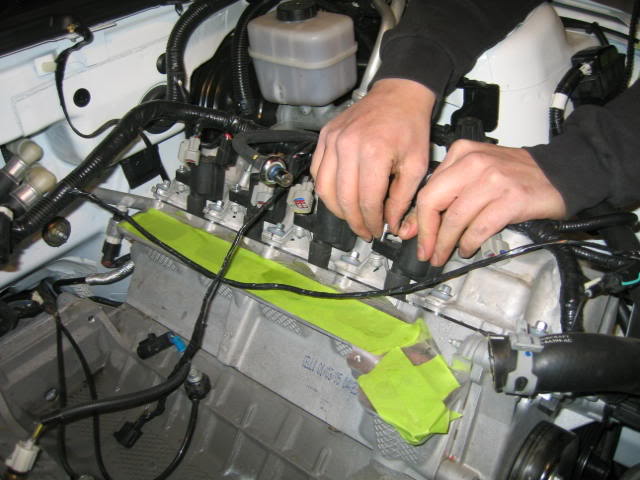
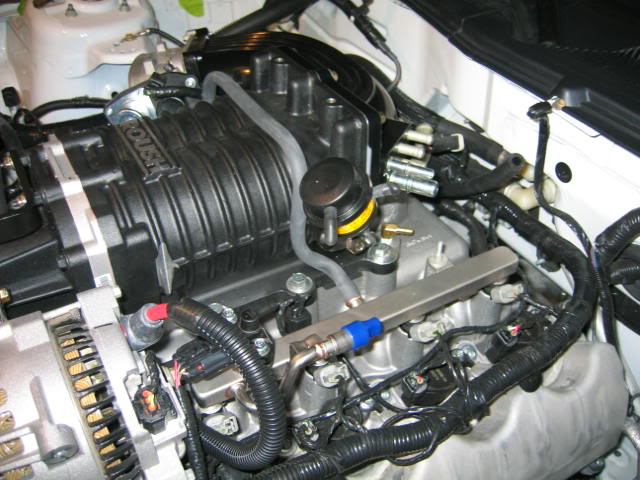
Then we installed the new fuel injectors and fuel rails. Notice how the crosover tube goes over the s/c
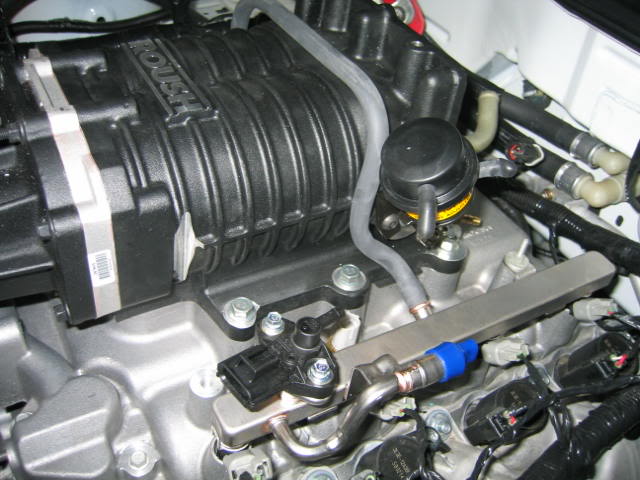
Then we installed the new fuel injectors and fuel rails. Notice how the crosover tube goes over the s/c
#19
12-31-2005, 11:55 PM
Join Date: Jun 2005
Location: Morinville alberta canada
Posts: 119
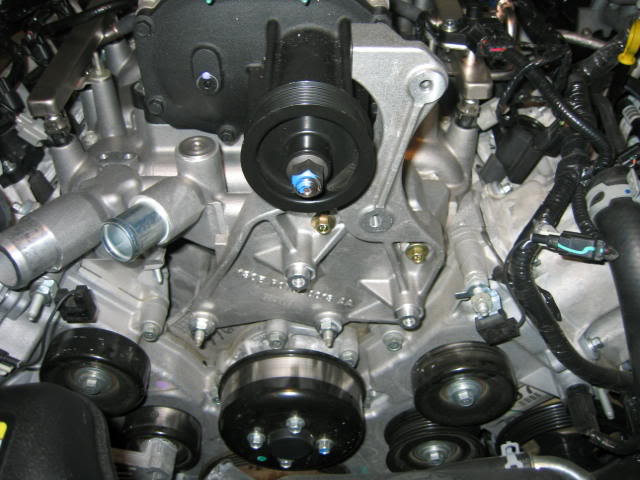
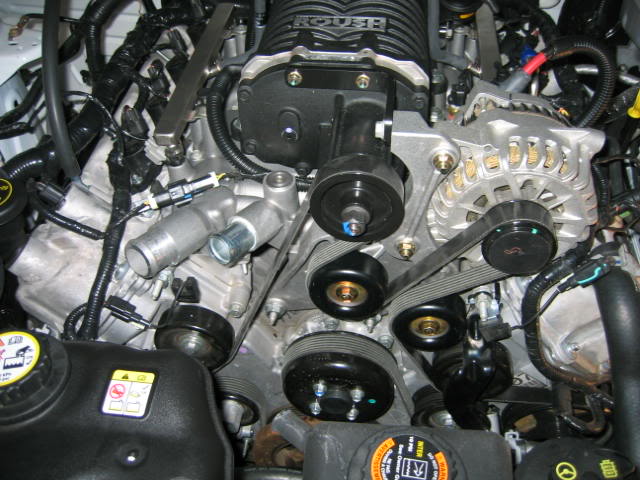
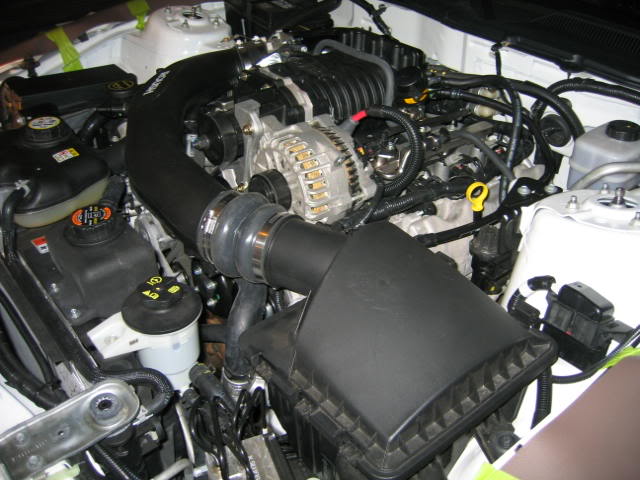
We now had to mount the new alternator bracket. It is of high quality aluminum and it mounted on the 2 studs from the old location. It Looked like a factory piece high quality when installed. .We the installed a couple of idler pulleys and installed the new belt. Just one belt drives everthing. Belt was alost as tall as me. Definetly the page that shows where the belt goes is a must keeper in car in case you ever have to replace or remove belt. Even with the instructions it was a maze lol.
#22
01-01-2006, 12:49 AM

Originally Posted by r3dn3ck
I'm so totally sporting wood right now... hahhah mooey bwaynoh. 
I'm gunna start using that....
By the way..that SC is crazy!!! love it man...gotta post vids

#24
01-01-2006, 06:55 PM
Join Date: Jun 2005
Location: Morinville alberta canada
Posts: 119
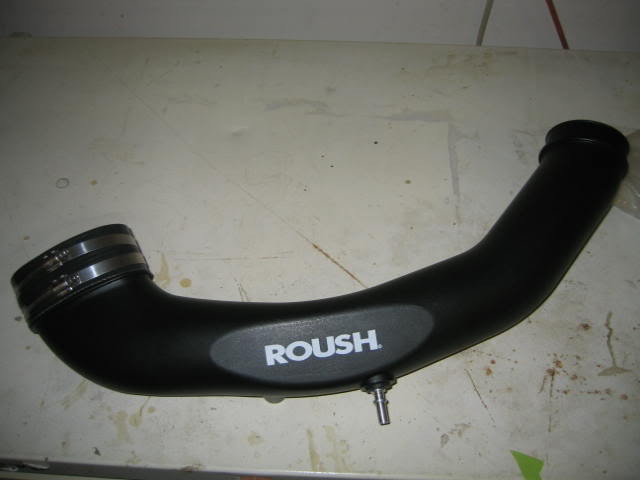
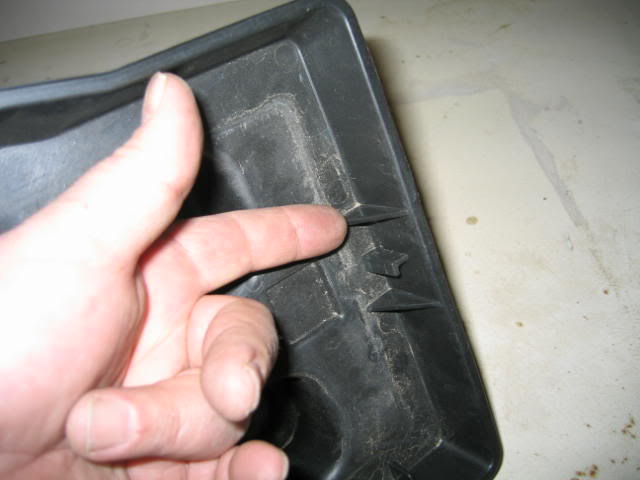
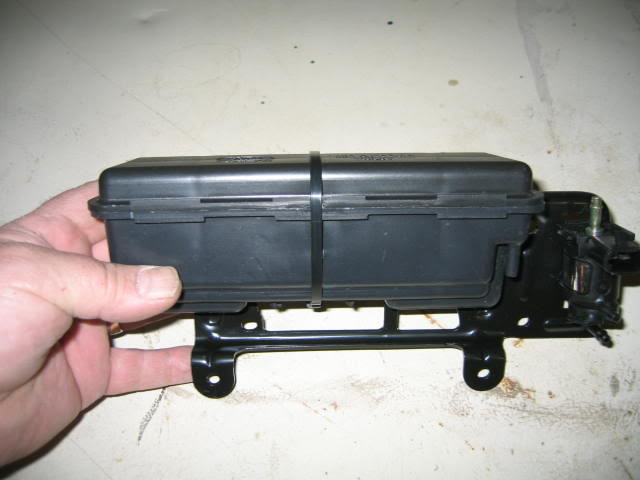
Well we worked on a few last dtails today. We finished installing the air induction sytem and the modifird airbox. The air iinduction is well secured with brackets to mainfold

#28
01-01-2006, 06:58 PM
Join Date: Jun 2005
Location: Morinville alberta canada
Posts: 119
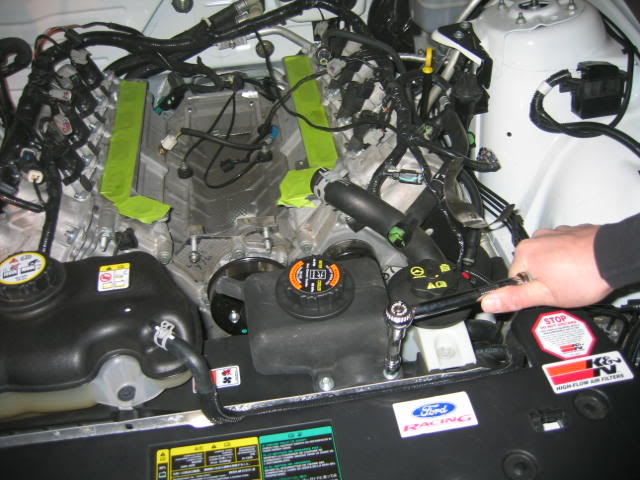
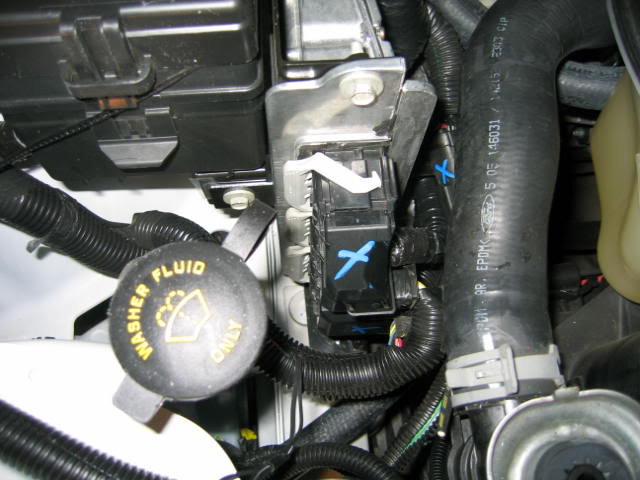
We then installed the CMVC replicatror box. This device replicate those valves in the old intake system you seen earlier on. Basically fooling the p pcm to think it is still there
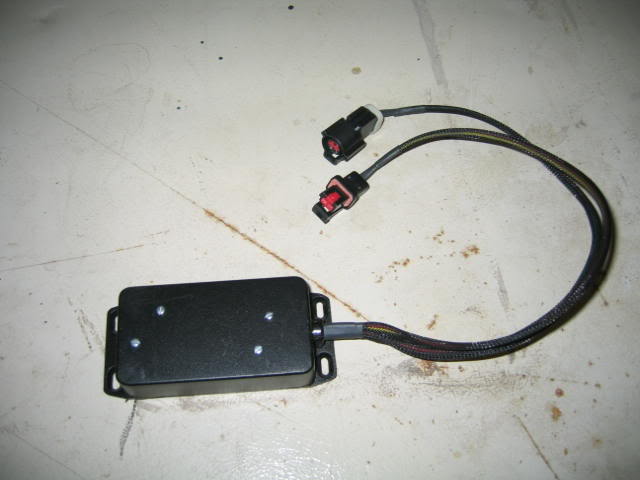
[IMG]http://i29.photobucket.com/albums/c259/toolttime/superchargerproject202.jp
g[/IMG]
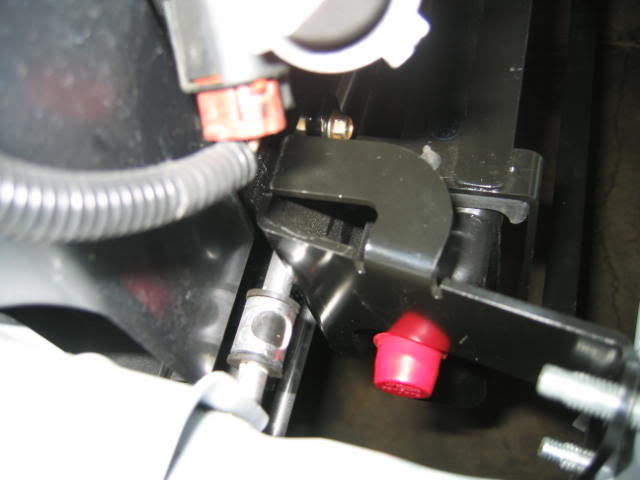
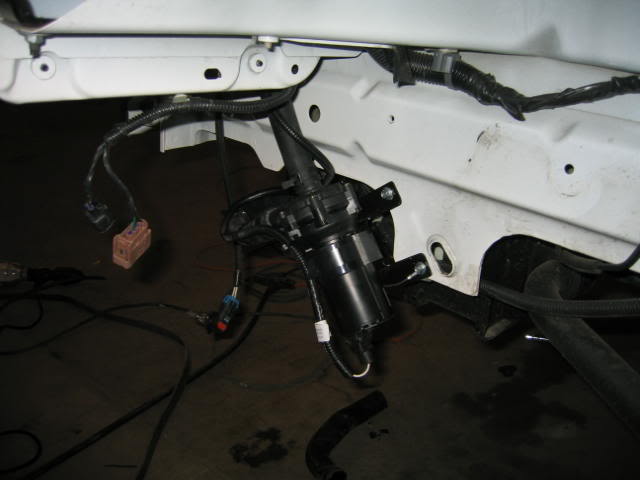
We then installed the electric pump that circulates the water for intercooler. t mountes in the wheel well on the frame inon drivers side.
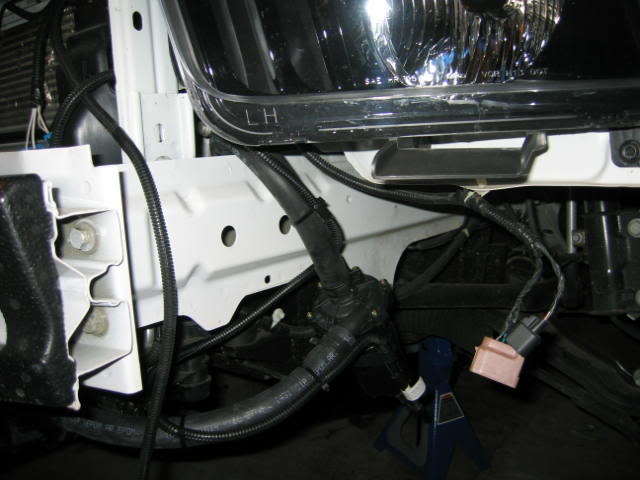
[IMG]http://i29.photobucket.com/albums/c259/toolttime/superchargerproject202.jp
g[/IMG]
We then installed the electric pump that circulates the water for intercooler. t mountes in the wheel well on the frame inon drivers side.