95 Heater Core Replacement "How To"
#1
 12-05-2007, 05:17 PM


Since i could not find a how to on replacing the heater core on an SN95 i decided to make my own "How To".
First i stopped by an Auto shop and had the A/C drained. I know the owner and this cost me $0.

First i stopped by an Auto shop and had the A/C drained. I know the owner and this cost me $0.
#2
12-05-2007, 05:18 PM
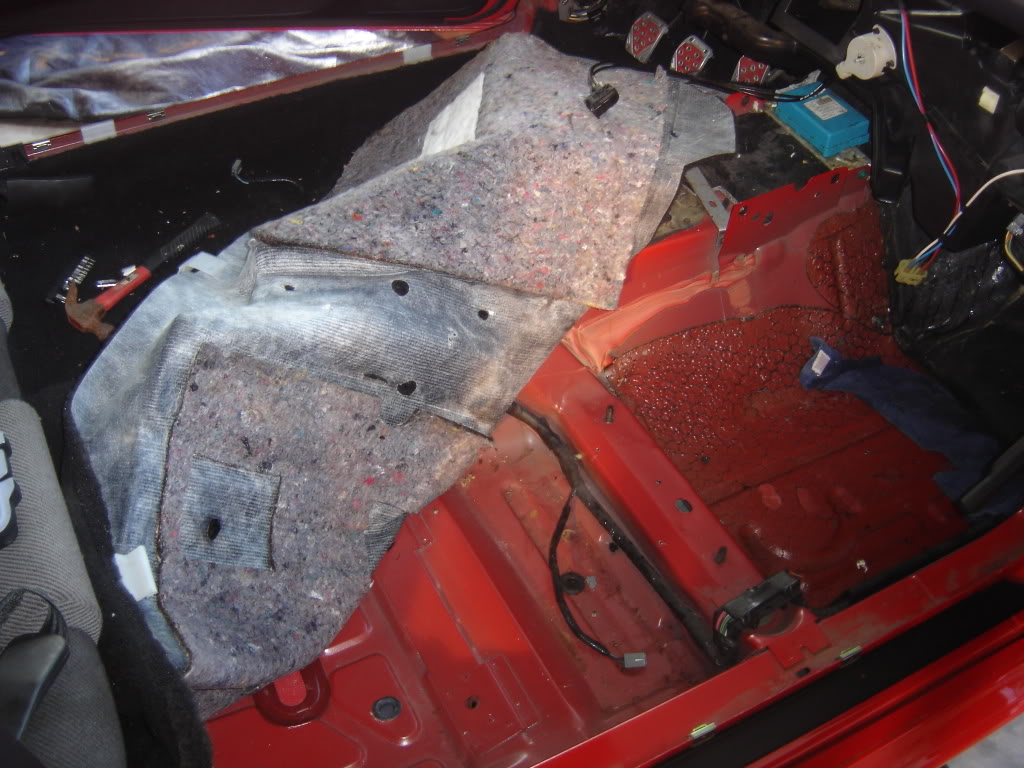
Next i removed both of the front seats so i can easily remove the dash. On my 95 it was 4-15mm bolts each seat. Also had to disconnect the power cord from each seat.
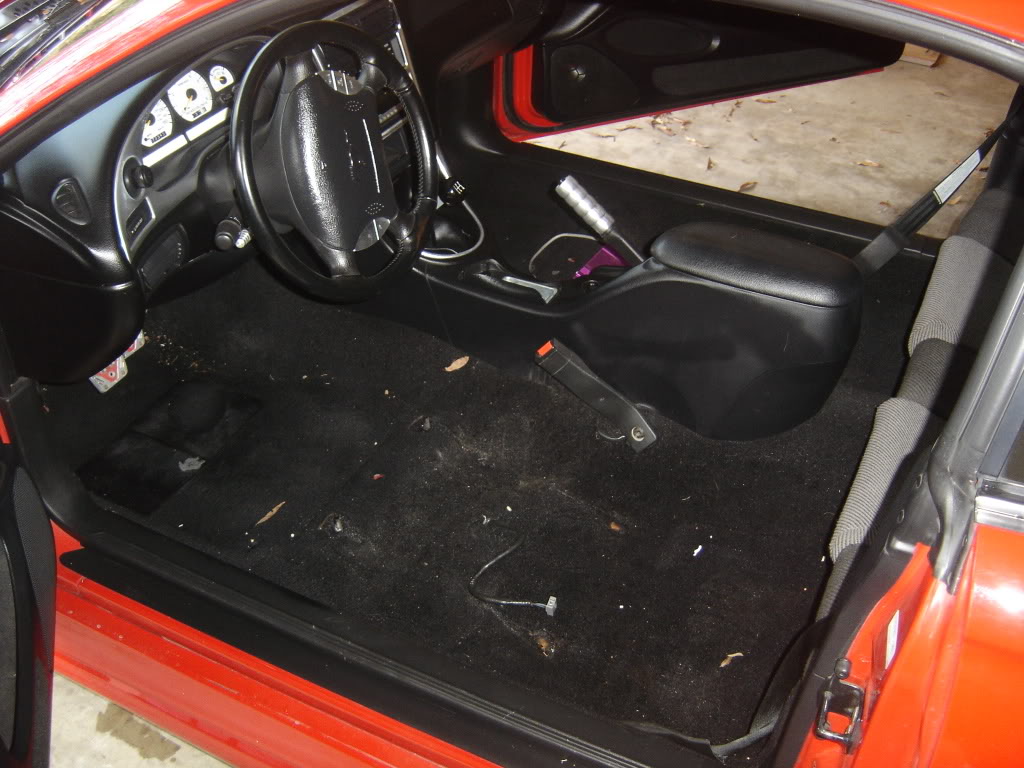
30 min of work so far. I found $0.60 under the seats. Before i put the seats back in i will do a complete cleaning of the carpet and interior.
30 min of work so far. I found $0.60 under the seats.
Before i put the seats back in i will do a complete cleaning of the carpet and interior.
#3
12-05-2007, 05:18 PM
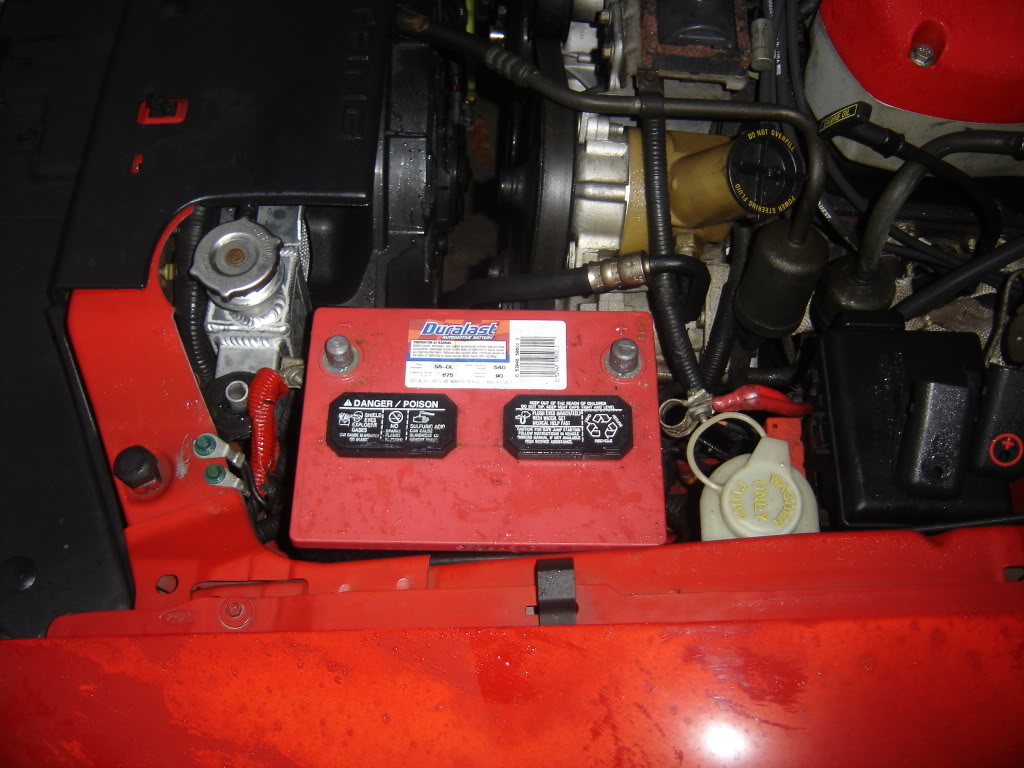
Next thing i did was disconnect the battery.
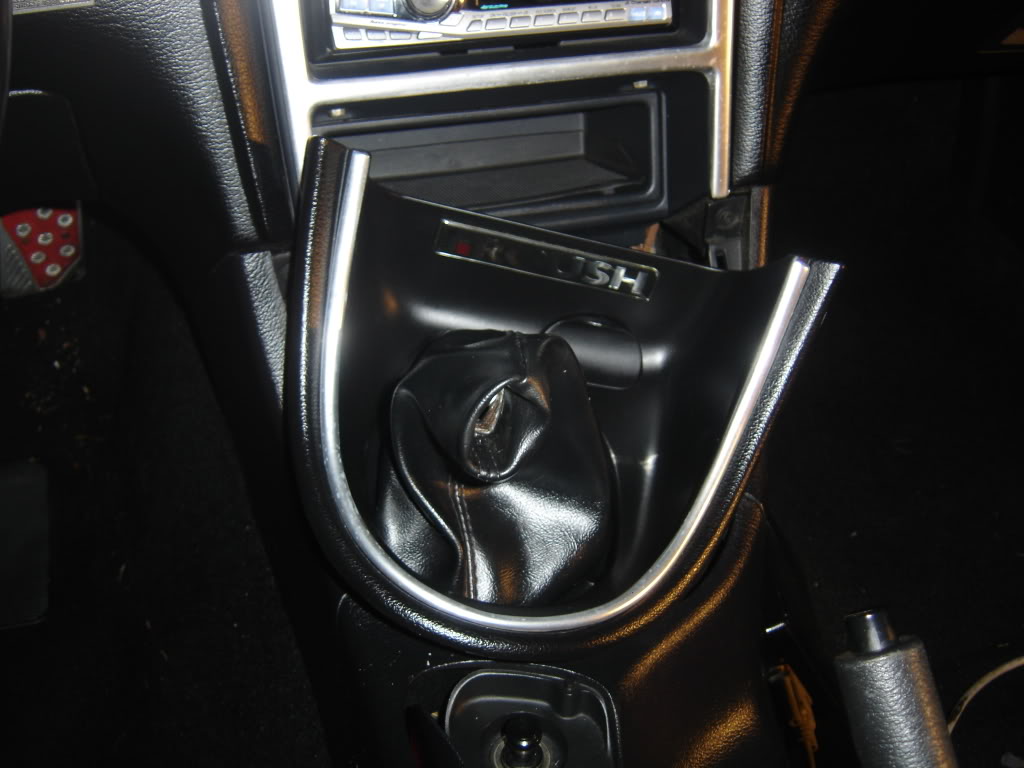
Removed the boot around the shifter. This just pulls out. Remember to disconnet the accessory plug and remove shift ****.

Maybe 5 mins for these steps.
Removed the boot around the shifter. This just pulls out. Remember to disconnet the accessory plug and remove shift ****.
Maybe 5 mins for these steps.
#4
12-05-2007, 05:19 PM
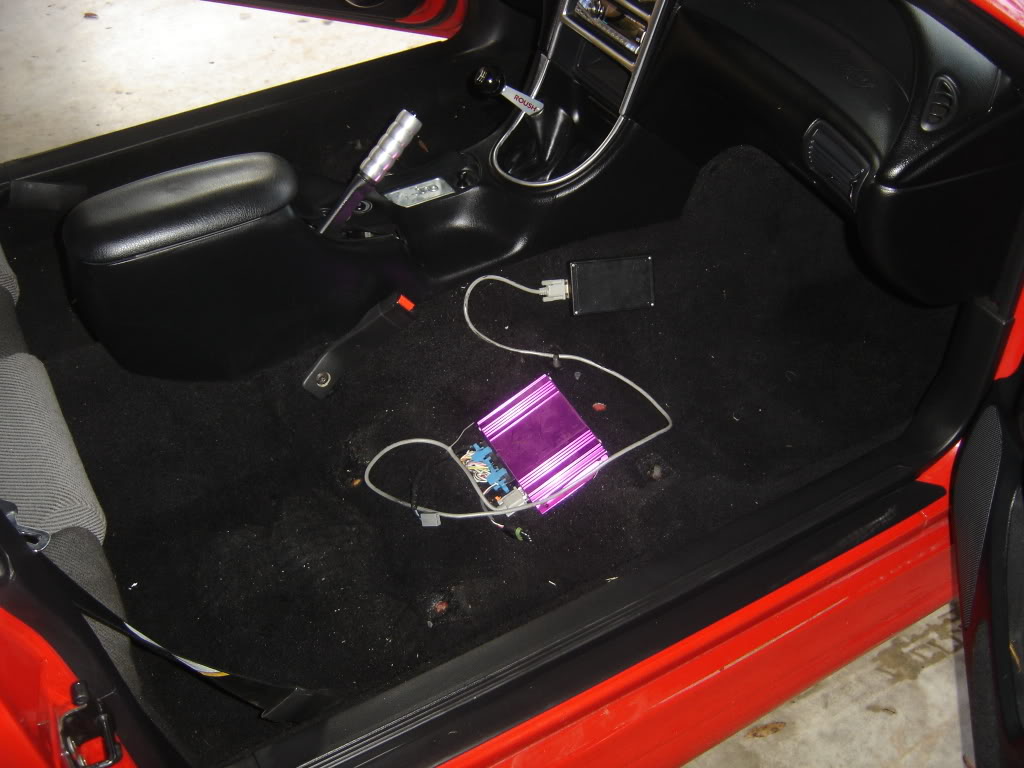
Open center console and remove the 2 rubber stops. Unscrew the 2 screws and remove the inside section.
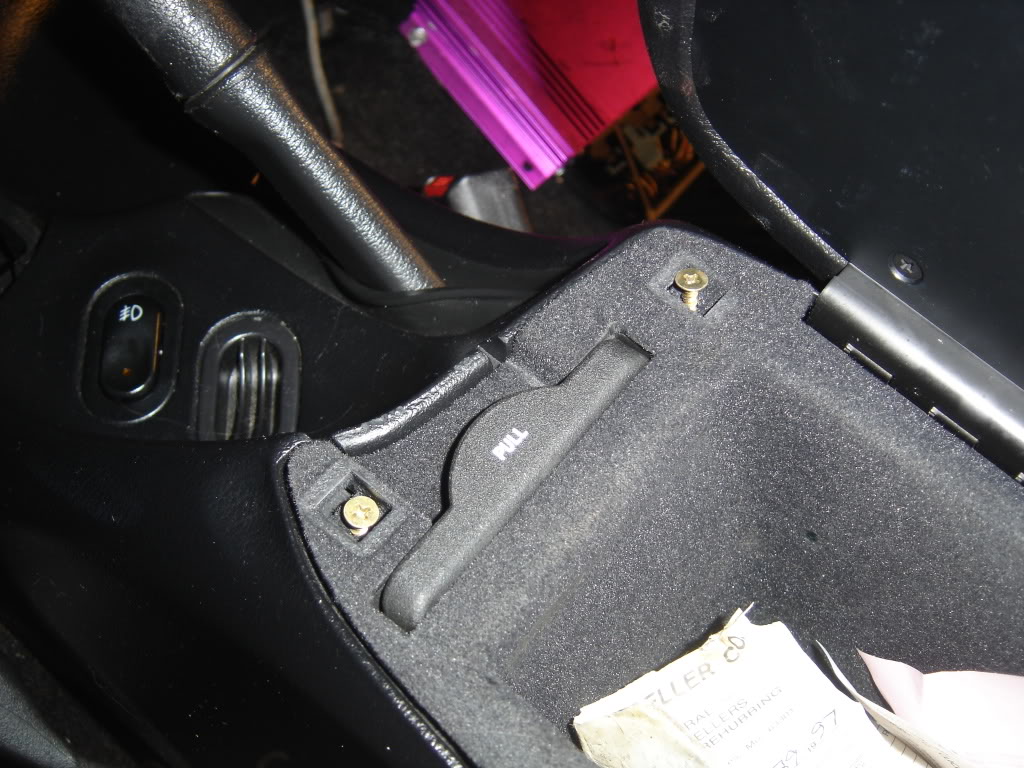
Remove the center console by removing 4 - 7mm bolts and disconnecting the plugs. 2 are in the center console and 2 are up where the shifter is. You will have to disconnect the electrical plug and the accessory plug.
Here is it removed
Found $0.98 under the middle console along with a lot of trash. I am glad i am doing this just to get it clean. Maybe 25 mins of work.
#5
12-05-2007, 05:19 PM
Little more progess today...
Removed the radio...
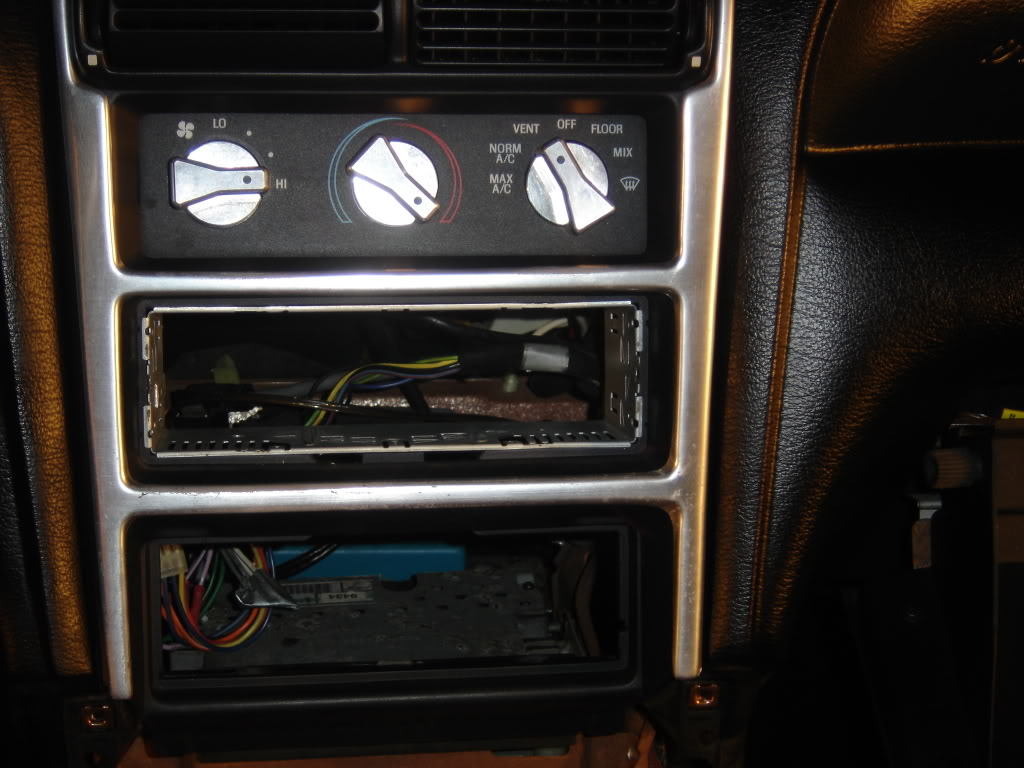
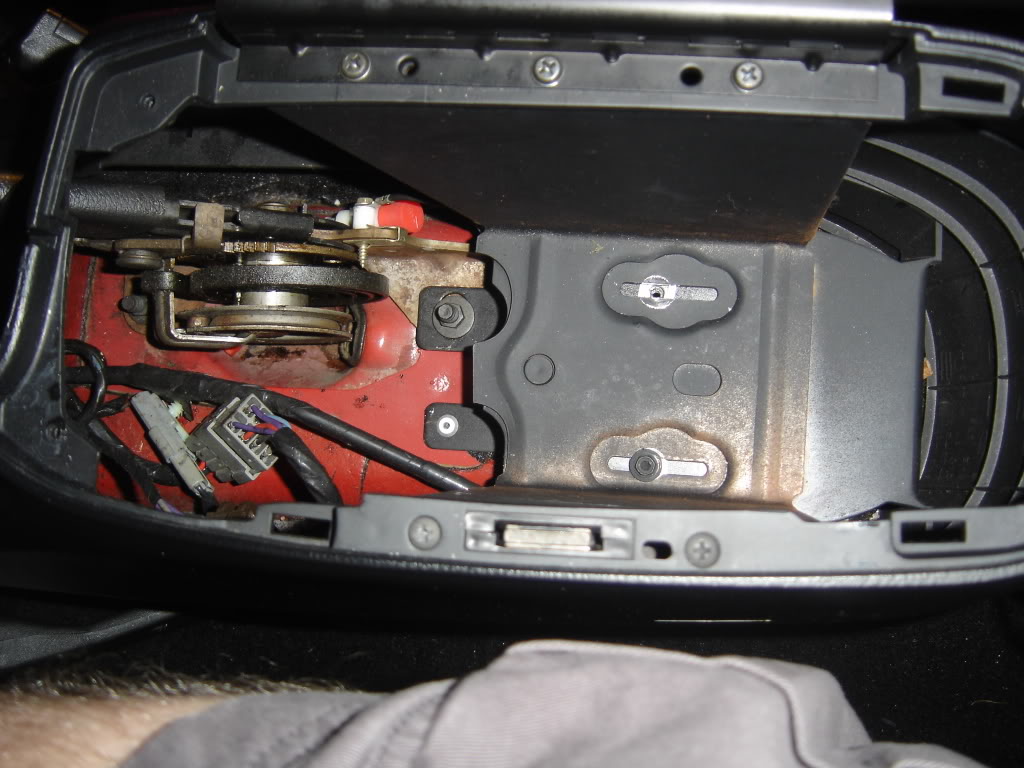
To remove the bezel around the radio you must take out this 7mm bolt.
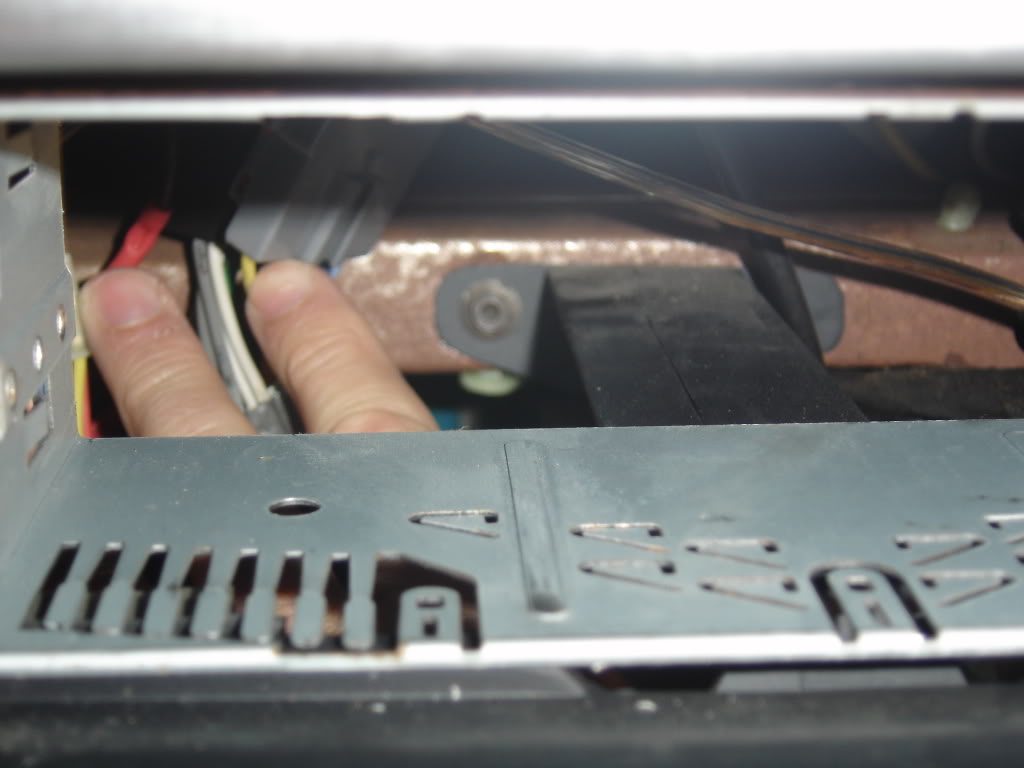
Then it just pops out...
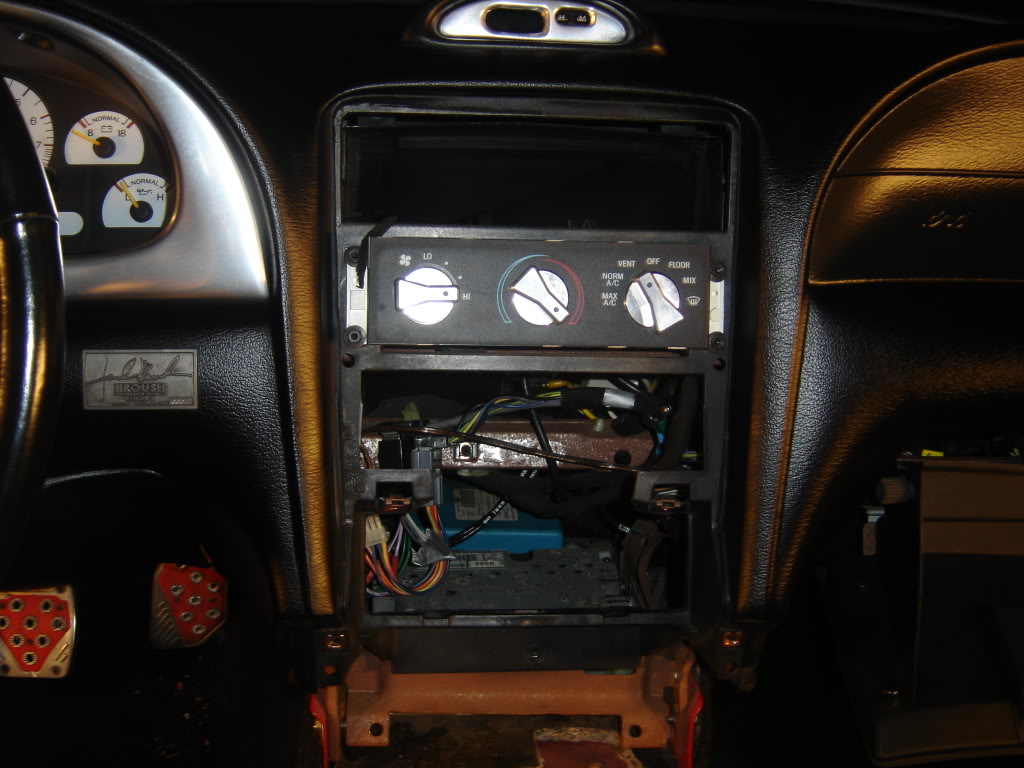
This took me about 30 min because i did not know how to remove the radio. But now that i know how it comes out it would have taken me 10 mins.
Removed the radio...
To remove the bezel around the radio you must take out this 7mm bolt.
Then it just pops out...
This took me about 30 min because i did not know how to remove the radio. But now that i know how it comes out it would have taken me 10 mins.
#7
12-05-2007, 05:20 PM
Next i moved on to the drivers side...
Remove 2 - 8mm bolts. Then the plastic piece pops off.
Then removed the metal plate. It has 2 - 8mm bolts.
Remove 2 - 8mm bolts. Then the plastic piece pops off.
Then removed the metal plate. It has 2 - 8mm bolts.
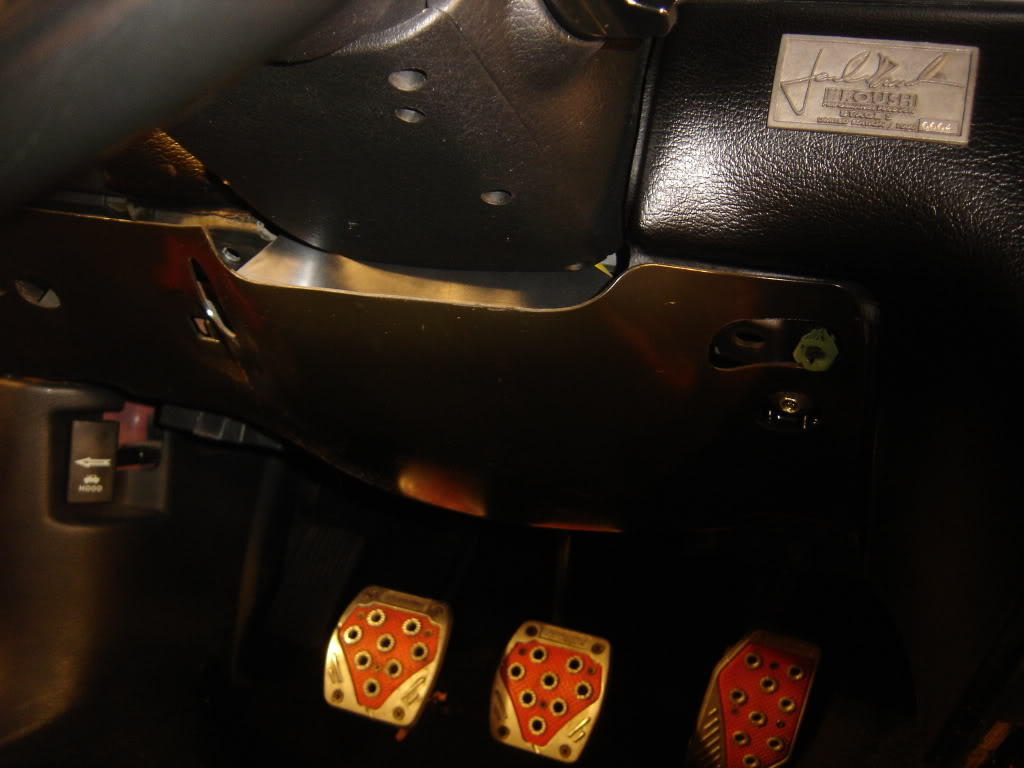
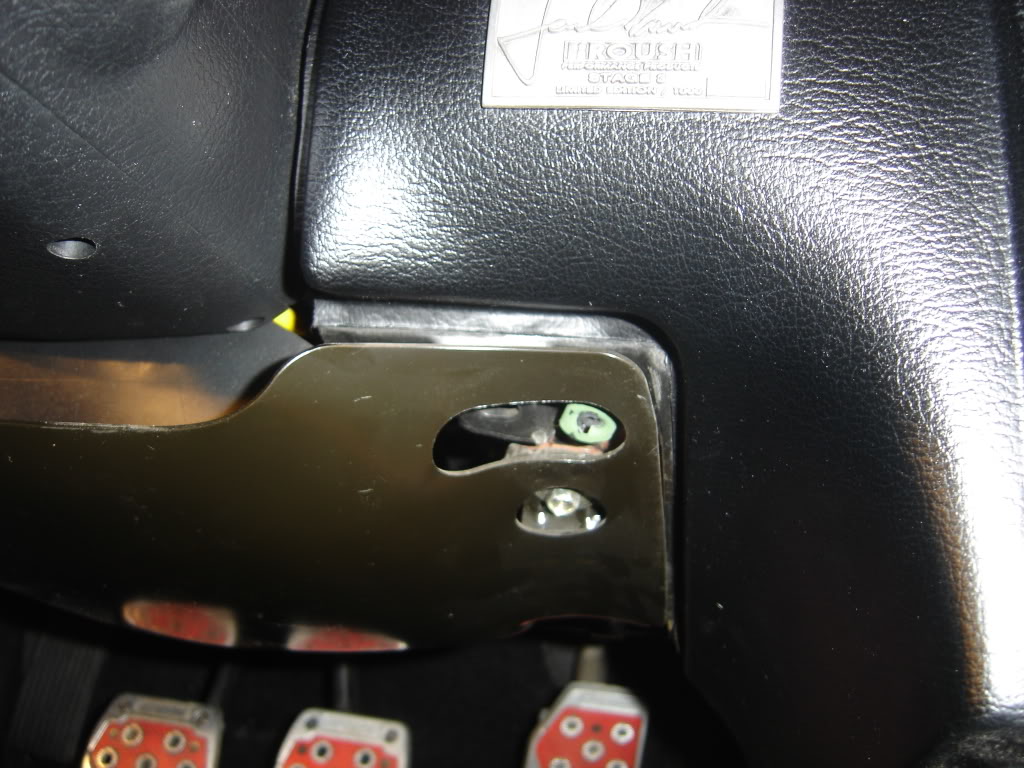
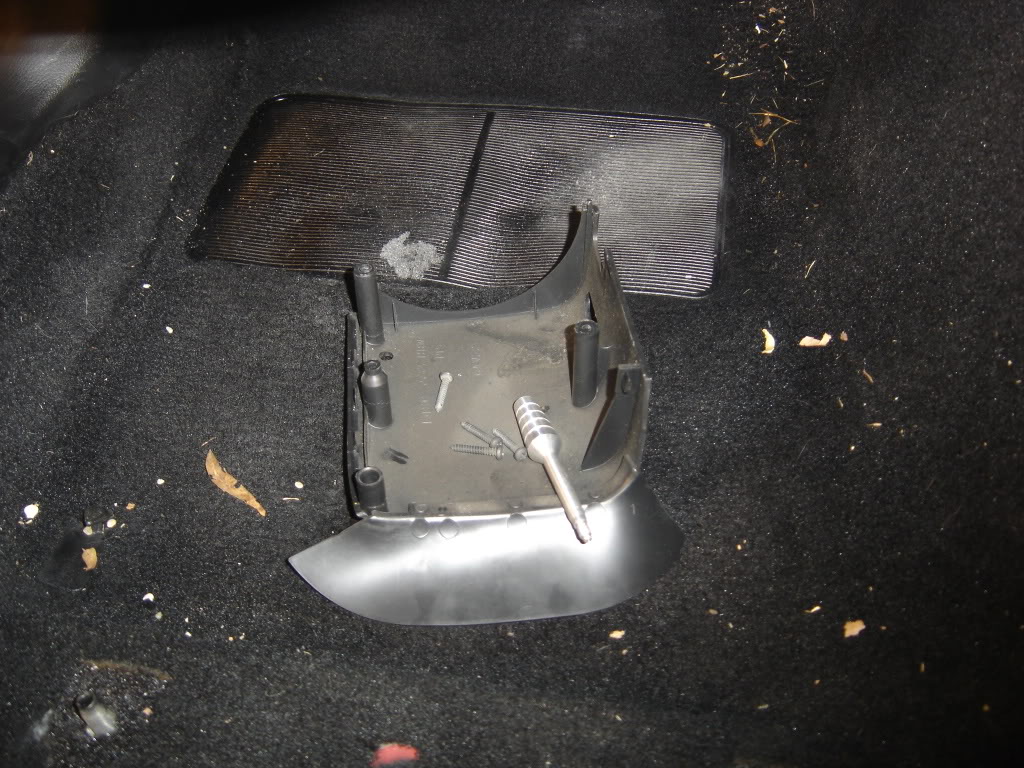
#9
12-05-2007, 05:22 PM
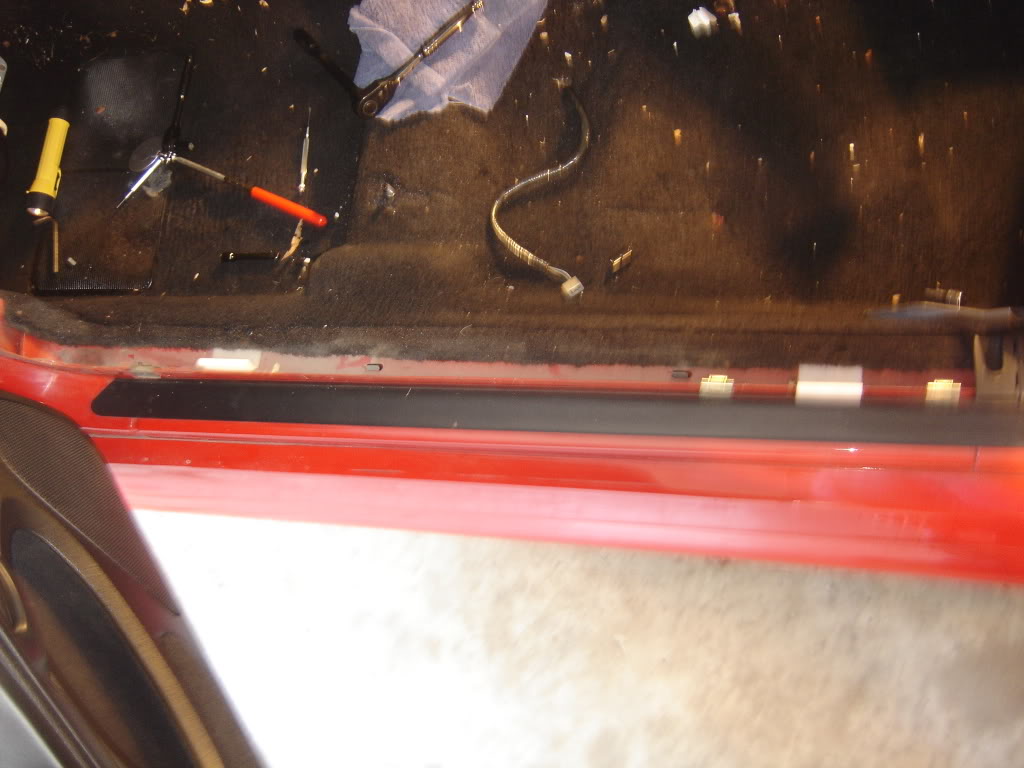
I popped off the door sill molding.
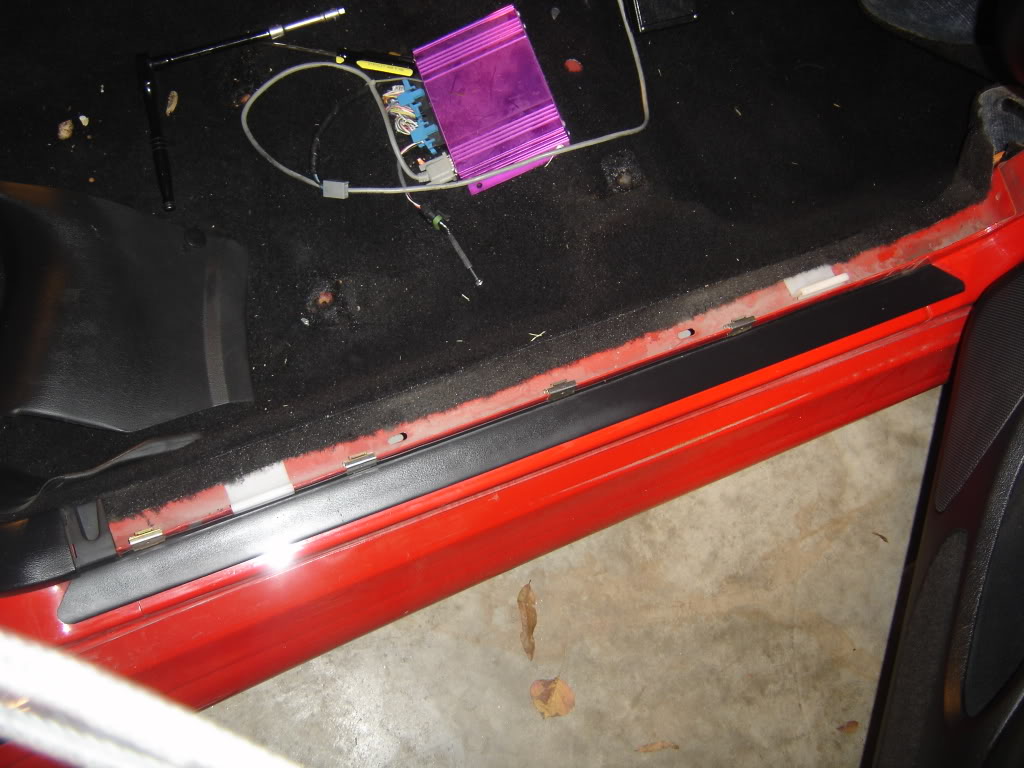
Also the kick panel molding...
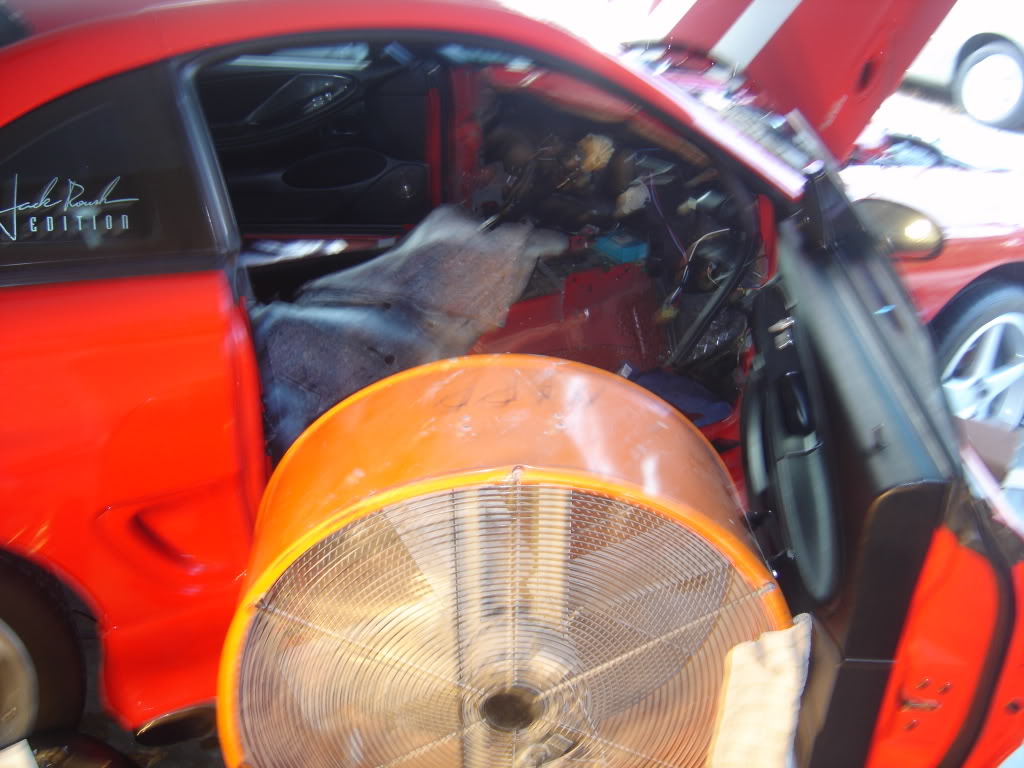
And pulled back the carpet to see the damage. There is a push pin holding the carpet to the ceter console. Carpet was still real wet. I put a fan in there to try and dry some of that up.
Also the kick panel molding...
And pulled back the carpet to see the damage. There is a push pin holding the carpet to the ceter console. Carpet was still real wet. I put a fan in there to try and dry some of that up.
#10
12-05-2007, 05:22 PM
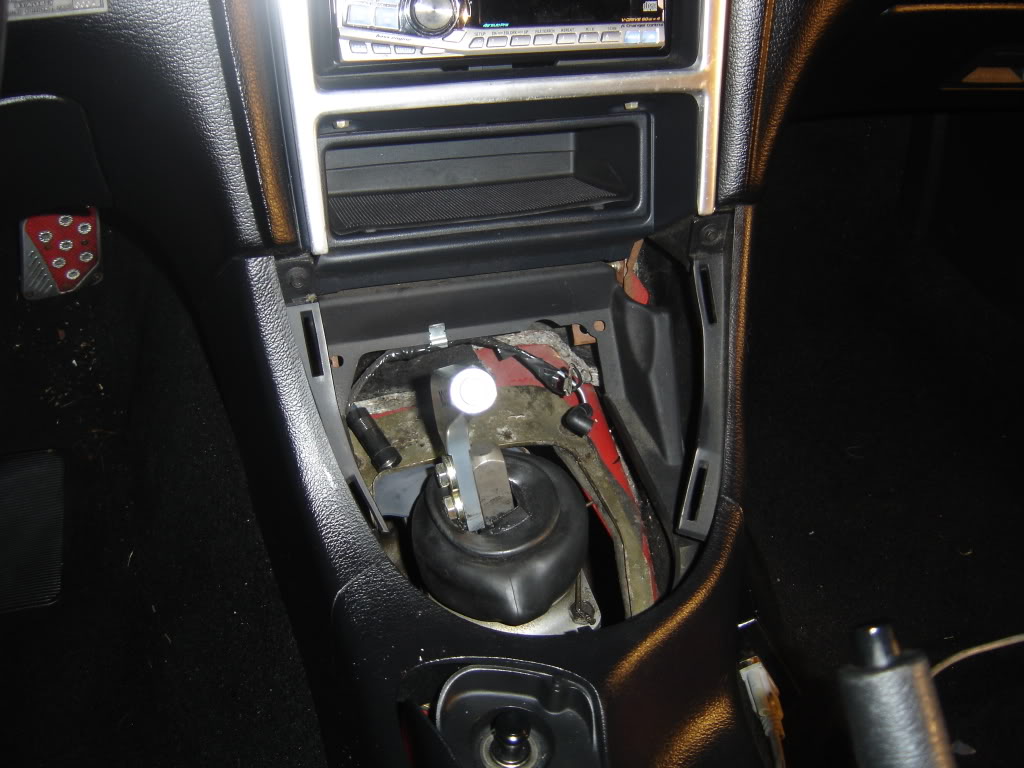
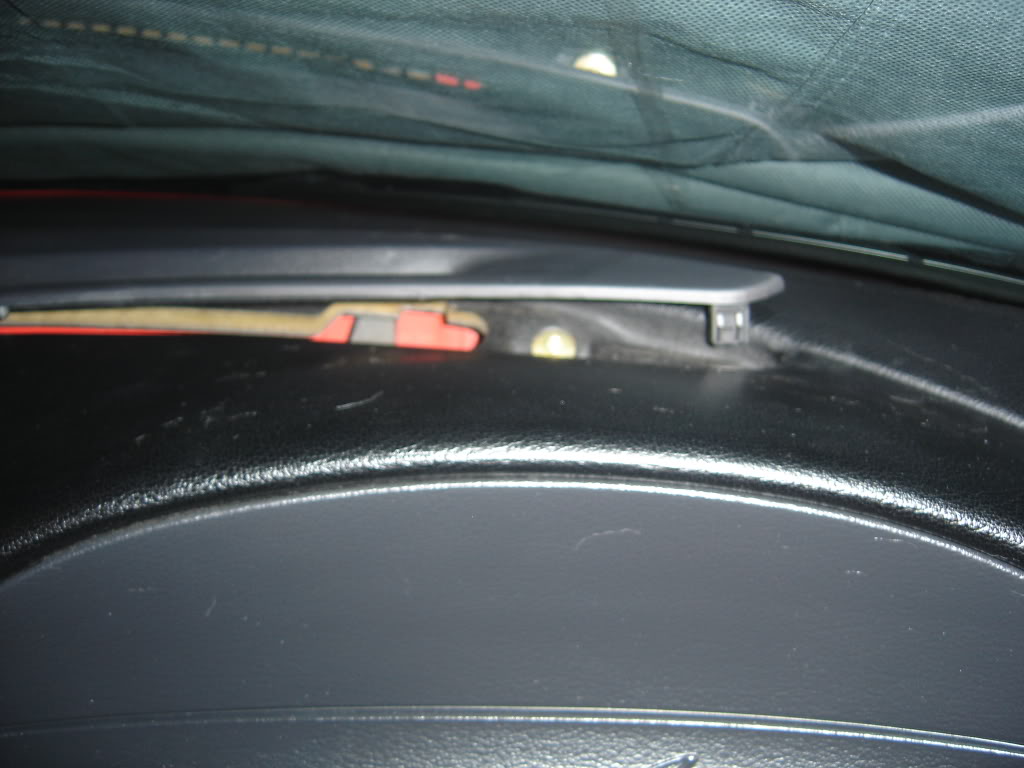
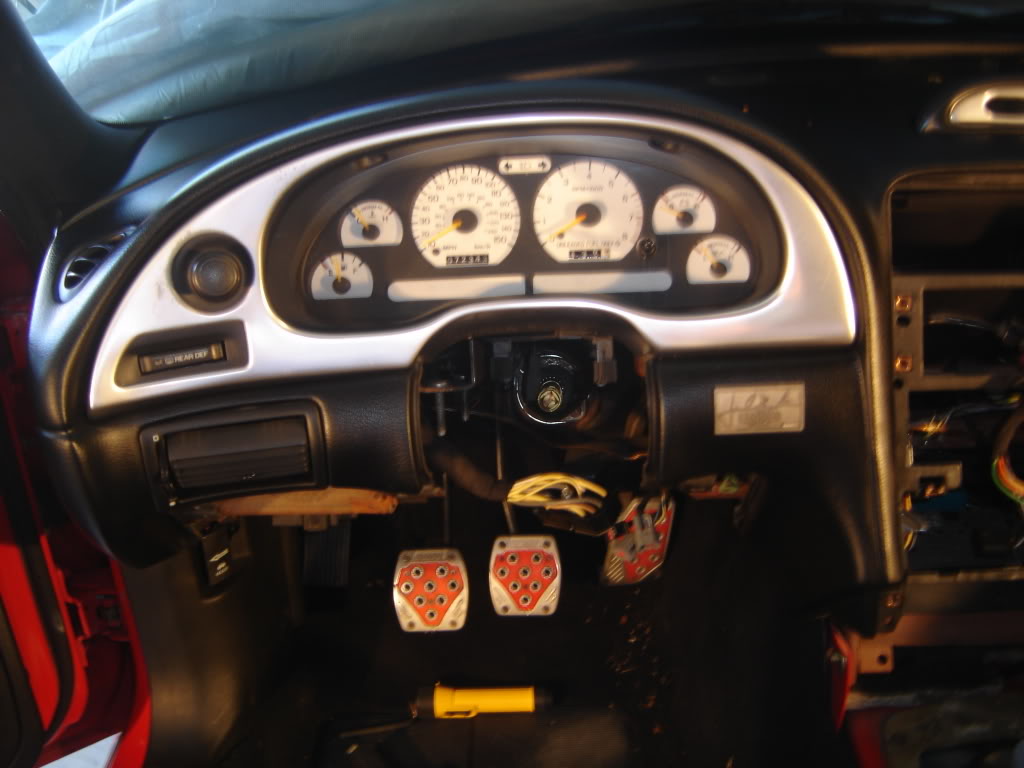
So i began to take the steering column out. I heard you can leave it in but it makes the dash even more akward when taking it out. So i removed the plastic around the ignition.
#11
12-05-2007, 05:23 PM
Locked the steering wheel in place and disconnected it from the steering shaft.
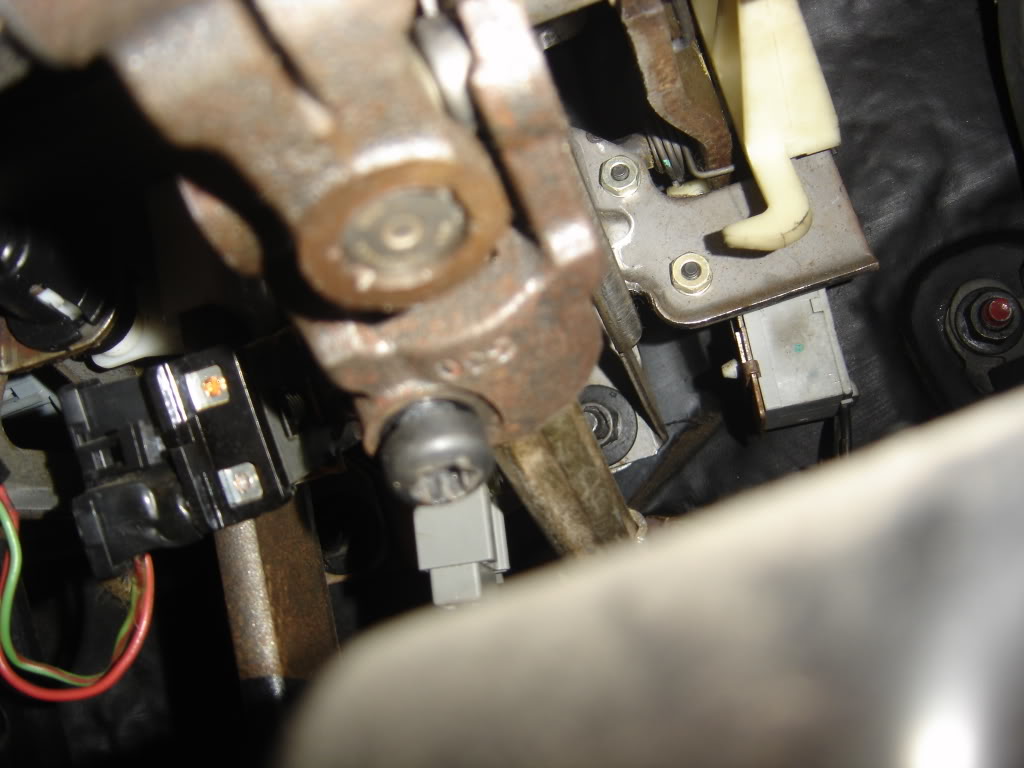
Remove metal brace under column. 2 - 7mm bolts
Then disconnected all plugs associated with the steering column. then removed the four 13mm nuts holding the column in place.

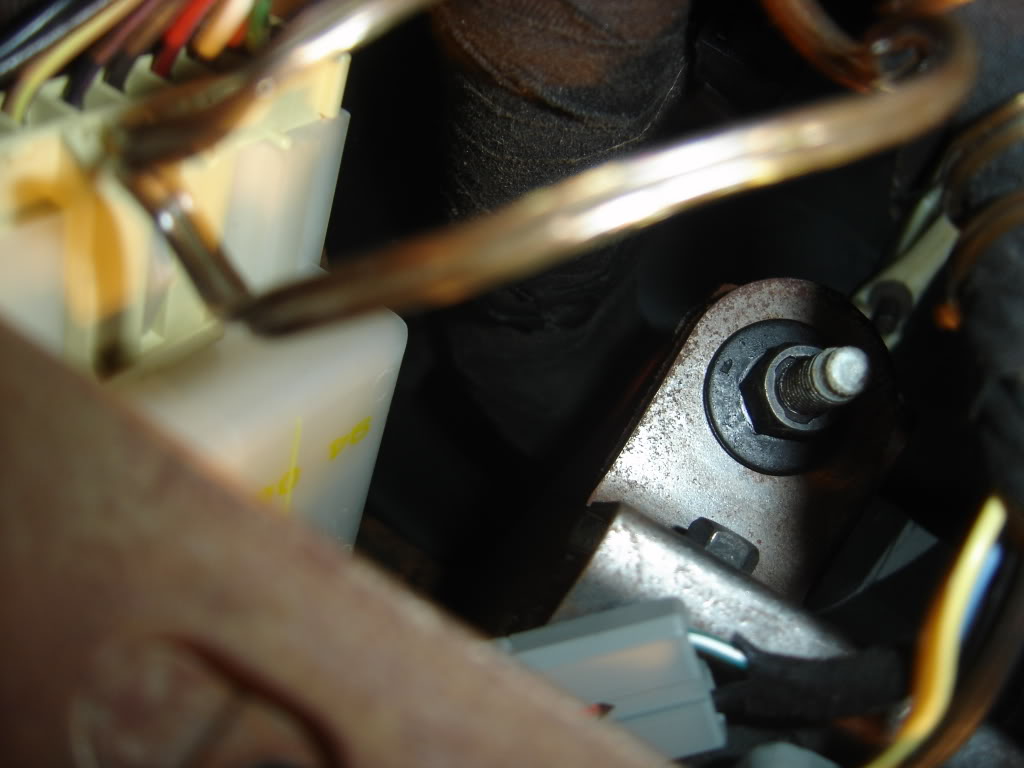
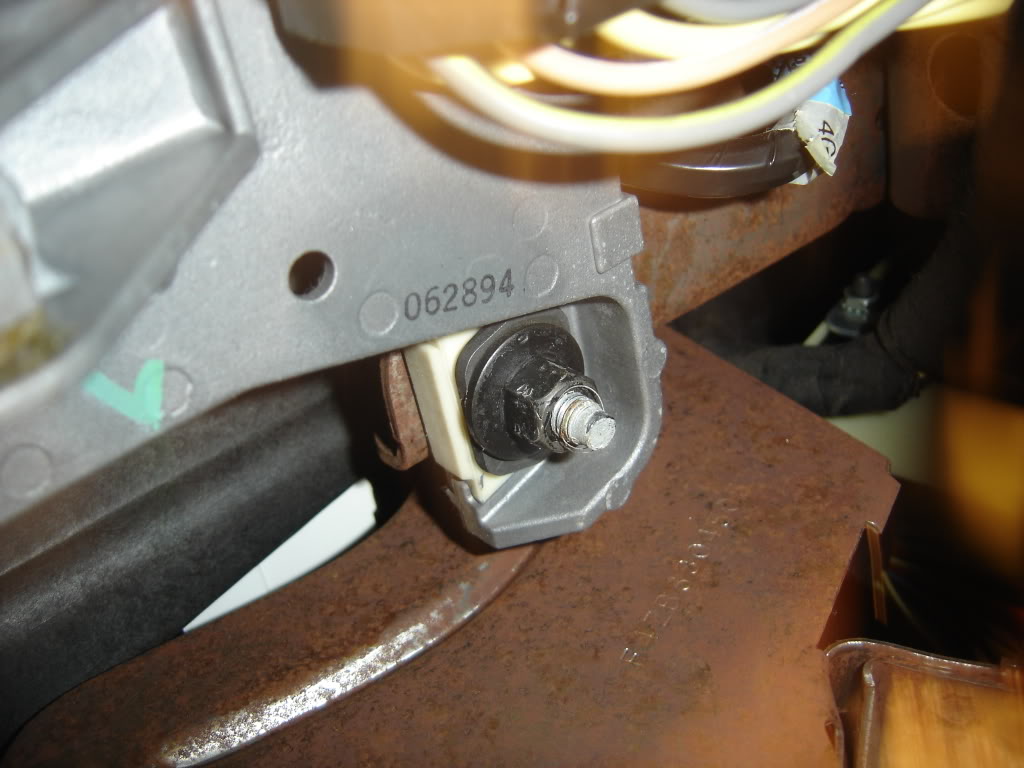
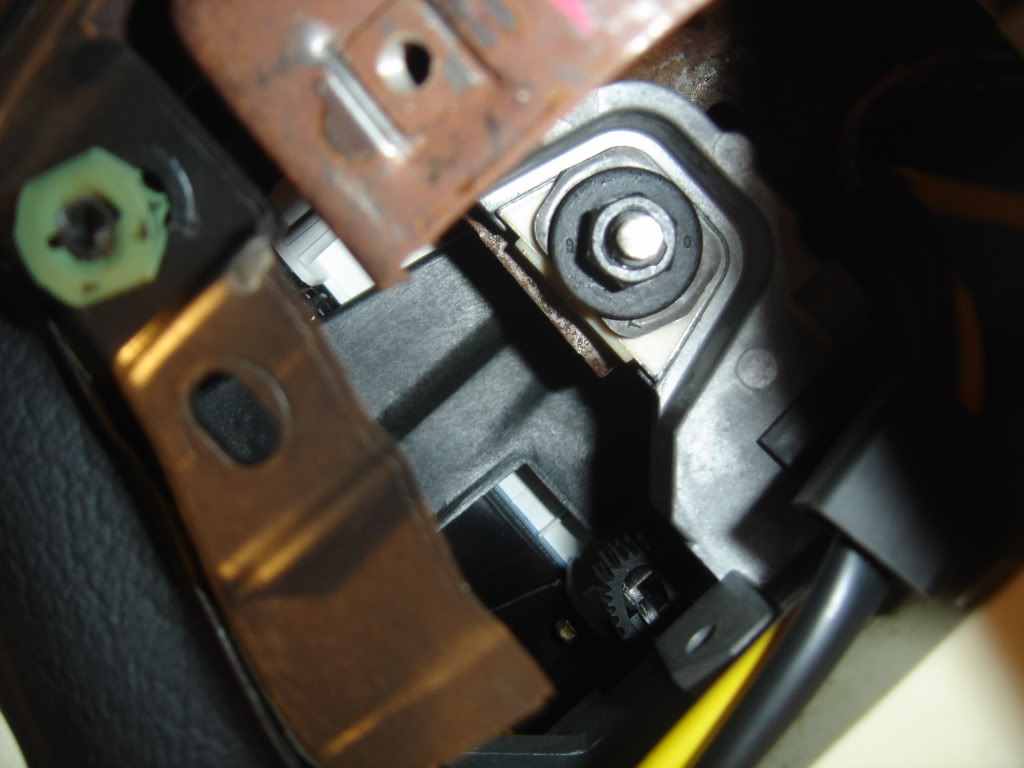
Remove metal brace under column. 2 - 7mm bolts
Then disconnected all plugs associated with the steering column. then removed the four 13mm nuts holding the column in place.
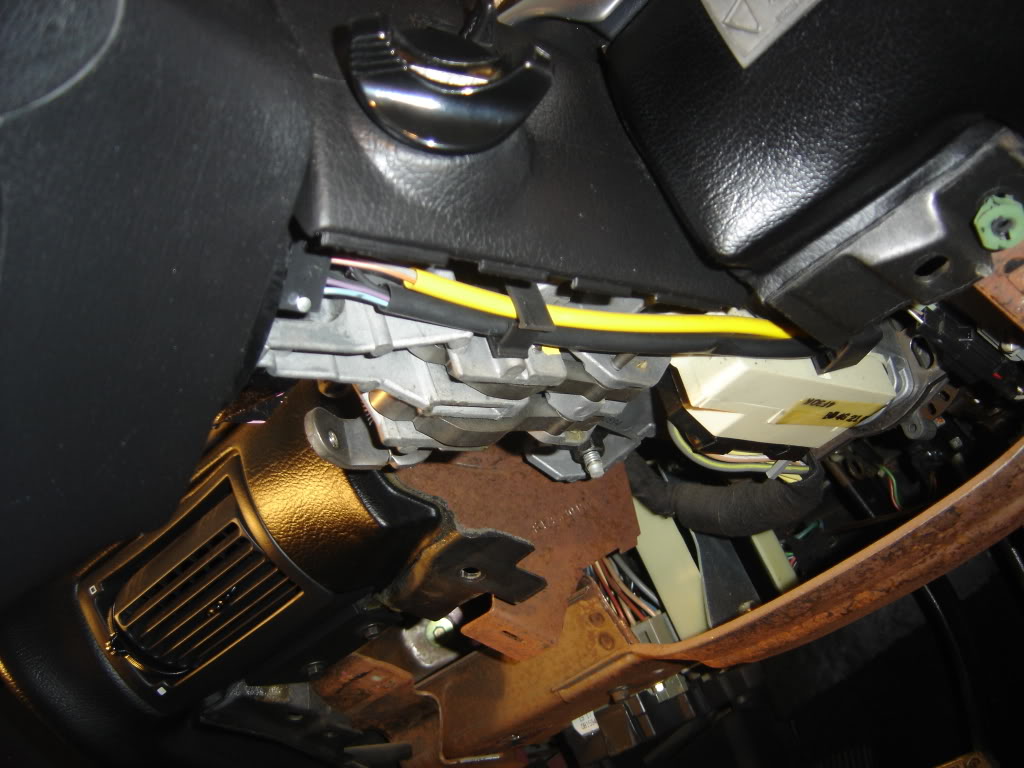
#12
12-05-2007, 05:24 PM
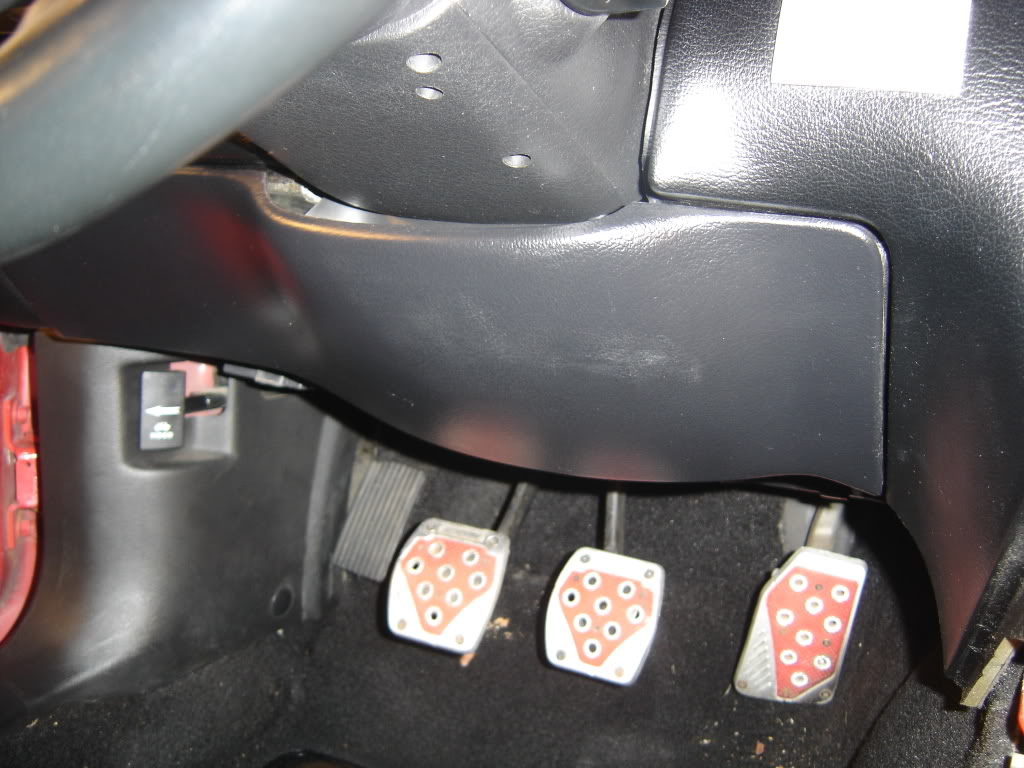
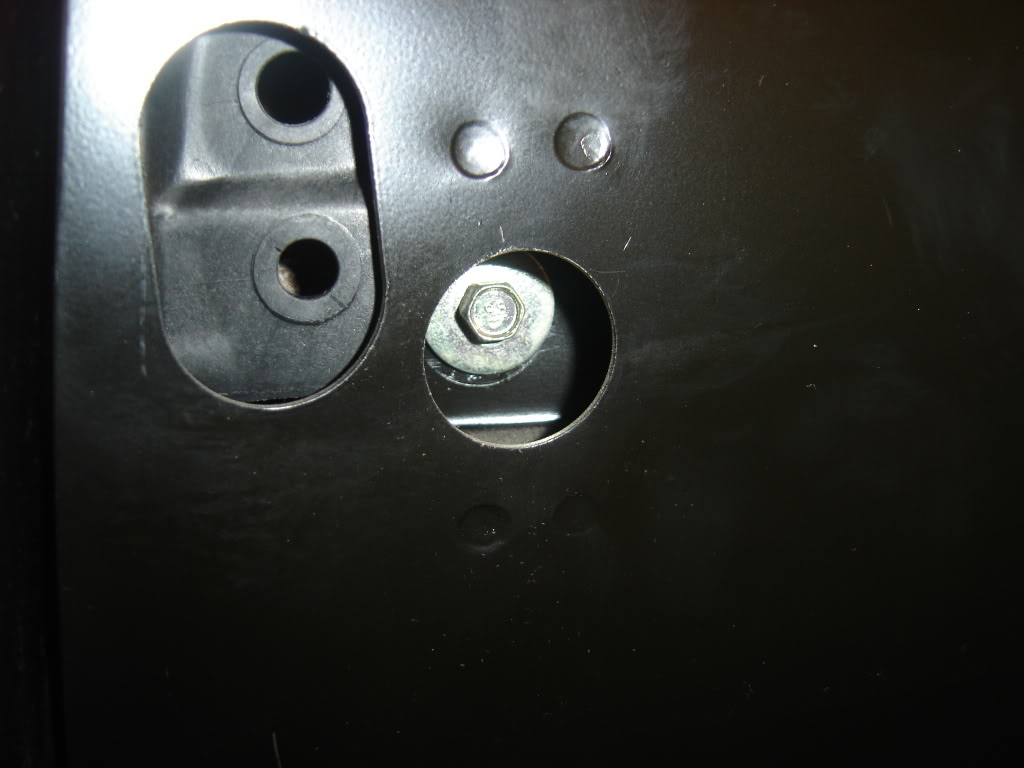
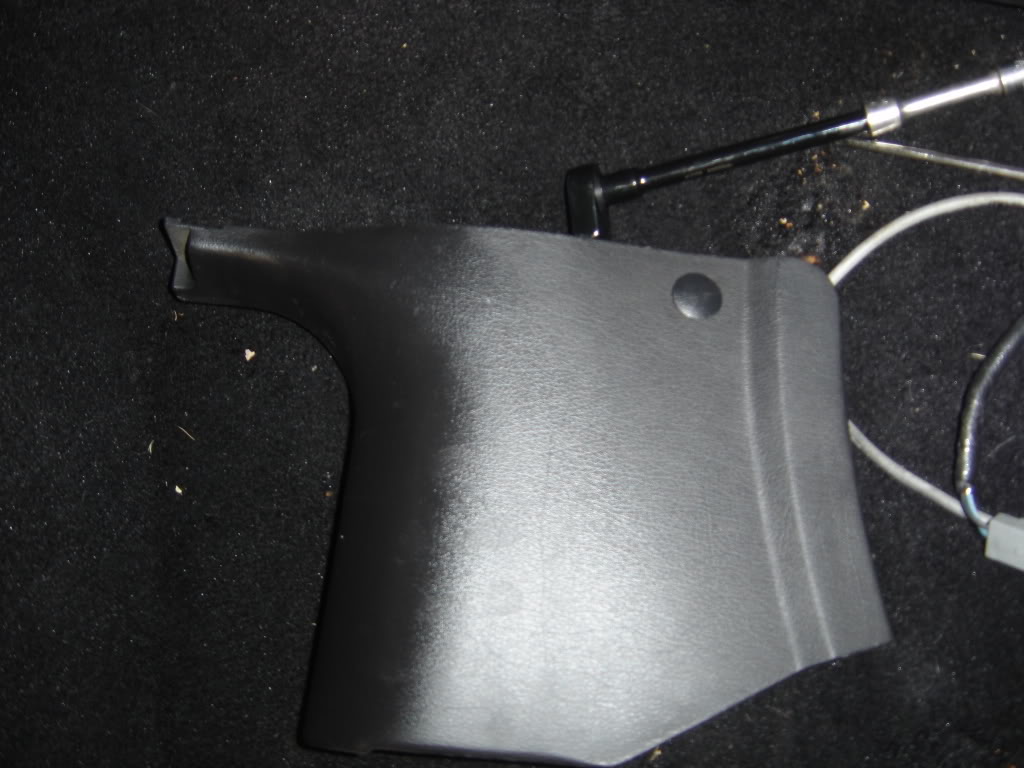
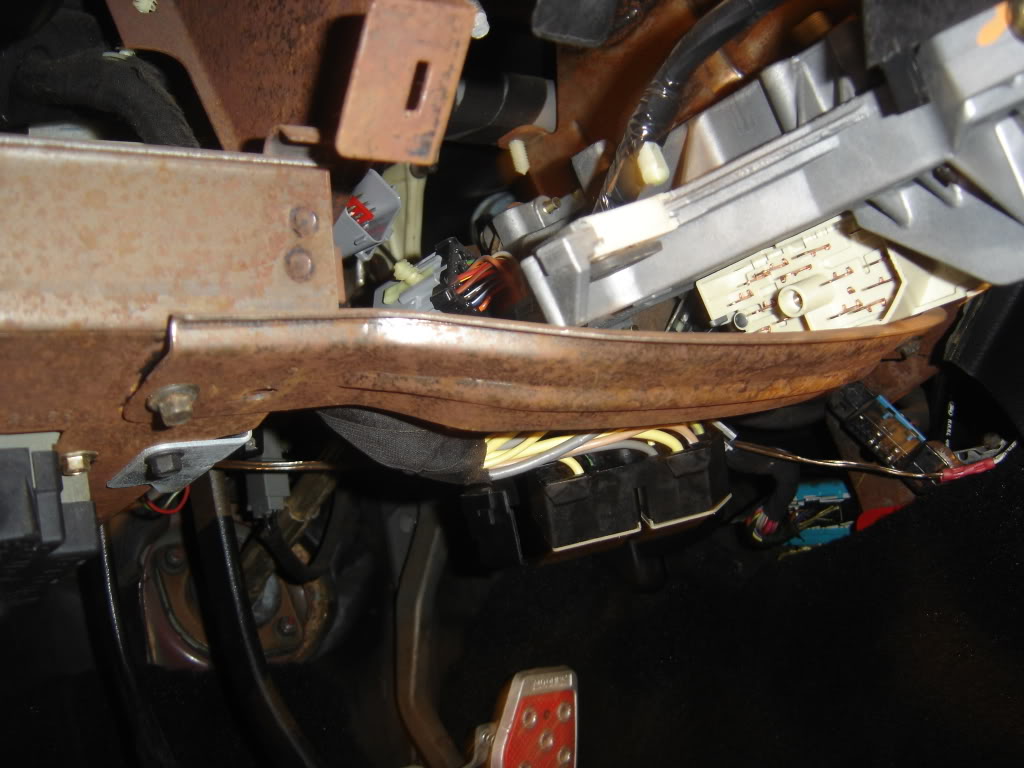
Removed the door sill molding and kick panel
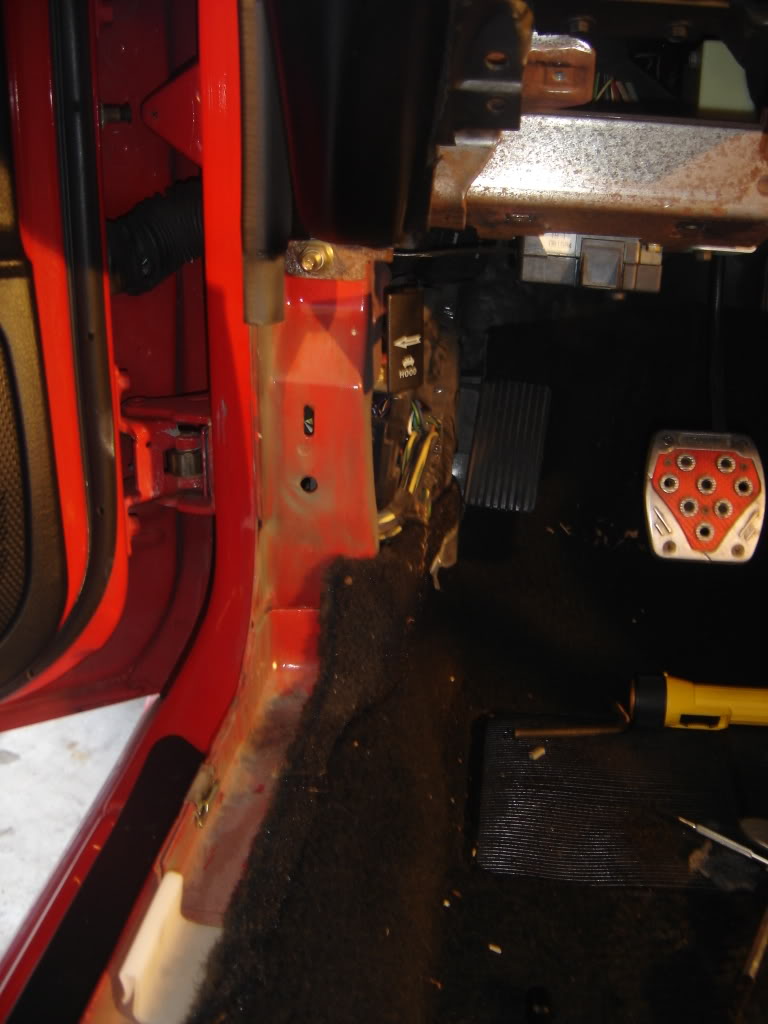
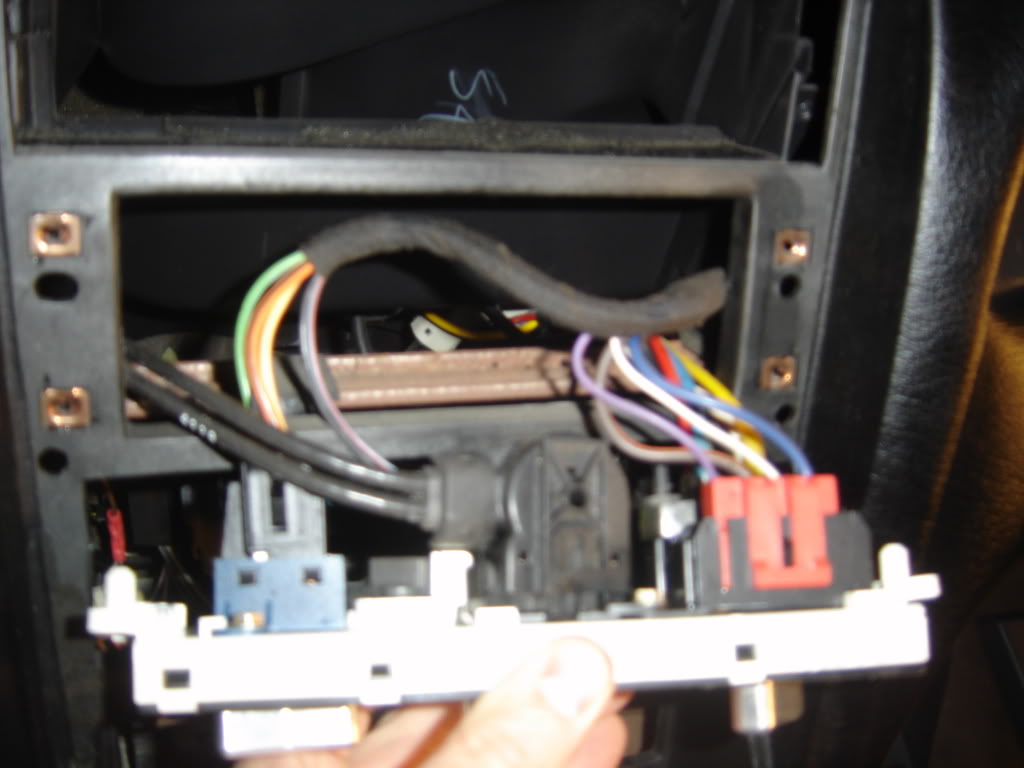
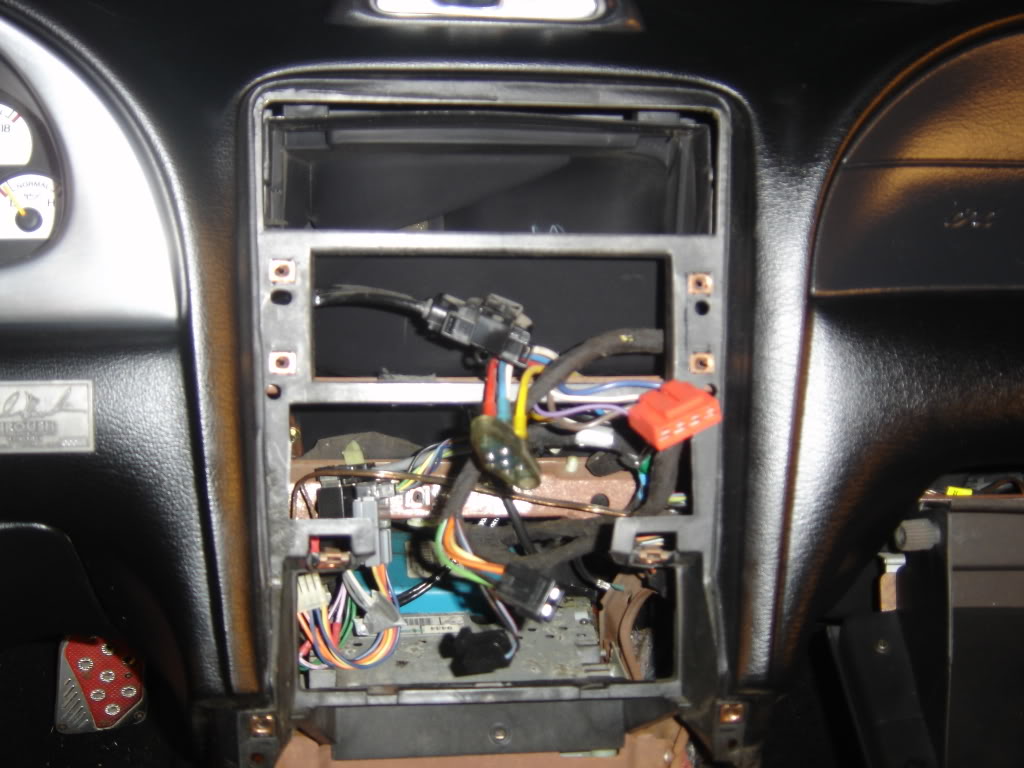
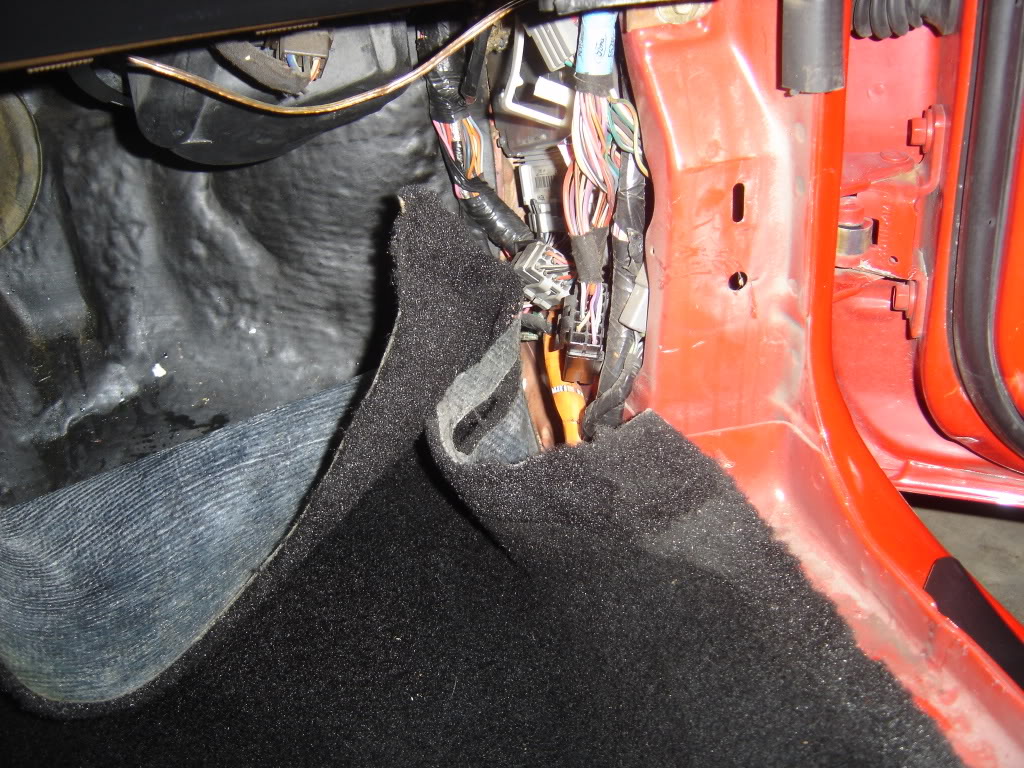
Unbolt the hood release handle. You need to do this so you can disconnect the plugs. 10mm bolt.

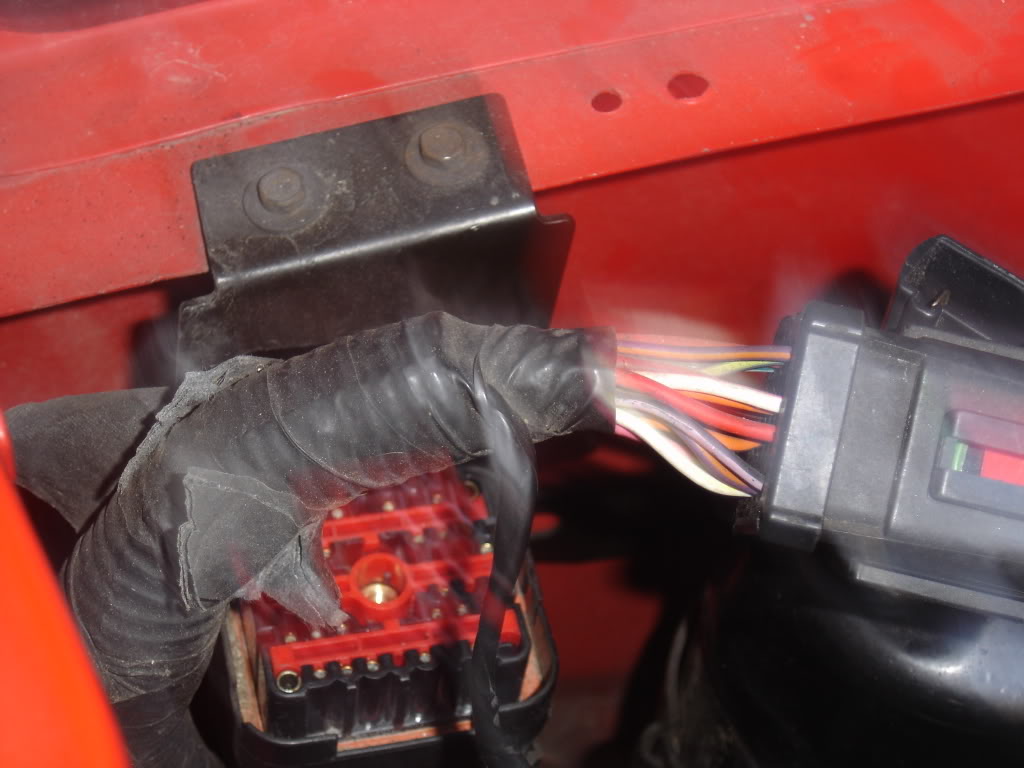
Disconnect the plugs found in both kick panels label any plugs that look similar. The dash is held in place by the following bolts. Starting on the drivers side.
3 gold 7mm bolts
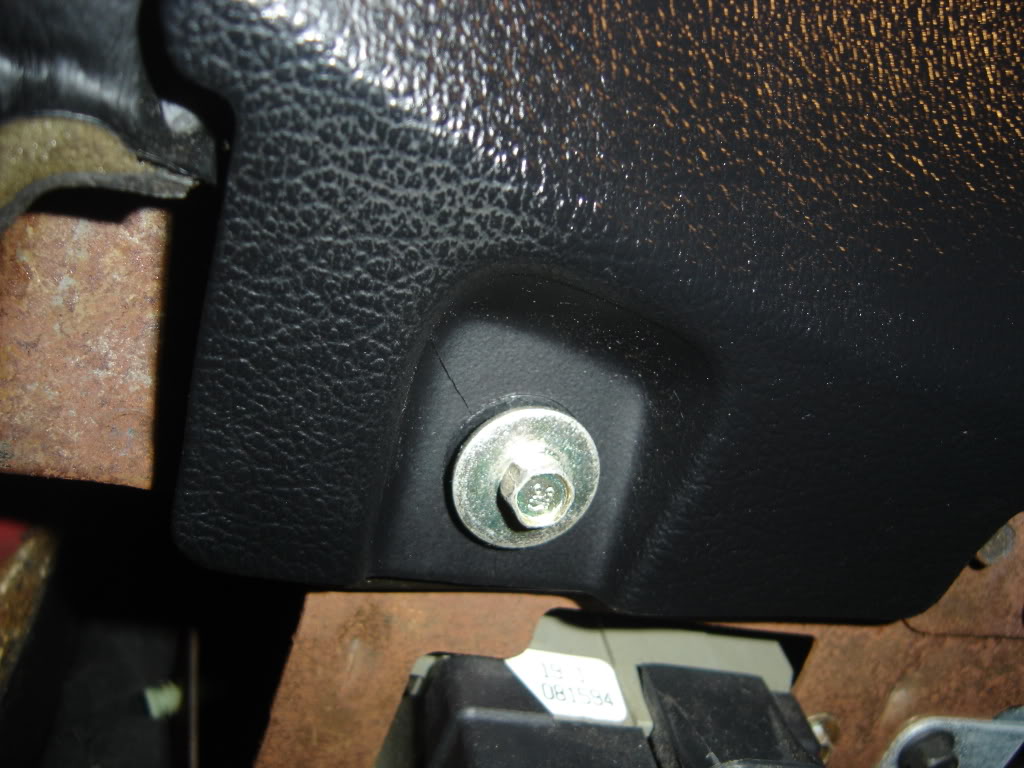
15mm bolt located near drivers door.
This 7mm bolt is right above the previous bolt but you have to access it from under the dash.
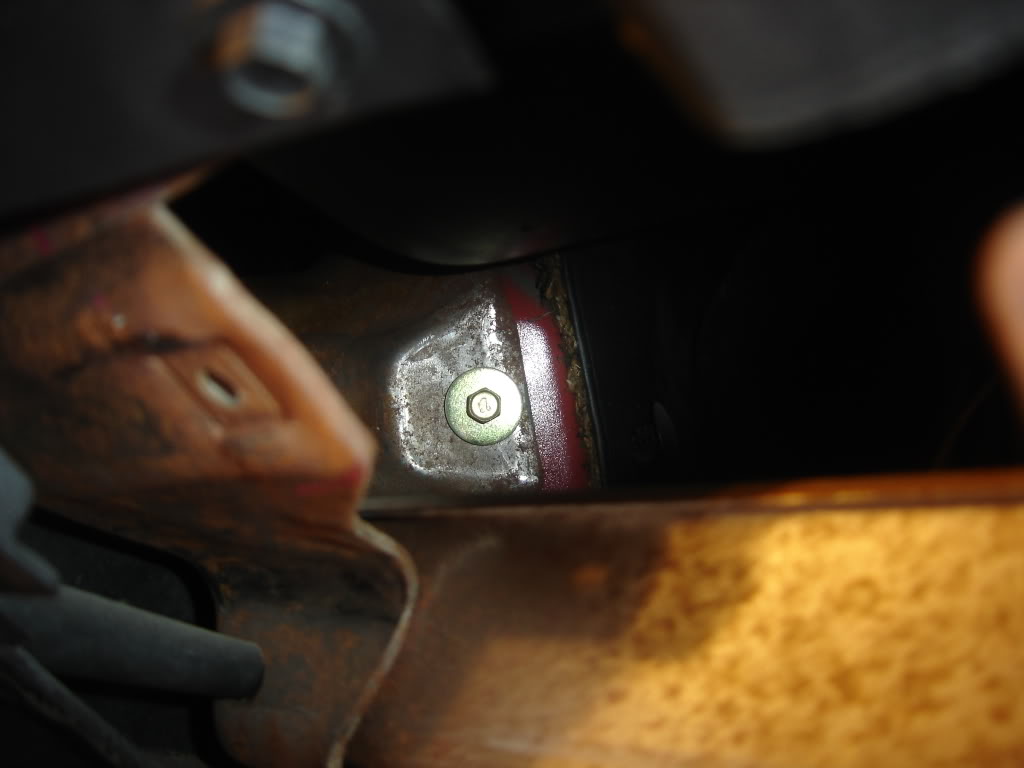
7mm bolt
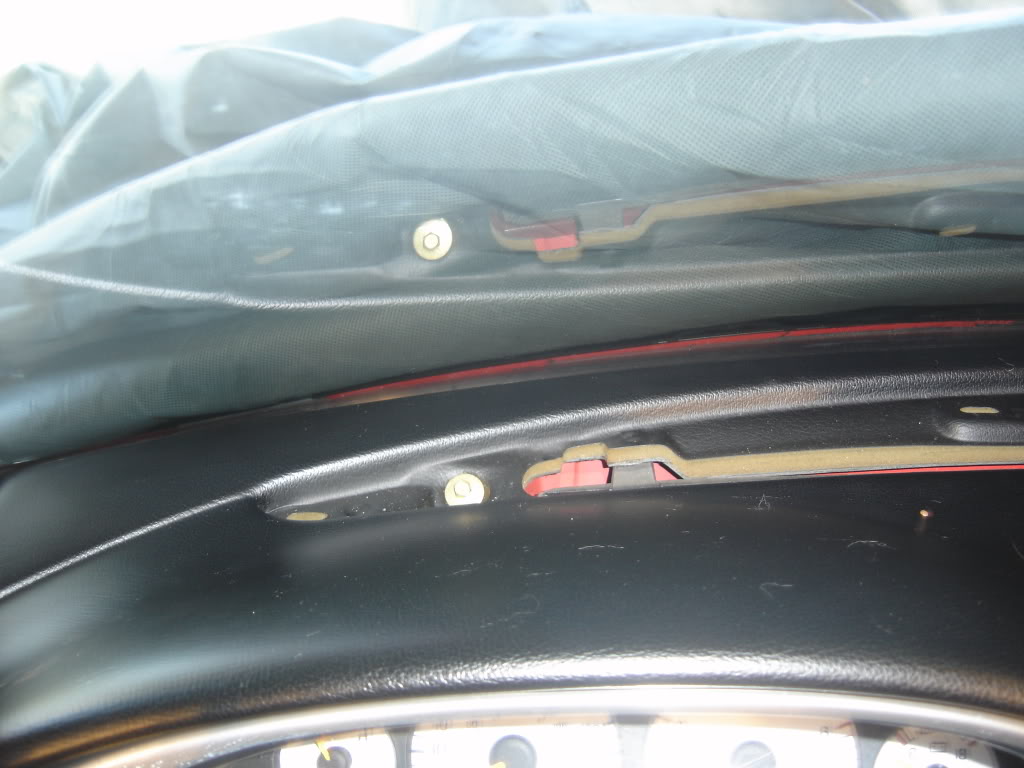
7mm bolt
7mm bolt
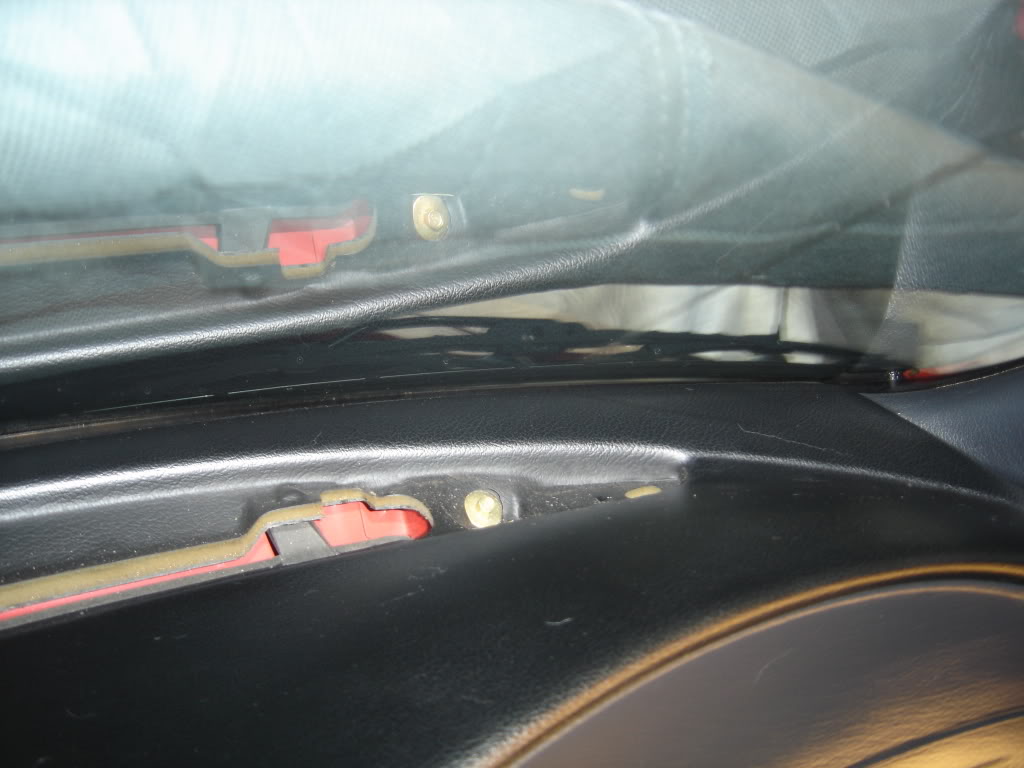
7mm bolt near passenger door
7mm bolt accessed through glove box. Squeeze the sides of the glove box and it should pop down.
3 gold 7mm bolts
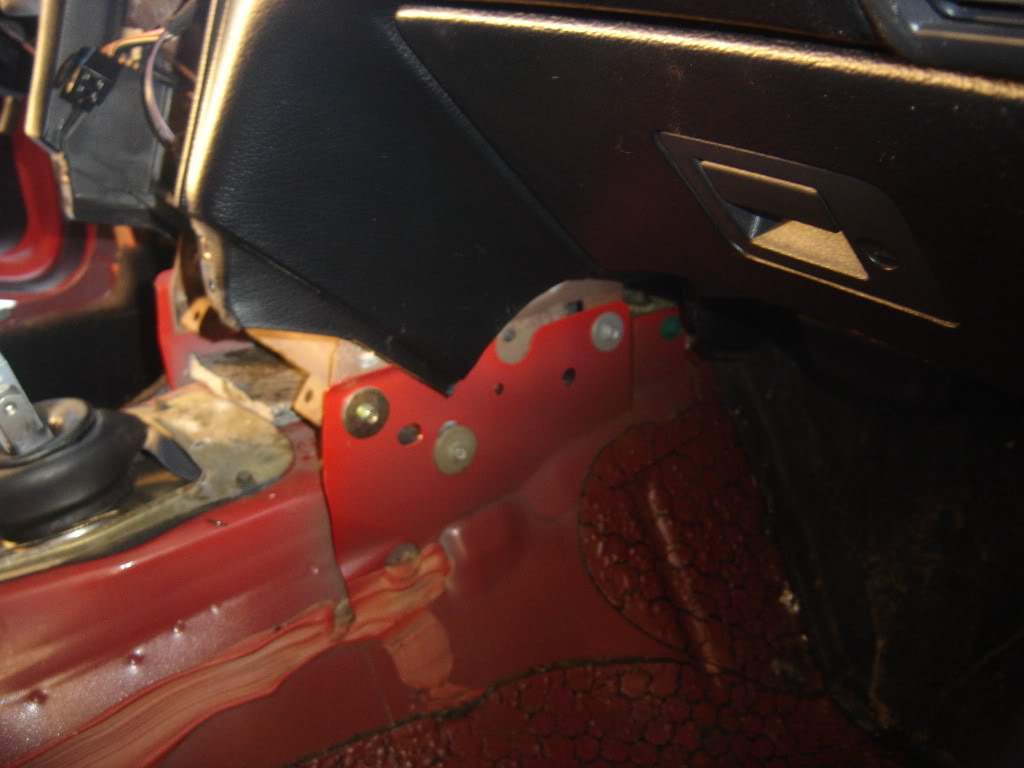
Unbolt the hood release handle. You need to do this so you can disconnect the plugs. 10mm bolt.
Disconnect the plugs found in both kick panels label any plugs that look similar. The dash is held in place by the following bolts. Starting on the drivers side.
3 gold 7mm bolts
15mm bolt located near drivers door.
This 7mm bolt is right above the previous bolt but you have to access it from under the dash.
7mm bolt
7mm bolt
7mm bolt
7mm bolt near passenger door
7mm bolt accessed through glove box. Squeeze the sides of the glove box and it should pop down.
3 gold 7mm bolts
#13
12-05-2007, 05:25 PM
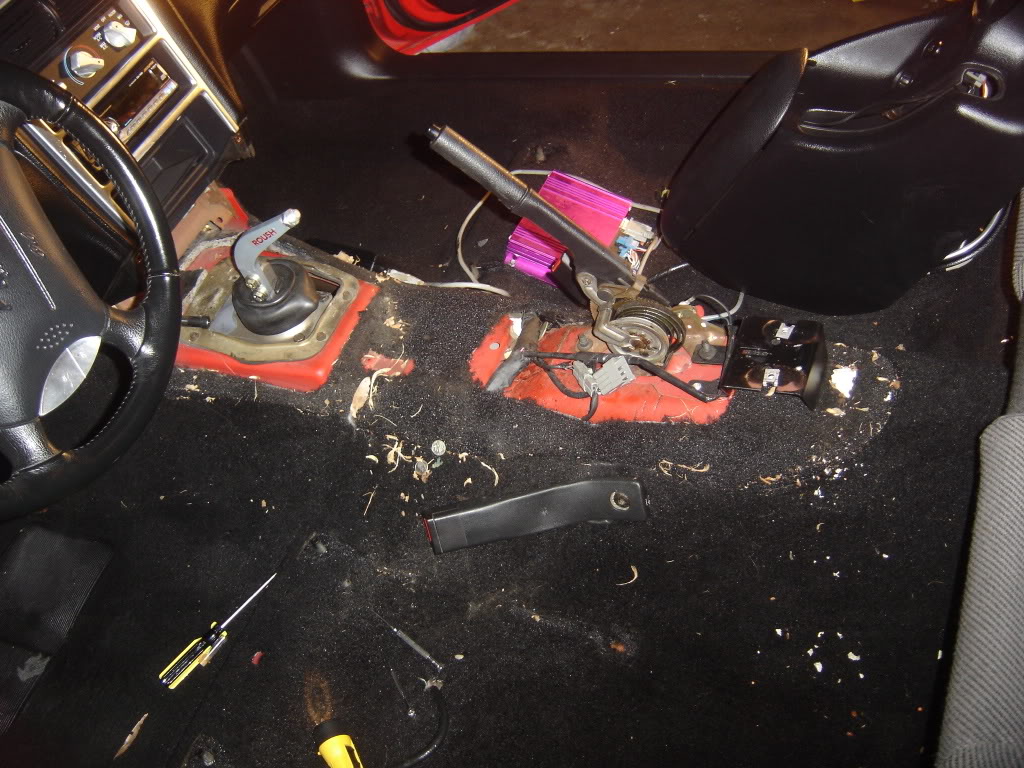
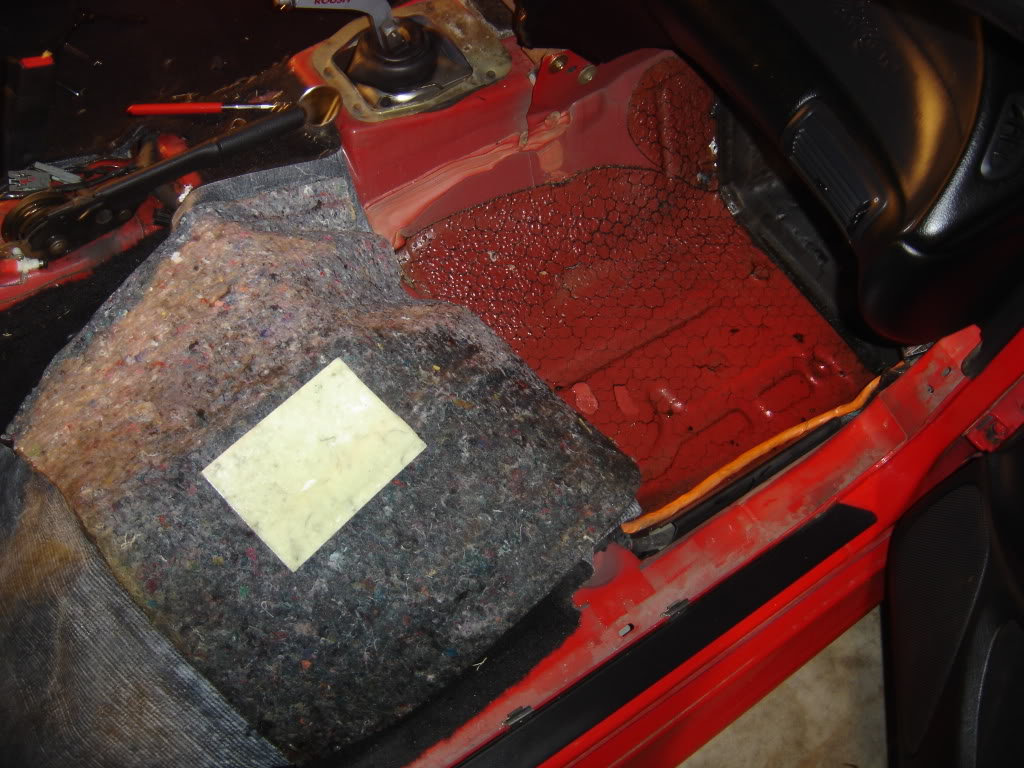
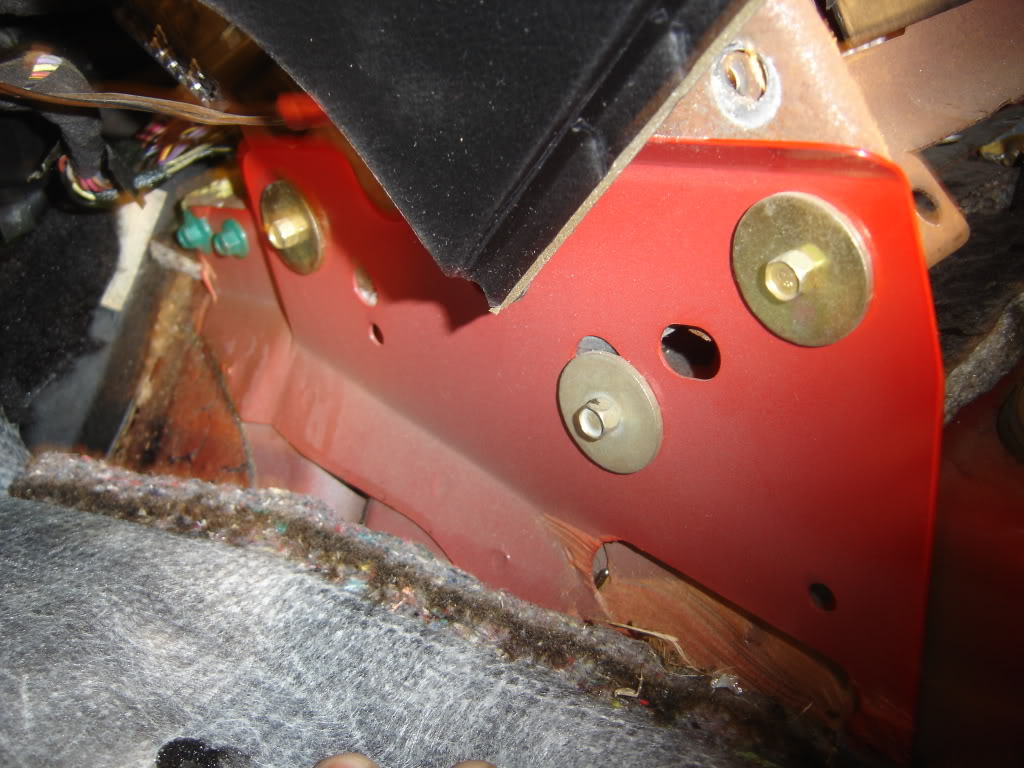
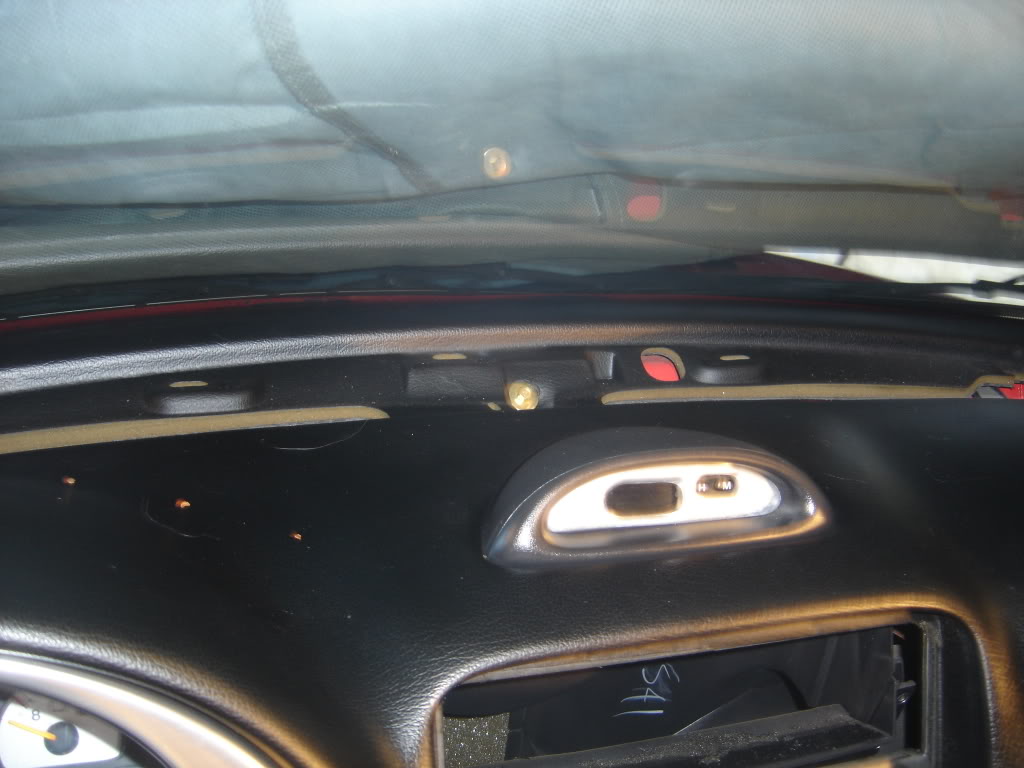
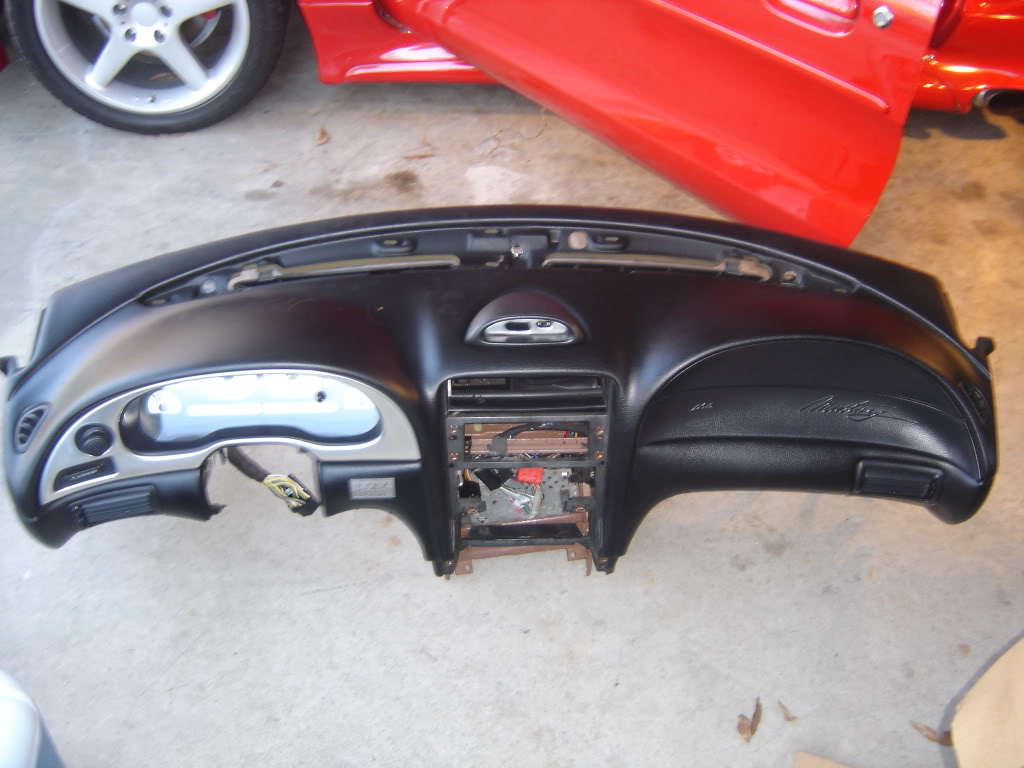
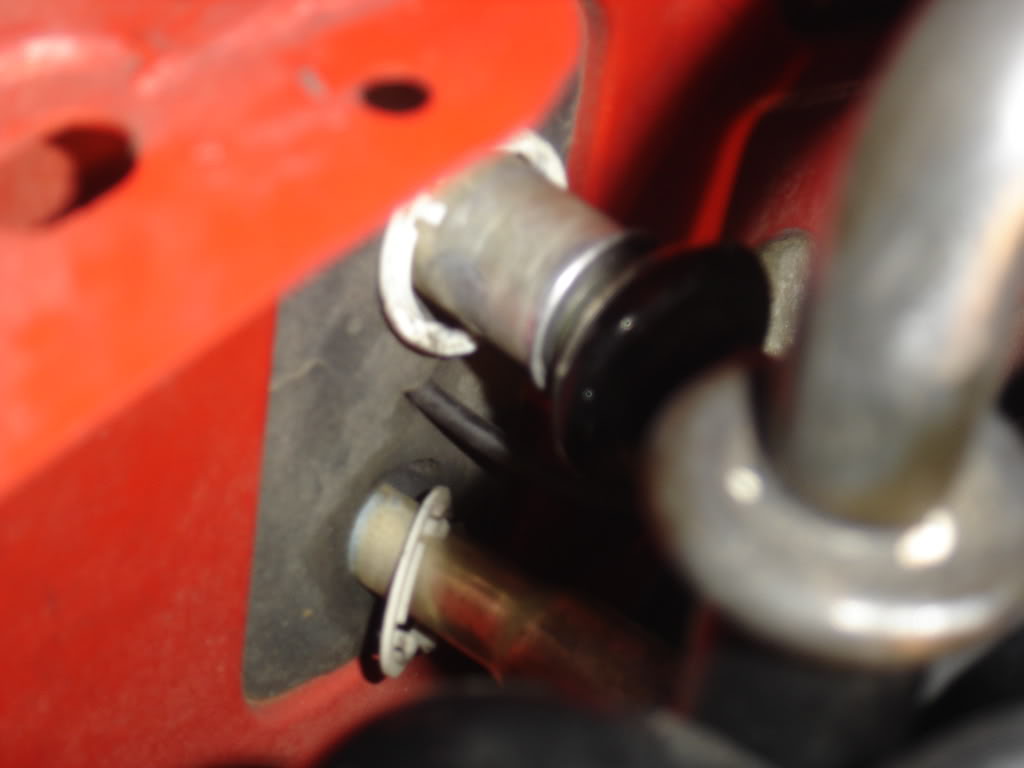
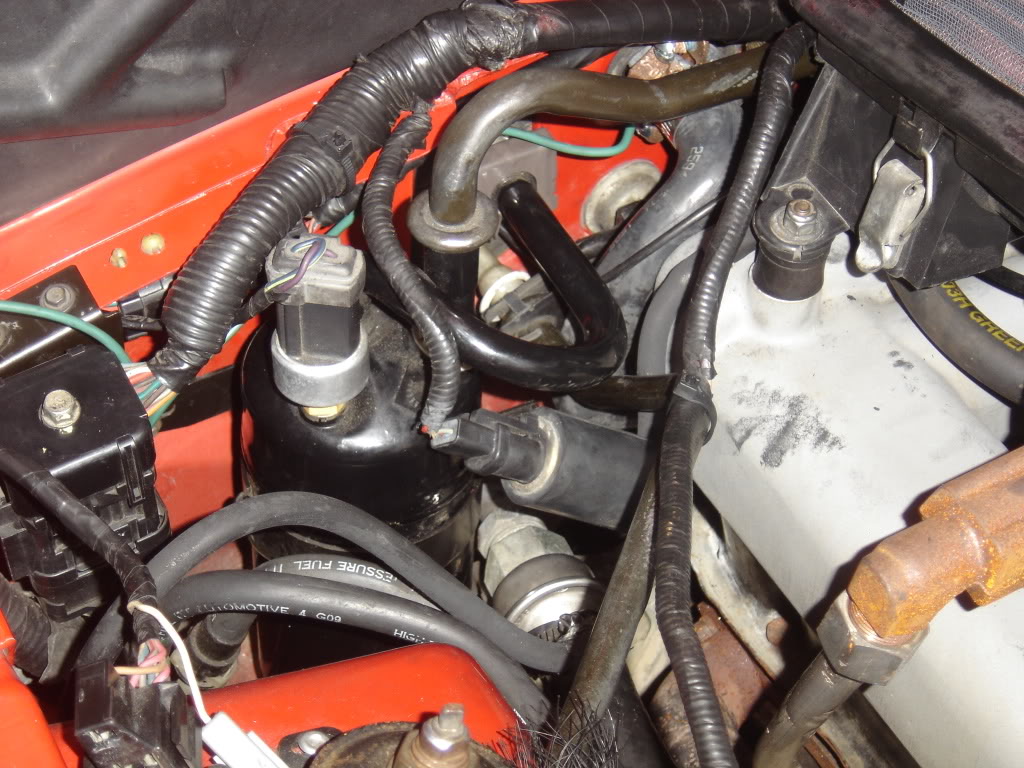
Gently pull on the dash and it should come out easy. Disconnect any remaining plugs.
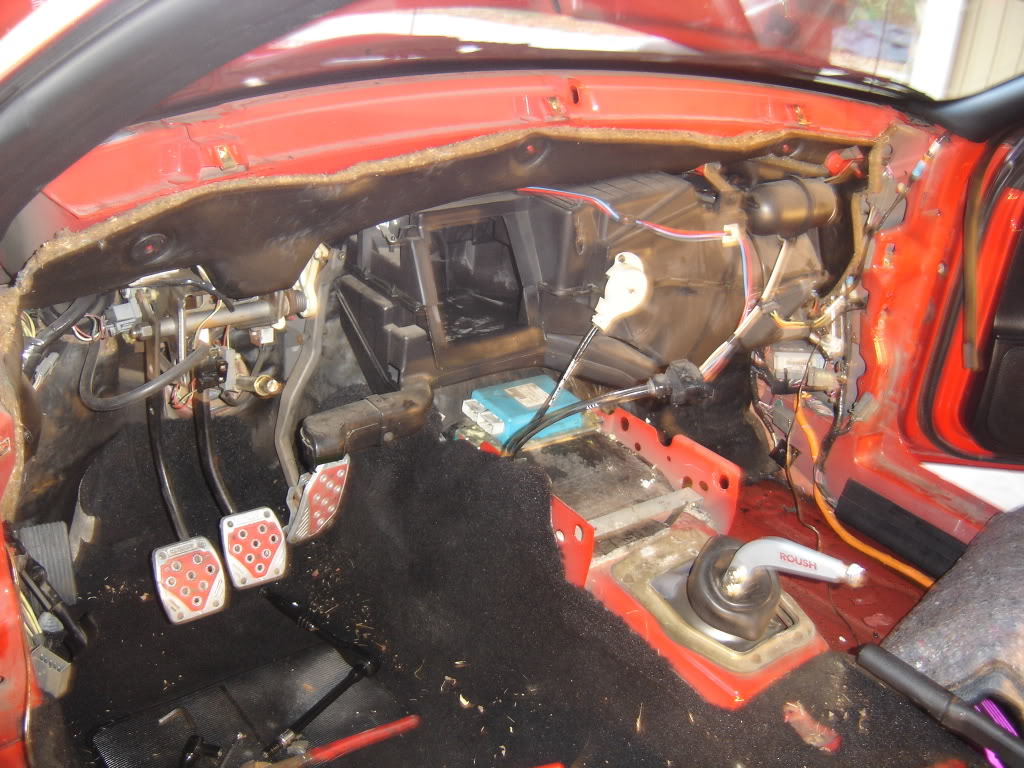
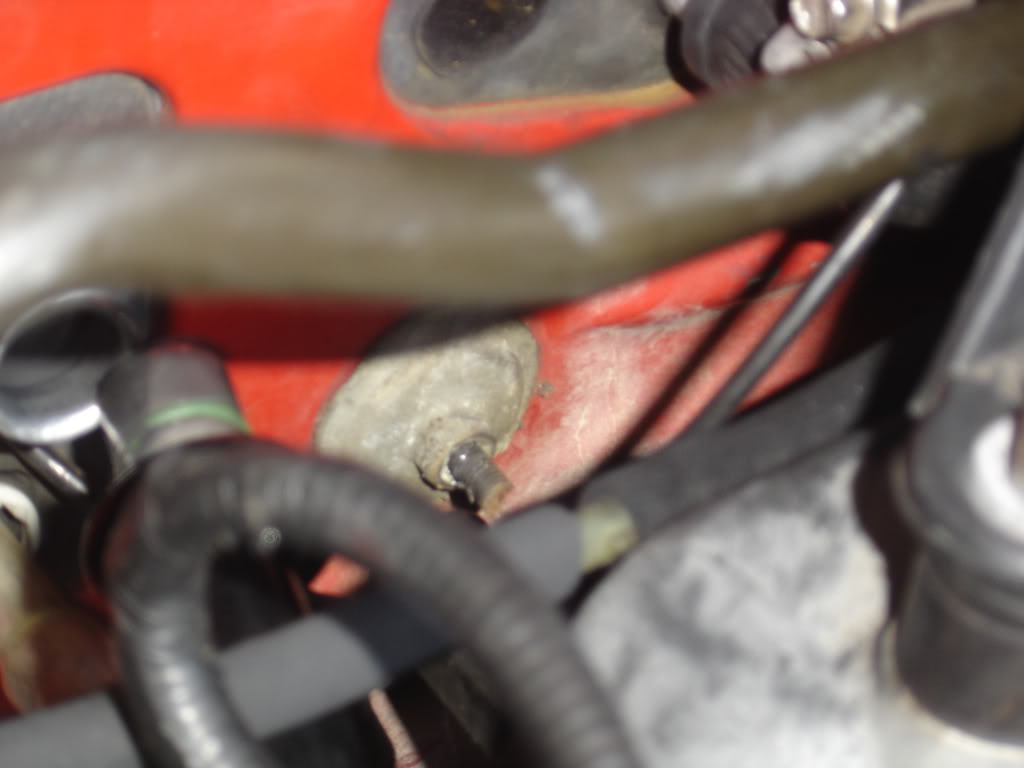
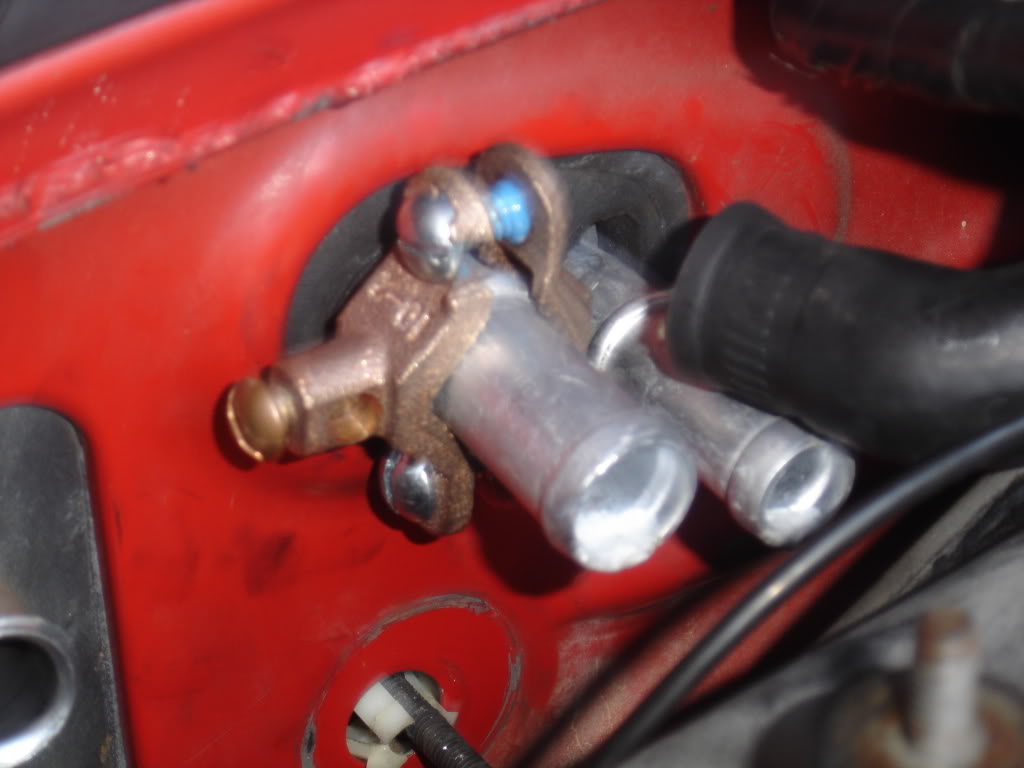
Remove retainer Clip on A/C Hose
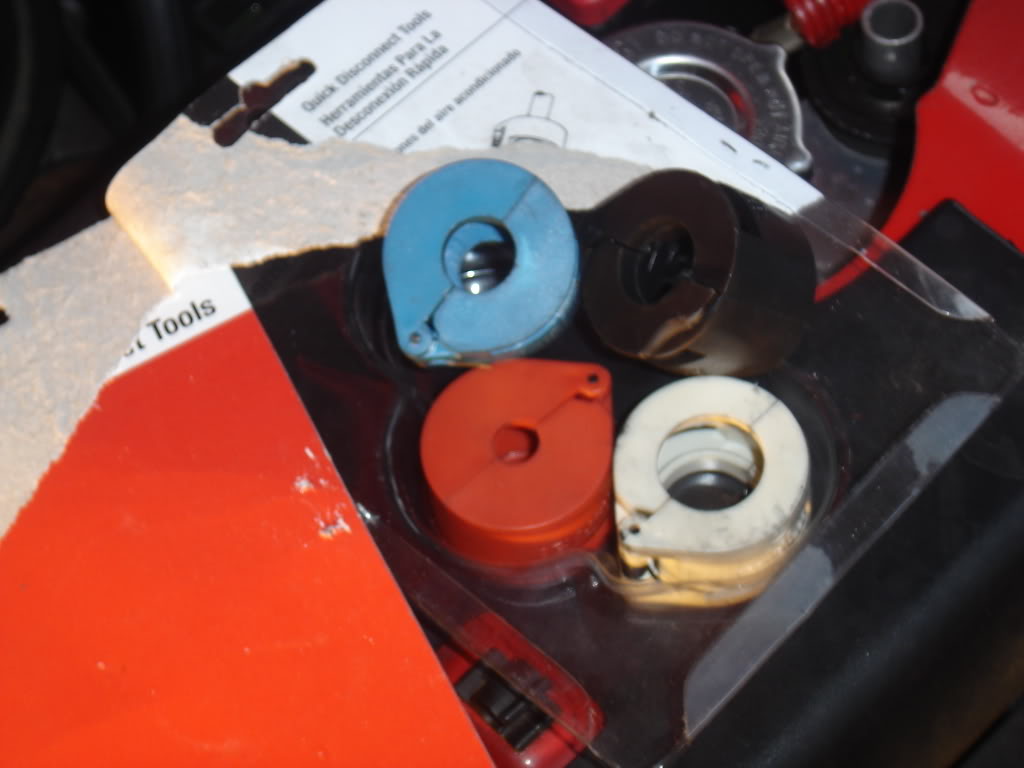
I had these tools already to disconnect the A/C hoses.
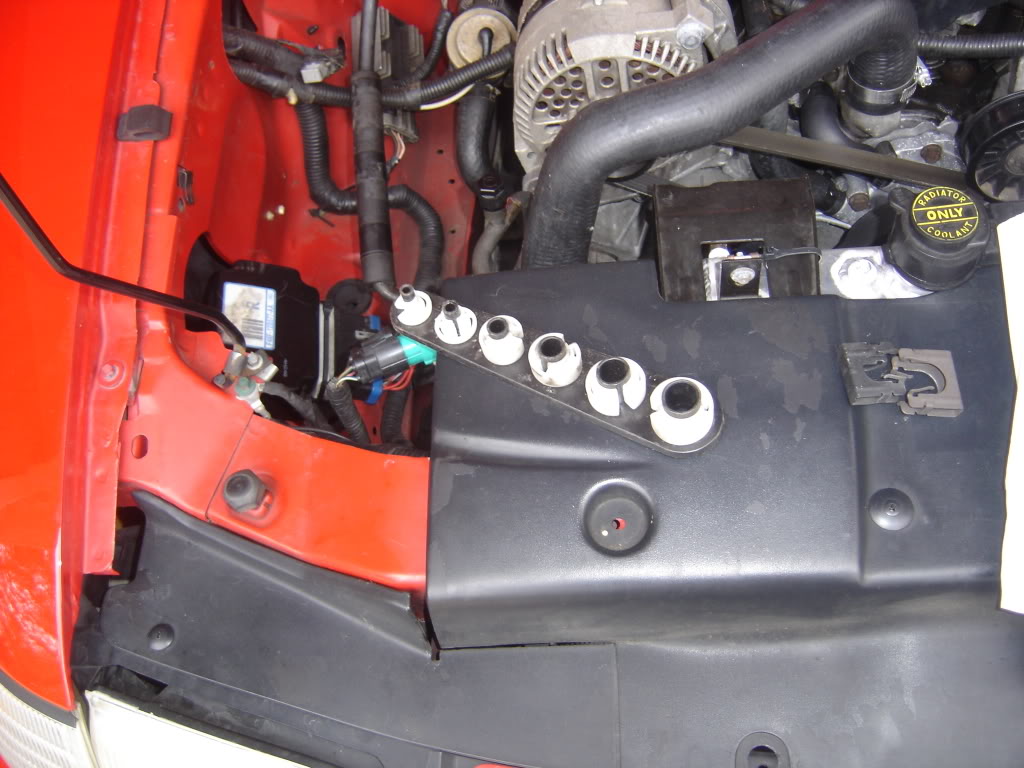
They are CRAP. So i ended up back at the part store and got these.
So after a few hours i finally got them disconnected.
That is all for today. I would like to kick Ford engineers in the butt for placing all that in such a cramped messed up way. I could barely get my hands in there. I had to disconnect some of the cables surrounding just to make space.
Remove retainer Clip on A/C Hose
I had these tools already to disconnect the A/C hoses.
They are CRAP. So i ended up back at the part store and got these.
So after a few hours i finally got them disconnected.
That is all for today. I would like to kick Ford engineers in the butt for placing all that in such a cramped messed up way. I could barely get my hands in there. I had to disconnect some of the cables surrounding just to make space.
#14
12-05-2007, 05:25 PM
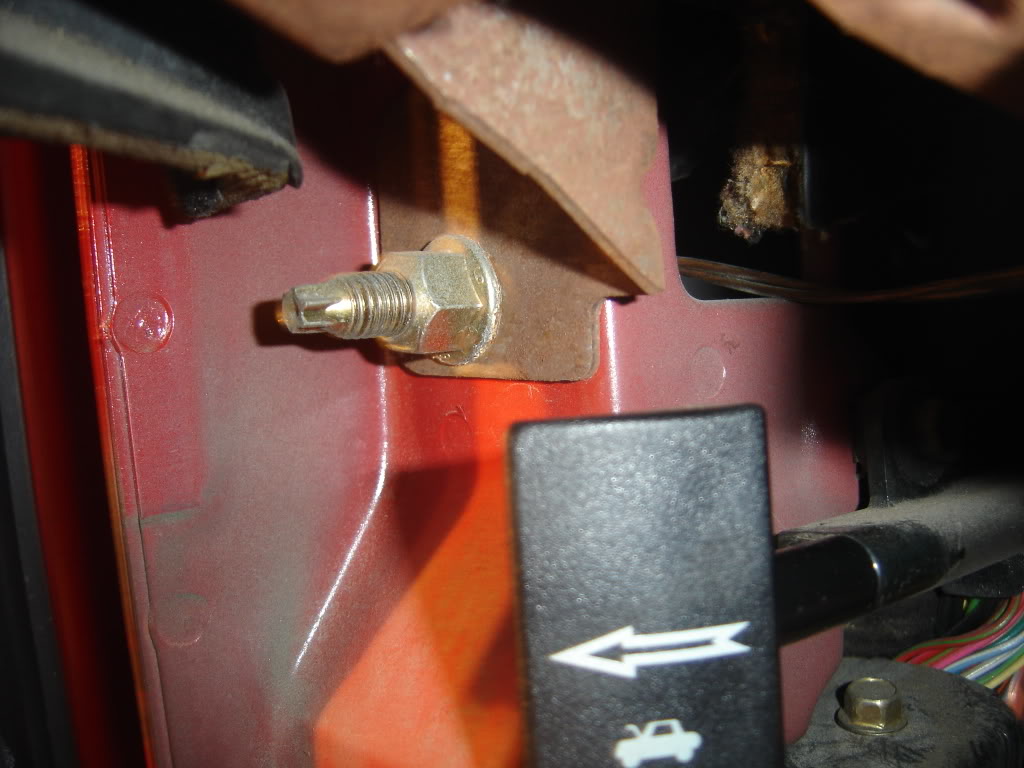
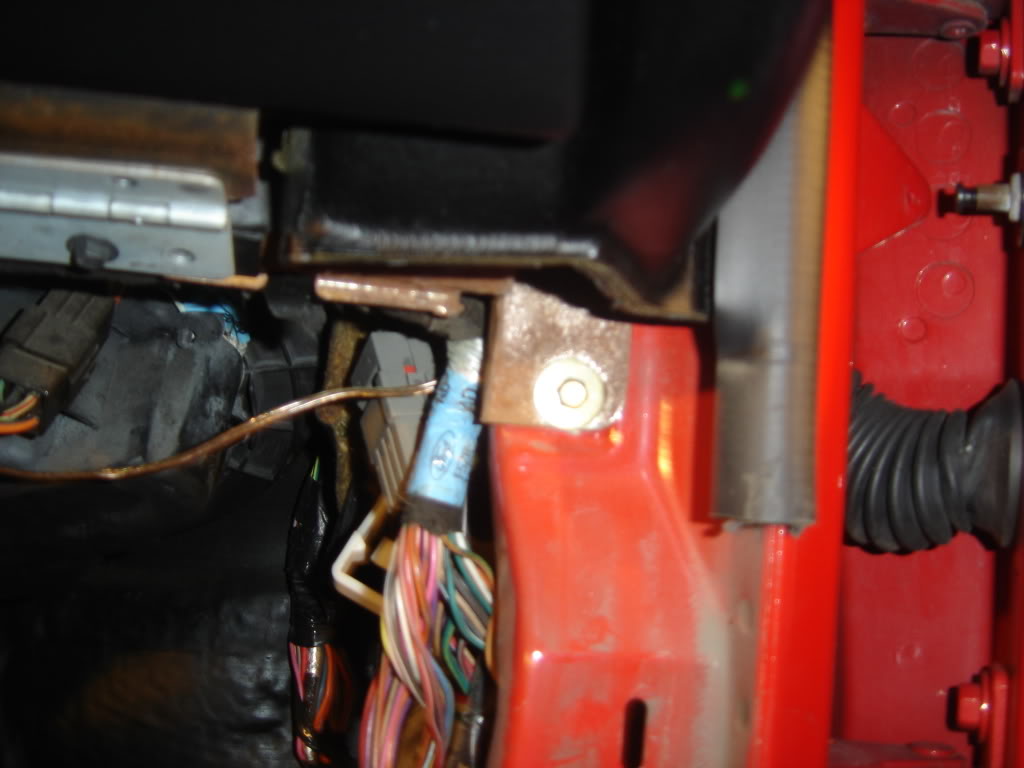
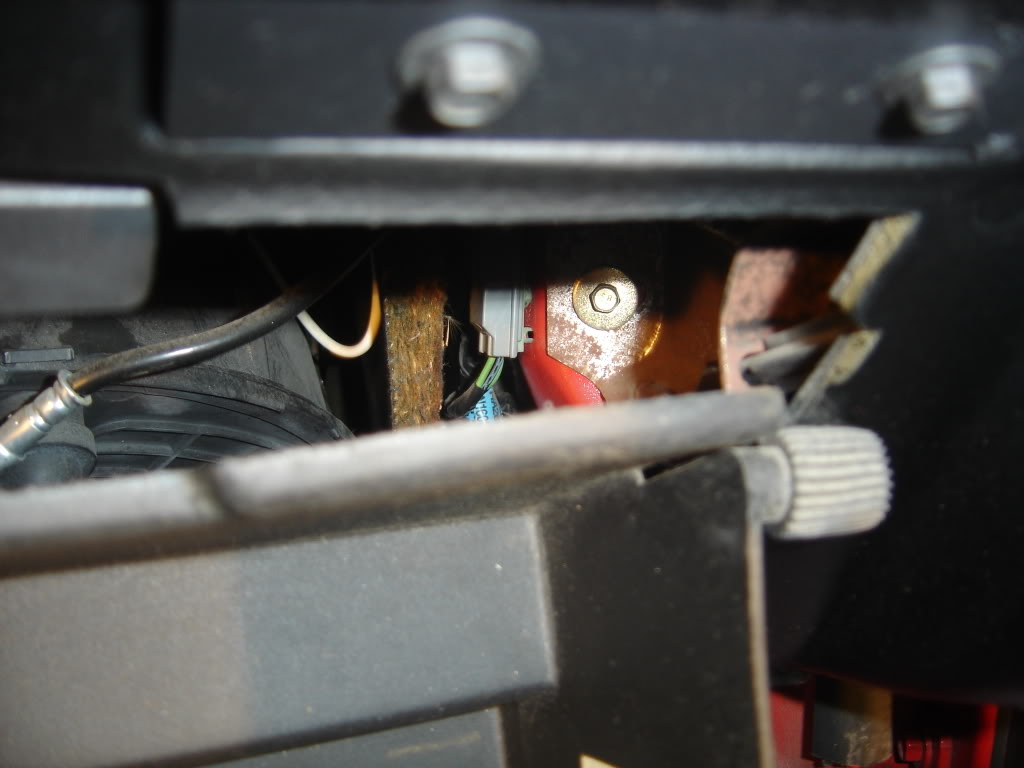
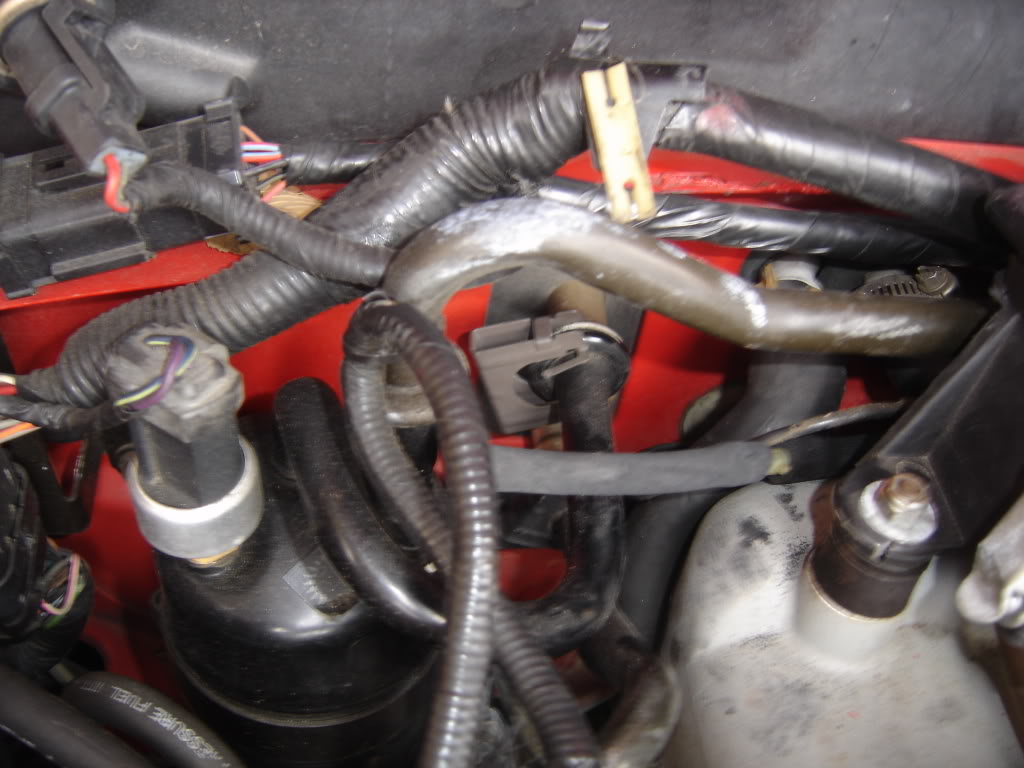
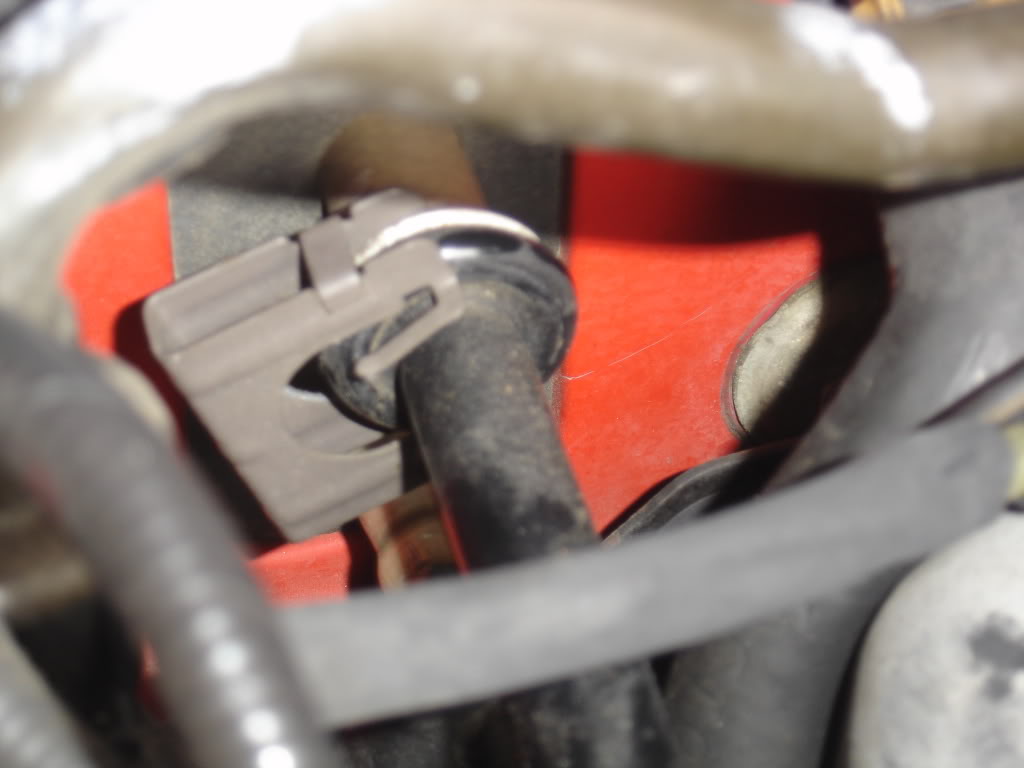
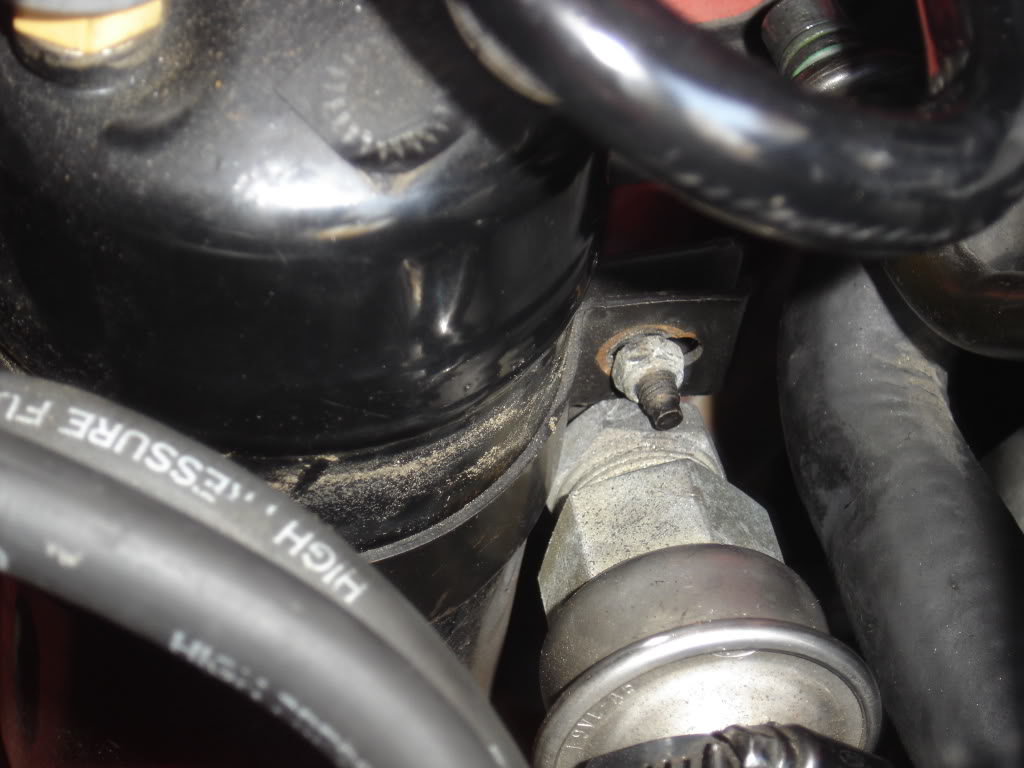
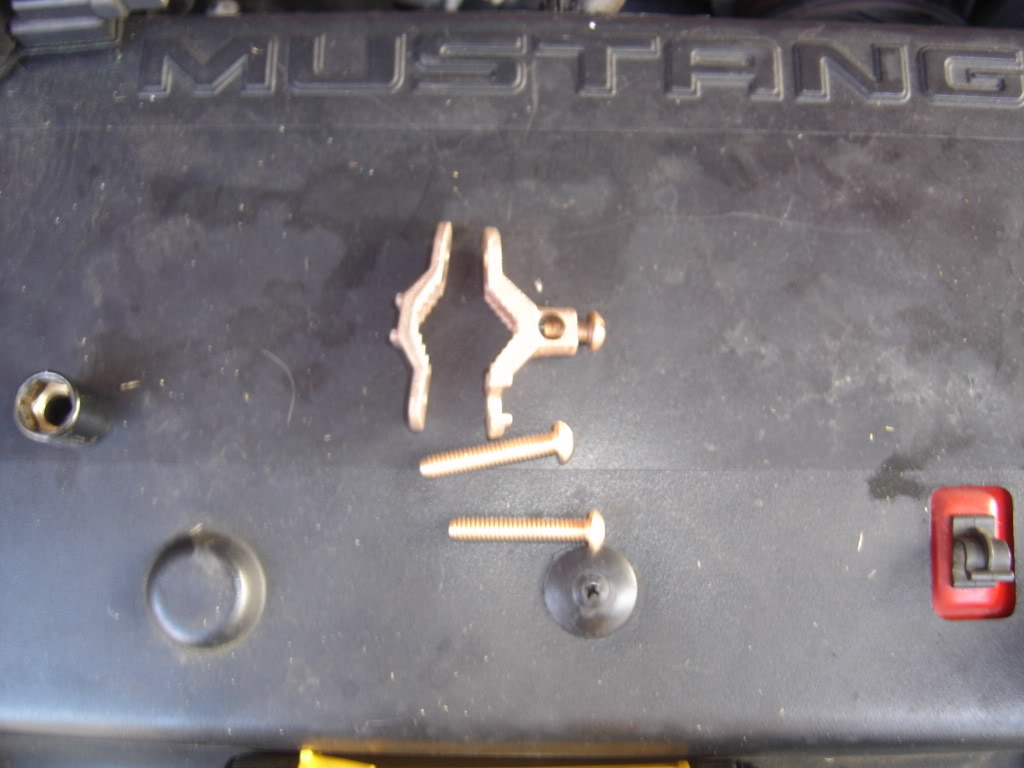
Take these 3 bolts off from the inside....
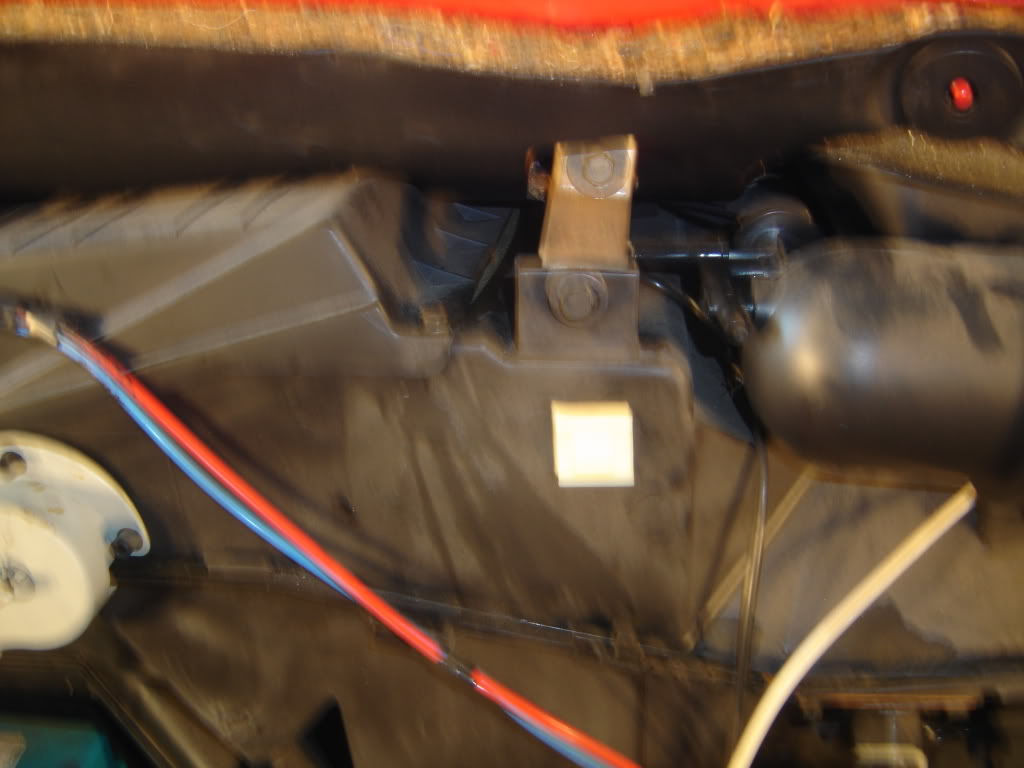
Losen this bolt so you can slide the canister out of the way to get to the next bolt.
Also moved this out of the way for access...
Now take this Nut off...
Losen this bolt so you can slide the canister out of the way to get to the next bolt.
Also moved this out of the way for access...
Now take this Nut off...
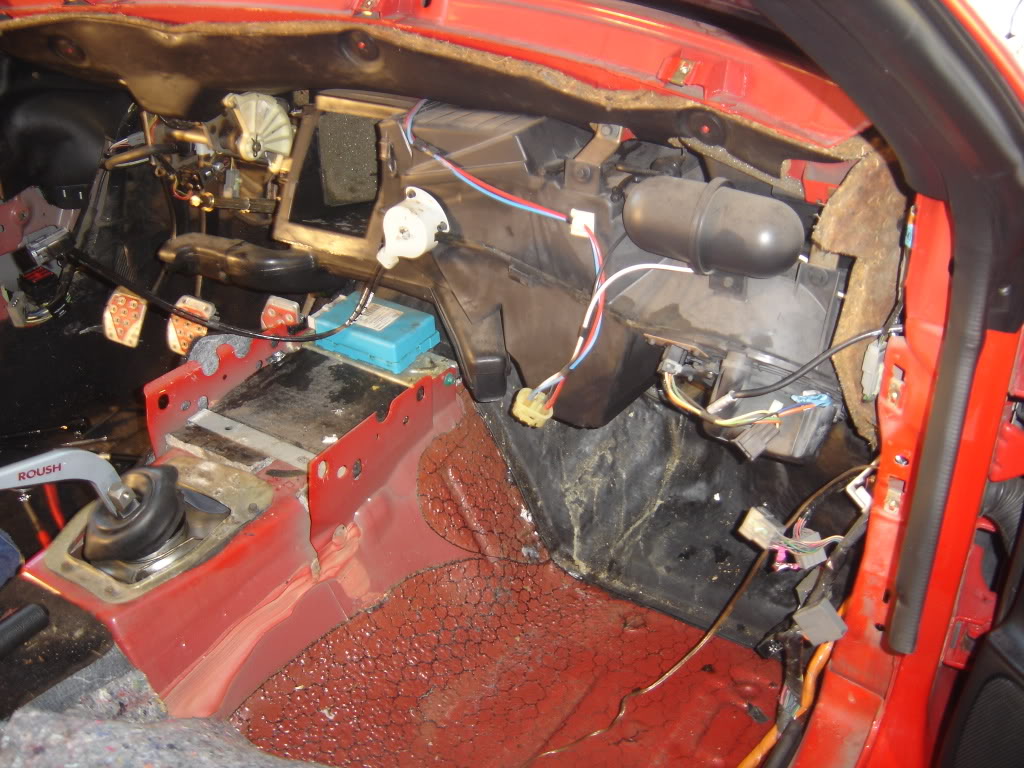
#15
12-05-2007, 05:26 PM
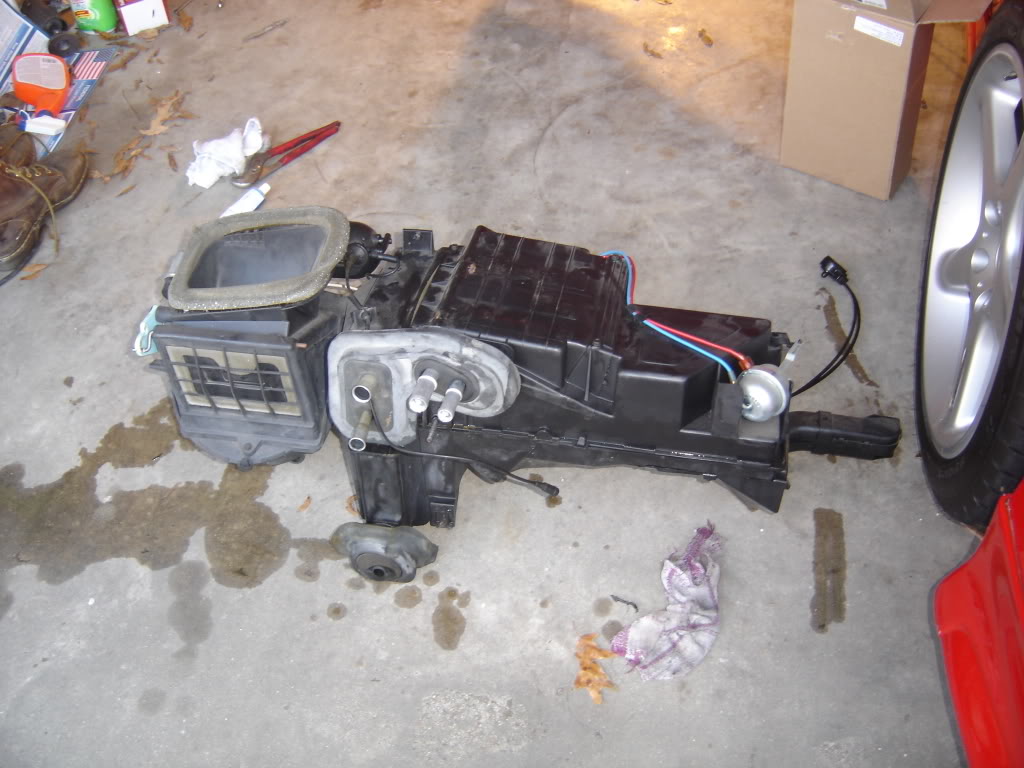
Now gently pull out the big black box...
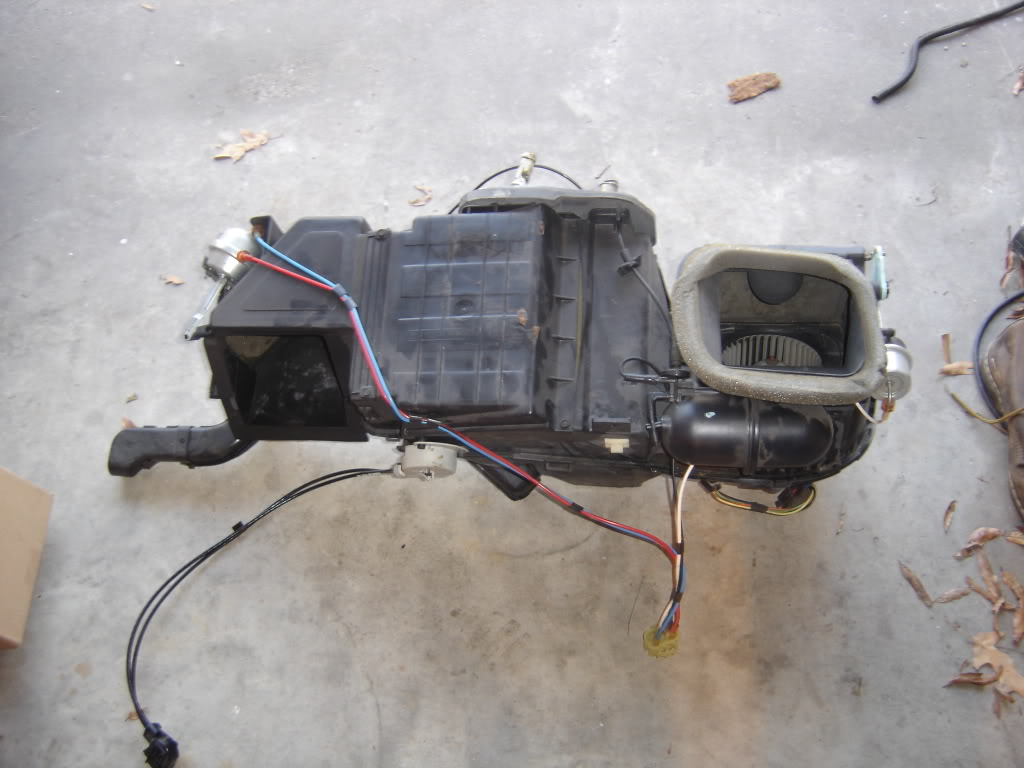
Undo the 4 bolts and replace heater core....
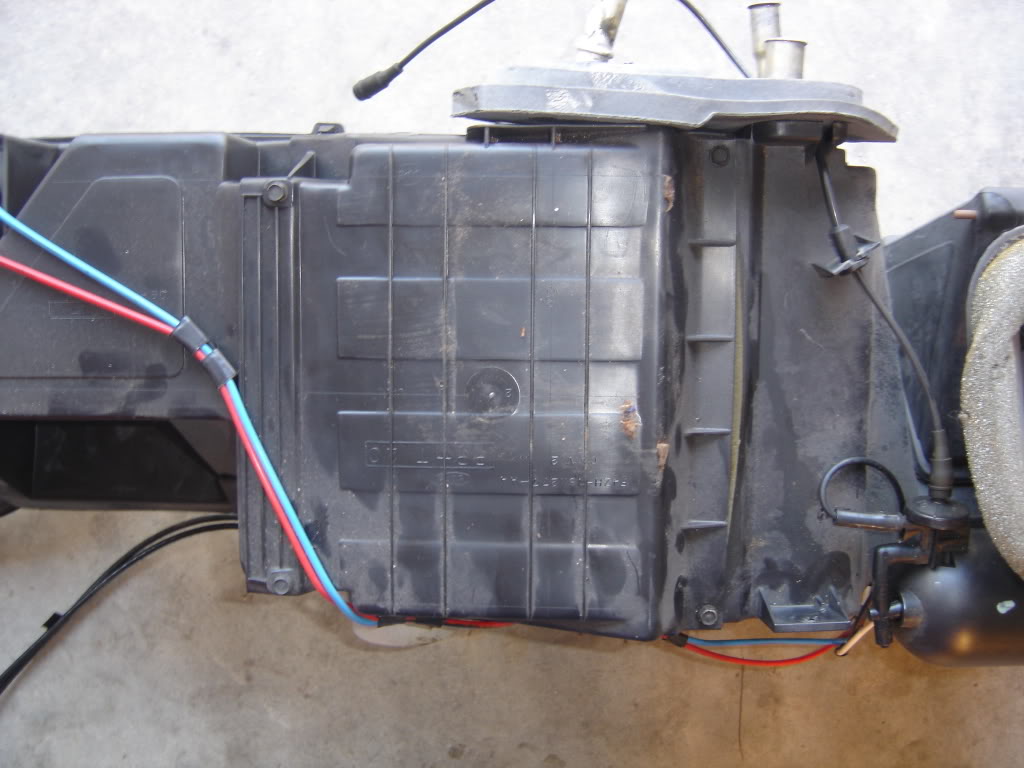
Here is the new core in place....
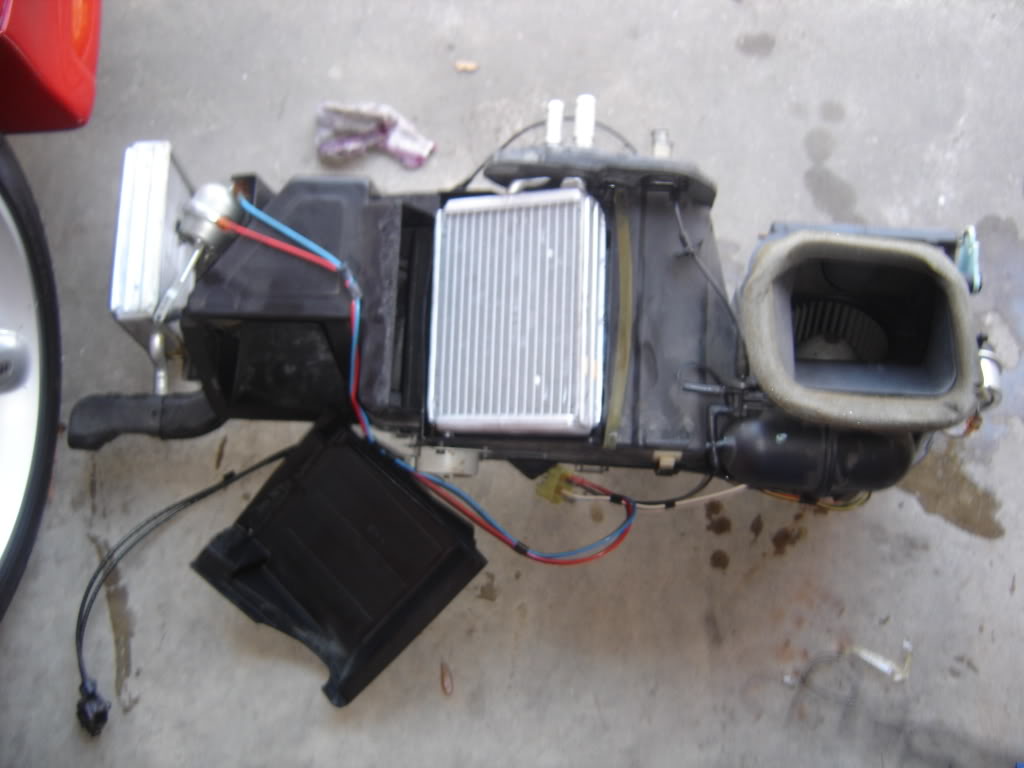
Ready to go back in..........
Undo the 4 bolts and replace heater core....
Here is the new core in place....
Ready to go back in..........
#16
12-05-2007, 05:27 PM
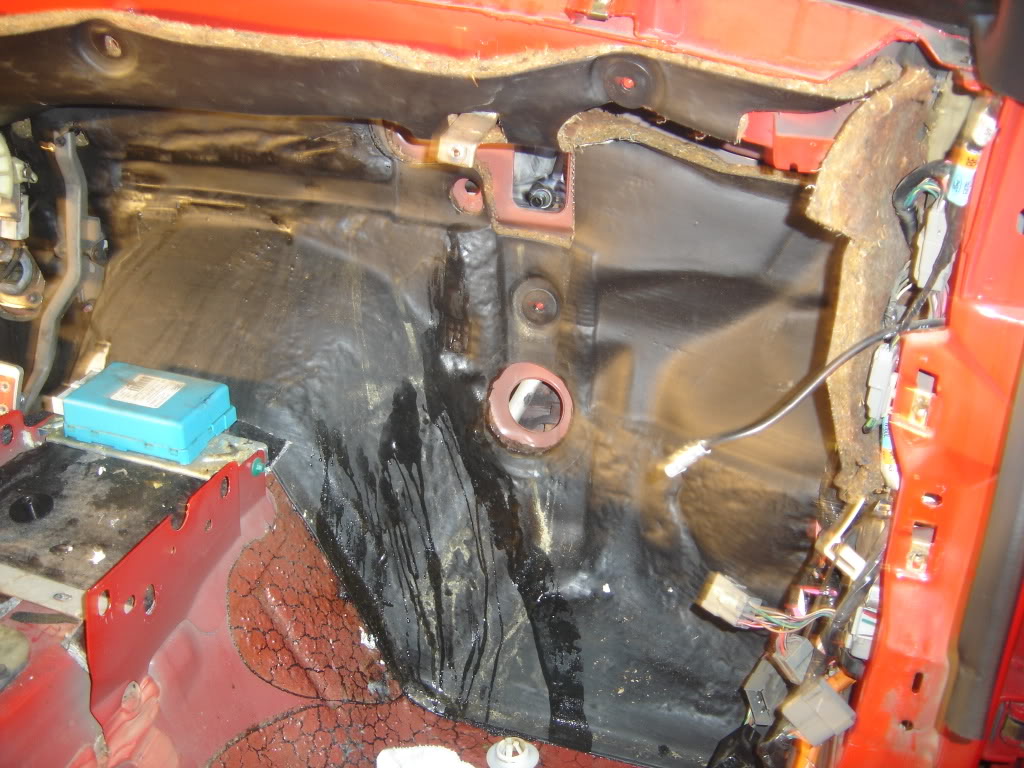
Installed the unit back into the car.... This was fairly easy.
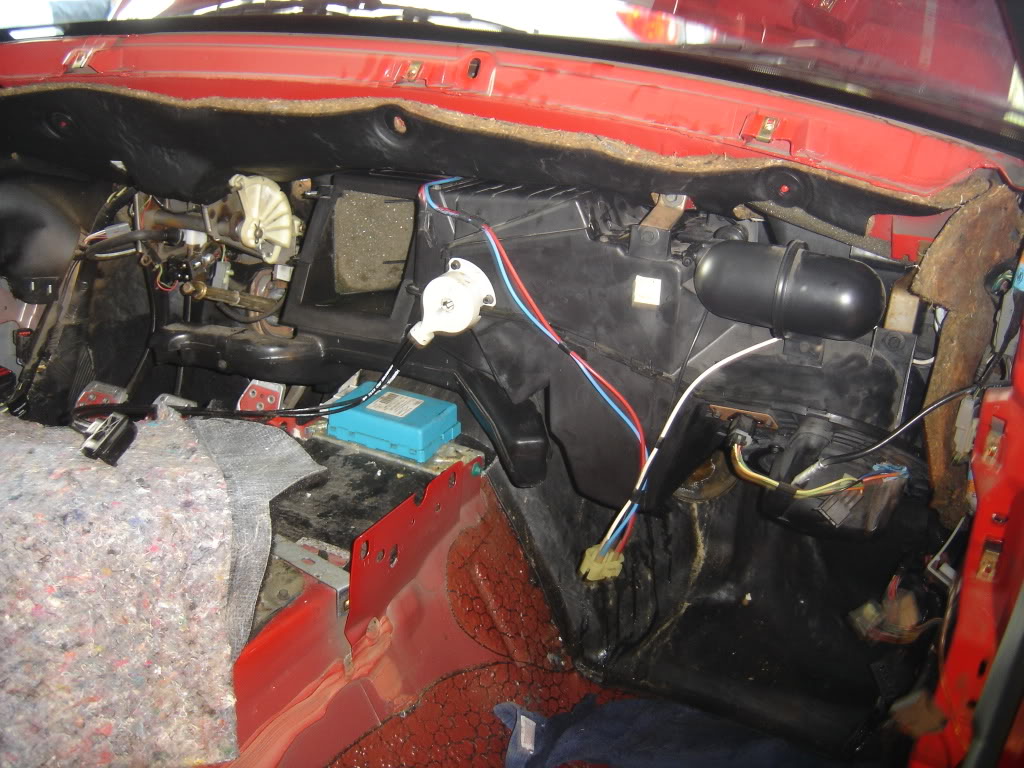
Underside still slightly damp...
So i used this...
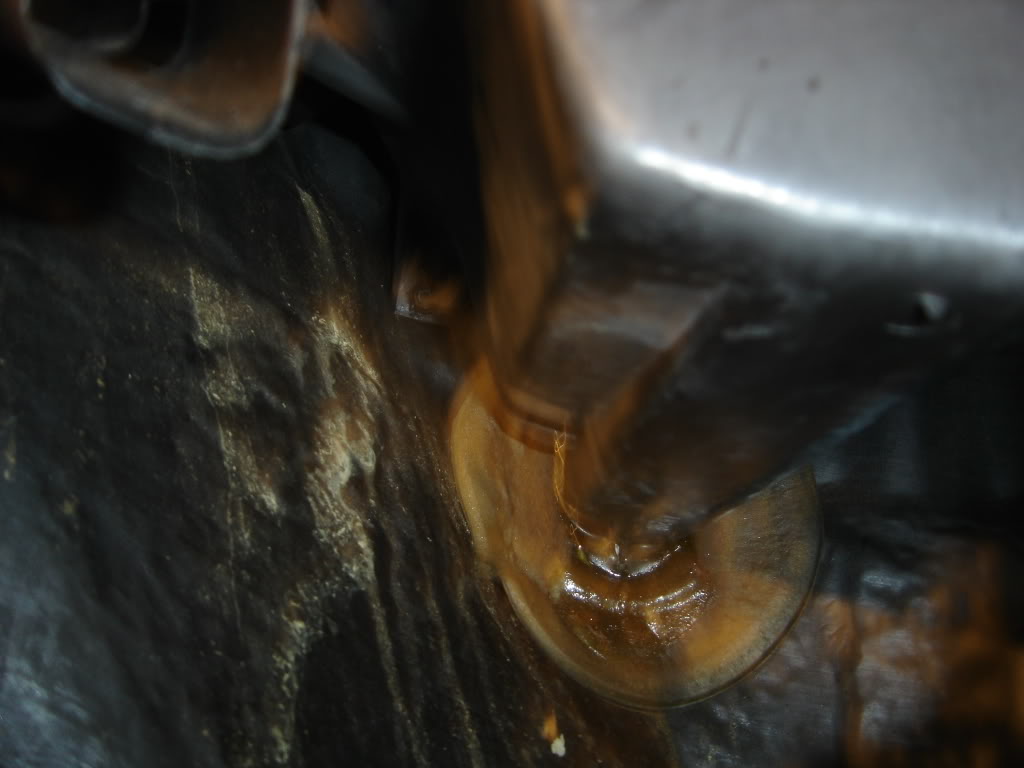
Now FORD says (tsb) to Solder a ground wire to the new heater core to prevent the aluminum from corroding (dissimilar metals). So why didn't they do that already? Because they are dumb. I do not know how to solder alumium so this is my solution. I went to home depot and got a ground rod clamp and some new bolts but 5/8" length.
Did not over tighten so as to crush the tubing. There is about 1 tread showing on the otherside of the clamp. Used some thread lock to prevent backing out. I need to find some wire that will be good for grounding.
Underside still slightly damp...
So i used this...
Now FORD says (tsb) to Solder a ground wire to the new heater core to prevent the aluminum from corroding (dissimilar metals). So why didn't they do that already? Because they are dumb. I do not know how to solder alumium so this is my solution. I went to home depot and got a ground rod clamp and some new bolts but 5/8" length.
Did not over tighten so as to crush the tubing. There is about 1 tread showing on the otherside of the clamp. Used some thread lock to prevent backing out. I need to find some wire that will be good for grounding.
#17
12-05-2007, 05:28 PM
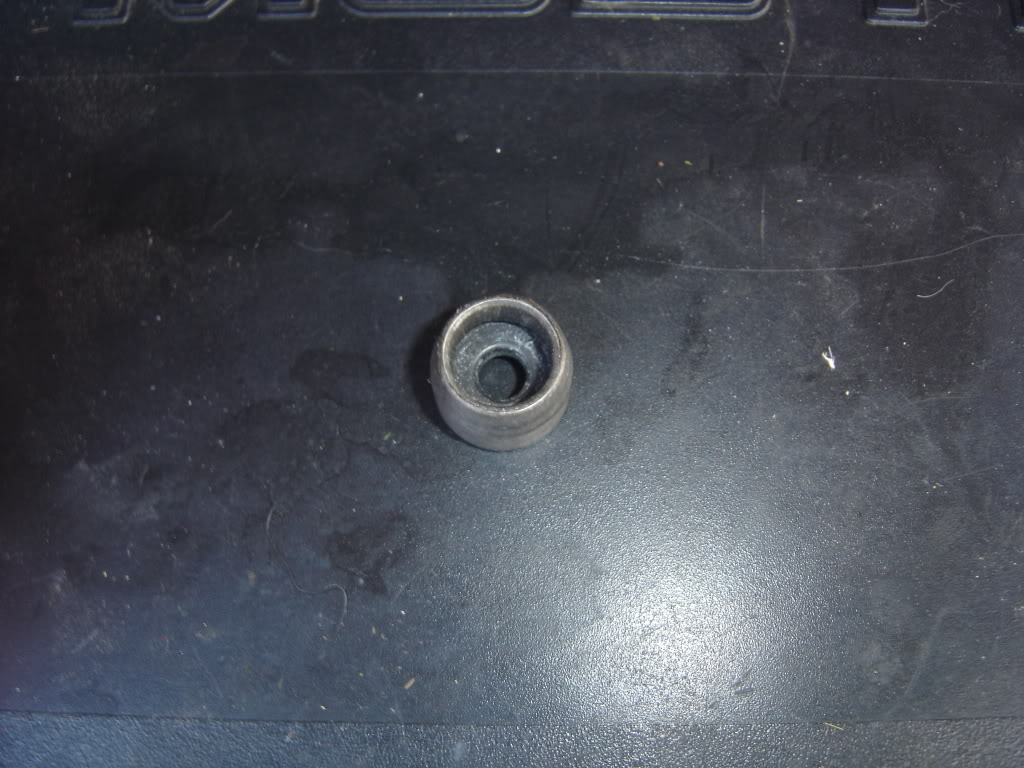
For Roush intake owners the heater core hoses are special to the kit. I found that if you buy a stock heater core hose it can be modified to closely match the one that came in the kit.
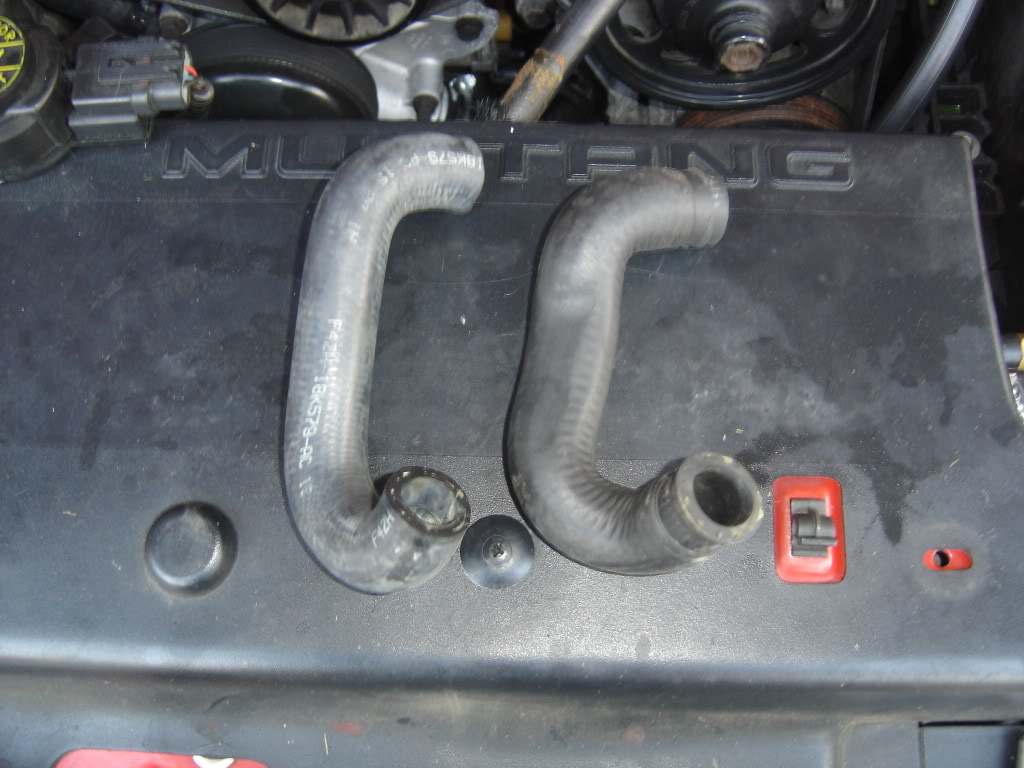
I only replaced this one hose because the other one looked in real good shape.
Also in doing my reaserch about replacement cores i kept hearing stories about the pressure blowing out the aluminum cores. Some say that is on the fox bodies some say it happens on the 94+ as well. Who is right i don't know. But the fix is a pressure reducer that fits inside the hose.
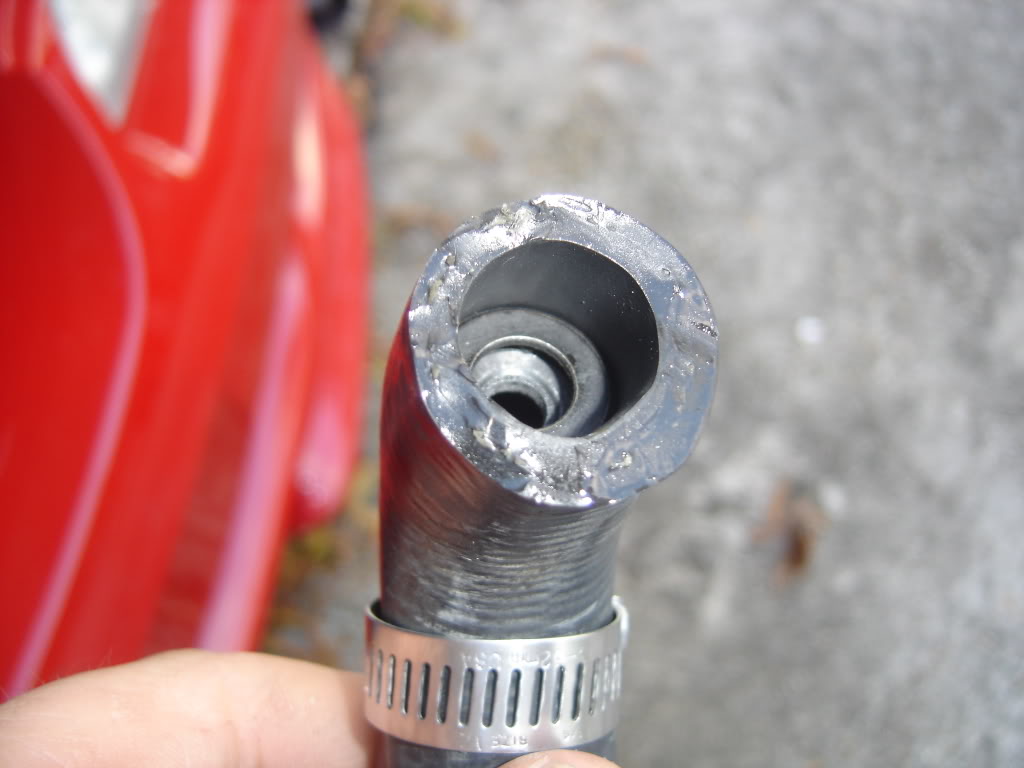
The new water pump i got is suppose to flow more so I installed it on mine just incase.
I only replaced this one hose because the other one looked in real good shape.
Also in doing my reaserch about replacement cores i kept hearing stories about the pressure blowing out the aluminum cores. Some say that is on the fox bodies some say it happens on the 94+ as well. Who is right i don't know. But the fix is a pressure reducer that fits inside the hose.
The new water pump i got is suppose to flow more so I installed it on mine just incase.
#18
12-05-2007, 05:28 PM
This is what i finished up today. I have to figuer out where one hose goes and then i can finish up the outsdie quickly.
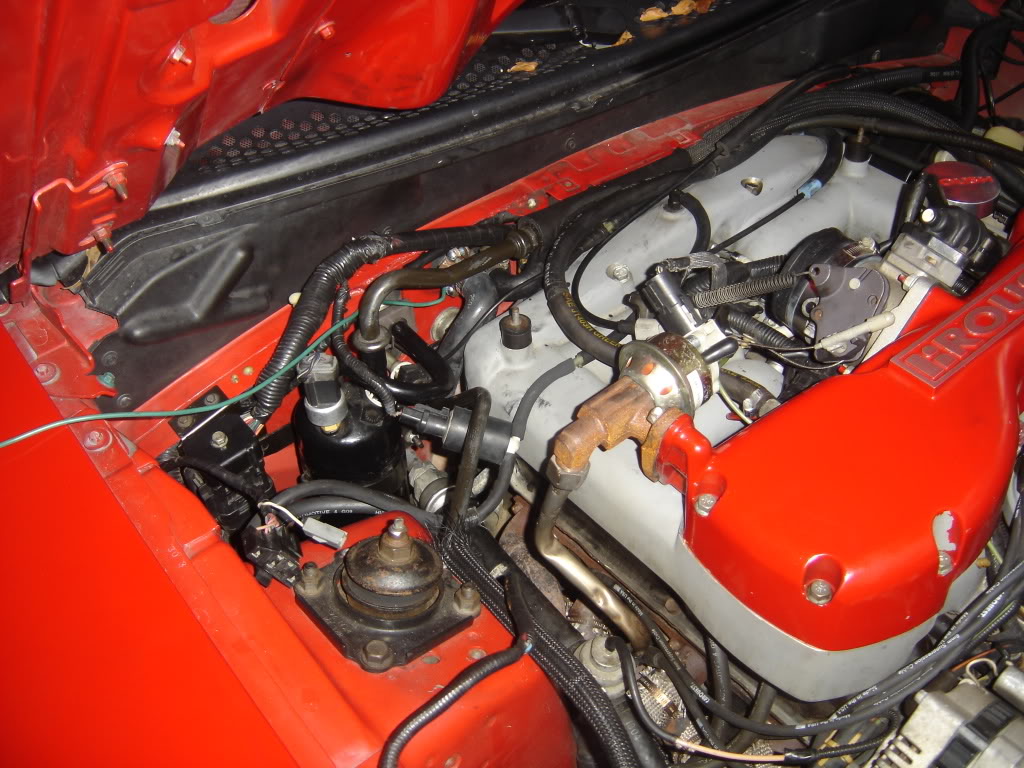
Finished up on the outside. Now on to the inside tommorrow.
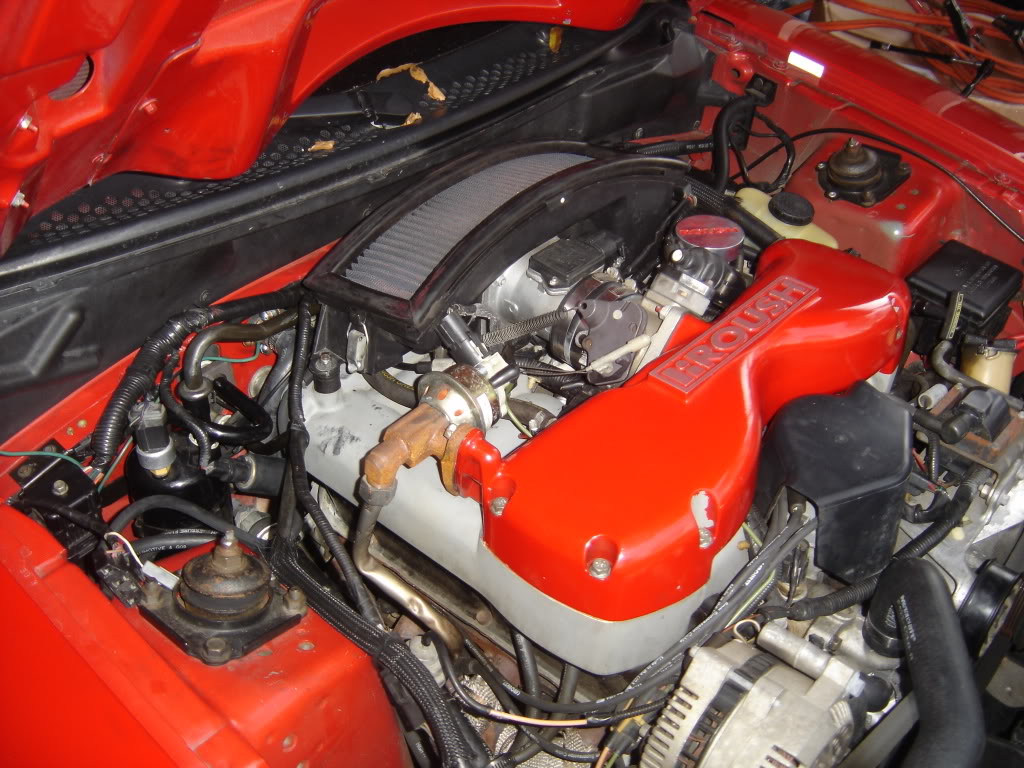
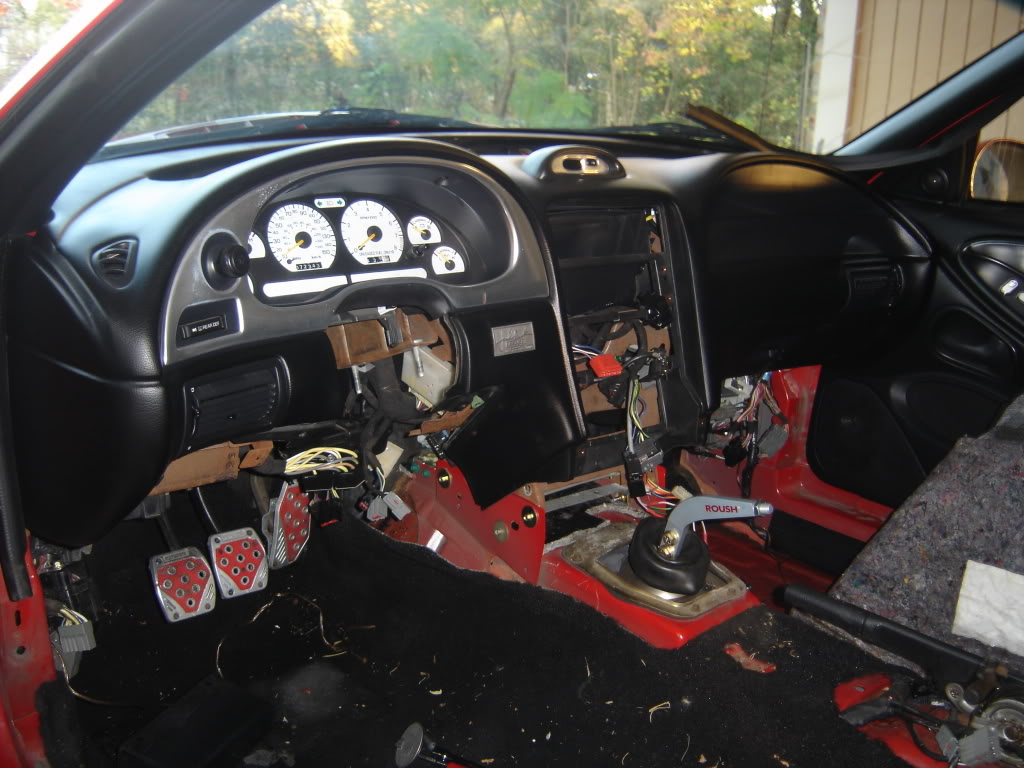
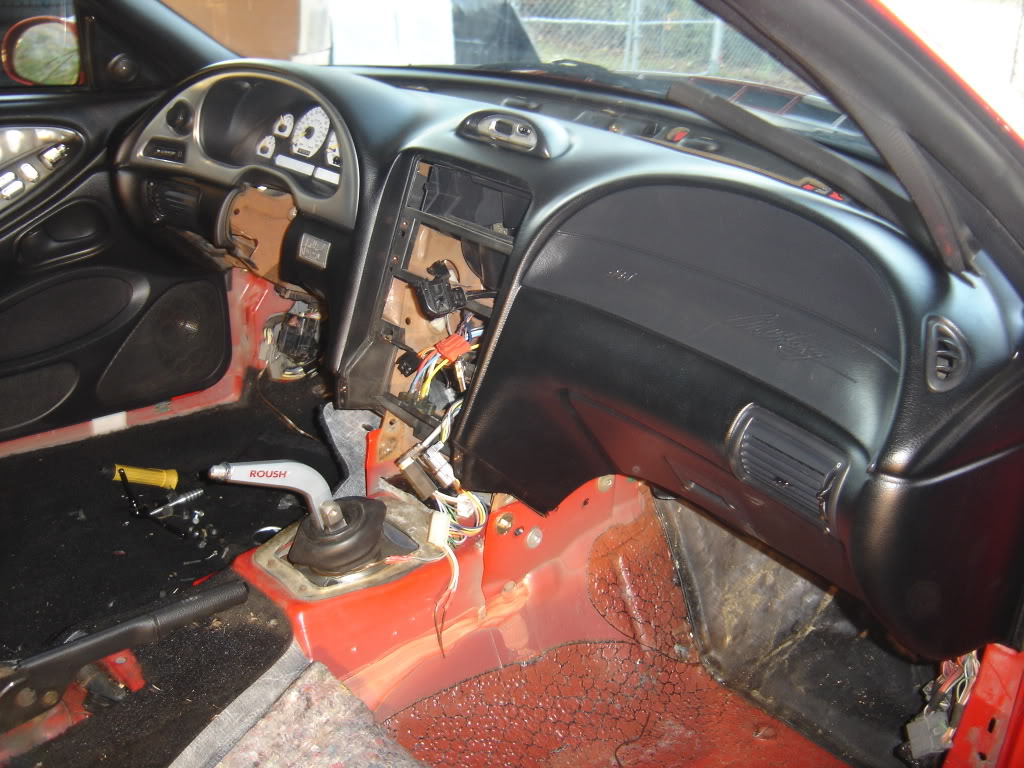
Started back on the inside. Got the dash in by myself. Really was not that hard to put it back in. I will say it would be easier if you got someone to help on this step. I can see the light at the end of the tunnel.
Finished up on the outside. Now on to the inside tommorrow.
Started back on the inside. Got the dash in by myself. Really was not that hard to put it back in. I will say it would be easier if you got someone to help on this step. I can see the light at the end of the tunnel.
#19
12-06-2007, 09:27 AM

Awesome write up, everyone say this little prayer with me...
Please God, do not make my heater core go out on me, I don't want to take out my dash.
I had a '71 Chevelle that I had to replace once, small block so lots of room and it was still a giant pain in the butt. However, I was able to do it with the dash still in the car.
Please God, do not make my heater core go out on me, I don't want to take out my dash.
I had a '71 Chevelle that I had to replace once, small block so lots of room and it was still a giant pain in the butt. However, I was able to do it with the dash still in the car.

#21
12-07-2007, 07:53 AM
I hope to have i close to being finished this weekend. I am taking my time it has been 2 weeks so far. I find this is good to do if you can go 2 weeks without a car. I think i could do it in 2 lonnnnng days if i reallly needed to. For me this was better than spending $1400 i was quoted on for someone else to do it.
#22
12-10-2007, 11:34 AM

ill be doing my heater core in a few weeks... prolly right in the dead of winter. its was by passed when i bought the car, and im ok with it, but the ladies seem to like cars with heat...

Thread
Thread Starter
Forum
Replies
Last Post
1995, 95, box, change, core, diagram, gt, heater, installation, leaking, mustang, removal, replace, replacement, roushinator